NETGEAR Router Installation 2026: Complete Step-by-Step Setup Guide for Fast & Secure WiFi
A successful NETGEAR router installation is the first step to a fast, secure, and reliable home or office internet network. Whether you are setting up a new router or replacing an old one, following the correct installation steps ensures stable WiFi for all your devices. In this guide, we will walk you through every step, from connecting your modem to configuring router settings, making it perfect for both beginners and tech-savvy users.
Requirements Before You Begin
Before starting your NETGEAR router installation, ensure you have the following:
- Active internet connection
- NETGEAR router & power adapter
- Modem (from your ISP)
- Ethernet cable
- Laptop, PC, or smartphone
- Optional: NETGEAR router mobile app
Tip: Keep your modem and router manuals handy in case you need quick references.
Step 1: Connect Your Router to the Modem
- Turn off your modem.
- Connect the modem to the router’s **WAN/Internet port** using an Ethernet cable.
- Power on the modem first, then the router. Wait until the power LED turns solid.
Pro Tip: Place your router in a central, elevated position for maximum WiFi coverage.
Step 2: Connect Your Device
WiFi Setup
- Use the default SSID and password printed on the router label.
Ethernet Setup
- Direct cable connection ensures a faster and more stable setup.
- Recommended for first-time installation or firmware updates.
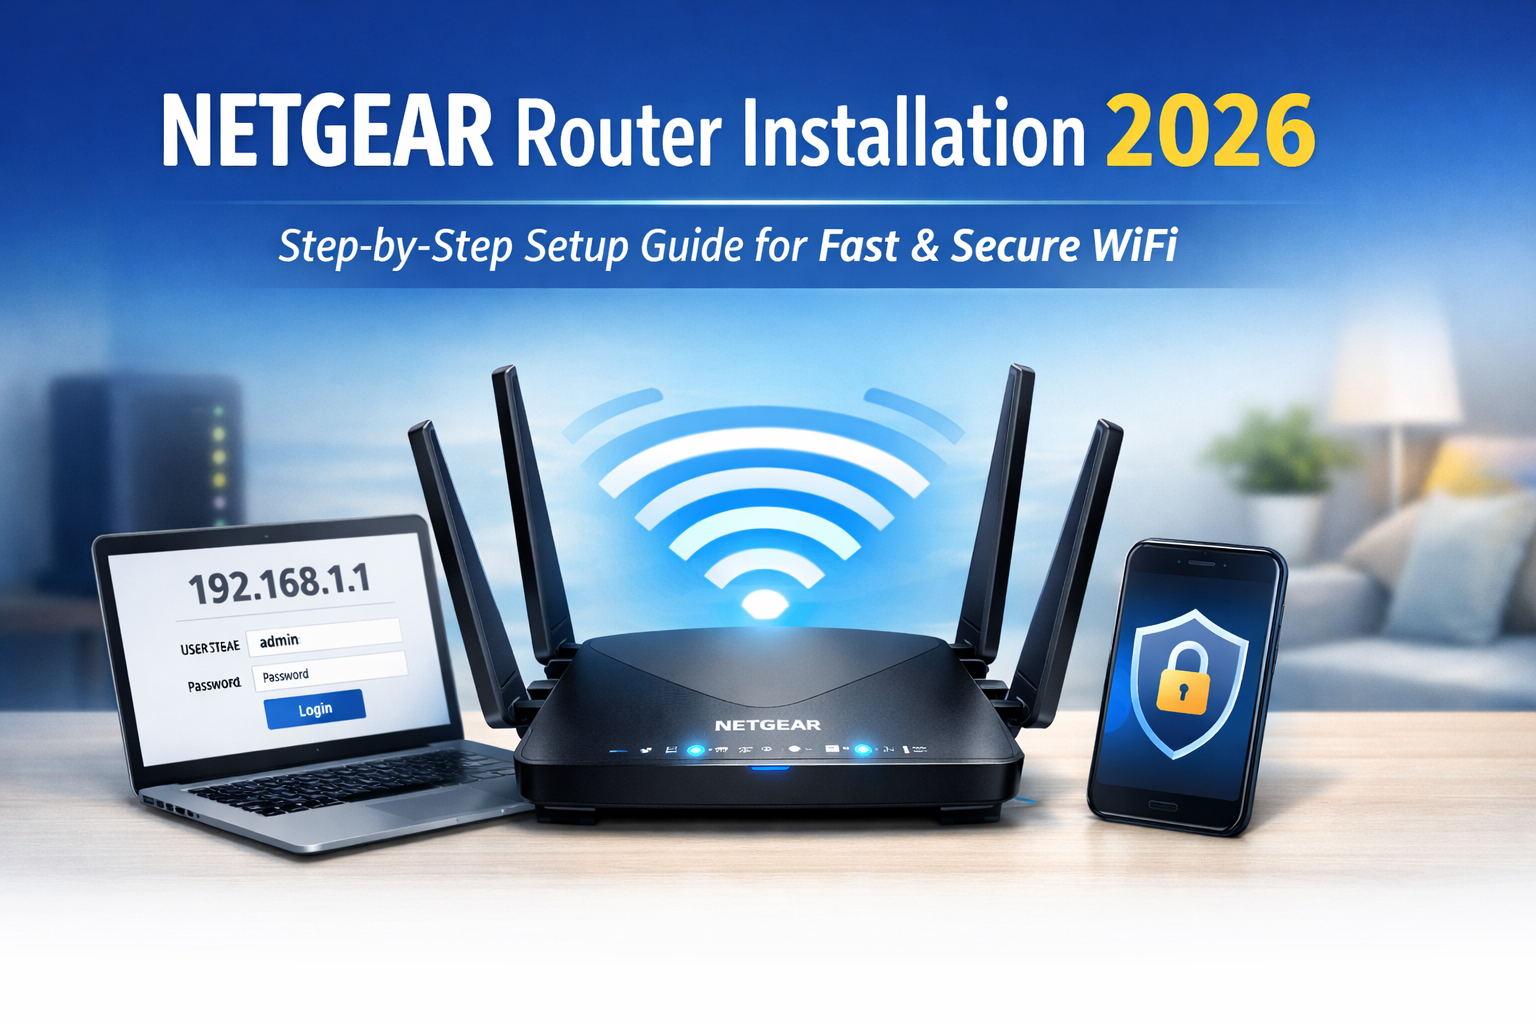
Step 3: Access the Router Dashboard
- Open a web browser on your connected device.
- Type 168.1.1 in the address bar.
- Enter the default credentials: admin / password
Always change your login credentials after setup for security.
Step 4: Complete the NETGEAR Router Installation
- Follow the on-screen setup instructions.
- Set a new WiFi name (SSID) and strong password.
- Save settings and allow the router to reboot.
Extra Tip: Note down your new WiFi password somewhere safe for future use.
Step 5: Optional Mobile App Setup
- Download the official NETGEAR router app from the App Store or Play Store.
- Connect to your router WiFi.
- Follow the app instructions to complete the setup quickly.
Mobile app setup is ideal for beginners or those who prefer remote management of their network.
Extra Tips for Smooth NETGEAR Router Installation
- Firmware update: Always check for the latest firmware version after installation to improve performance and security.
- Avoid interference: Keep your router away from microwaves, cordless phones, and thick walls to ensure a strong signal.
- Guest network: Set up a guest network for visitors to keep your main network secure.
- Parental controls: Use NETGEAR parental control settings to manage internet access for kids.
Common NETGEAR Router Installation Issues & Fixes
192.168.1.1 not loading: Clear browser cache, try a different browser, or disable VPN/proxy.
No internet after setup: Restart modem and router, check cable connections, or contact your ISP if the modem shows no signal.
WiFi slow or dropping: Change the WiFi channel from the router dashboard, or move the router to a central location.
Security Tips After Installation
- Change the router admin password immediately.
- Update firmware regularly.
- Enable WPA2/WPA3 encryption.
- Disable WPS if not required.
- Set up a strong WiFi password to prevent unauthorized access.
Conclusion
Completing your NETGEAR router installation properly ensures a fast, stable, and secure WiFi network. Follow these steps, apply security tips, and enjoy reliable internet across all devices.
Pro Tip: Check for firmware updates regularly and optimize router placement to maintain strong and consistent coverage throughout your home or office.
FAQ – Frequently Asked Questions About NETGEAR Router Installation
Q1: How do I install my NETGEAR router for the first time?
Connect your modem to the router, power it on, and use 192.168.1.1 to log in and configure WiFi settings.
Q2: Which IP address is used for NETGEAR router setup?
Most NETGEAR routers use 192.168.1.1 as the default login IP to access the admin panel.
Q3: Can I install my NETGEAR router without an Ethernet cable?
Yes, WiFi setup is possible, but using an Ethernet cable ensures a faster and more stable setup.
Q4: Why isn’t 192.168.1.1 loading for my router?
Clear your browser cache, try a different browser, or disable VPN/proxy settings.
Q5: How can I secure my NETGEAR router after installation?
Change the admin password, enable WPA2/WPA3 encryption, update firmware, and disable WPS if not needed.
Q6: How long does NETGEAR router installation take?
Typically 5–10 minutes once all connections are ready.
Q7: Can I set up a guest network on my NETGEAR router?
Yes, you can enable a guest network from the router dashboard to allow visitors limited access to your internet.