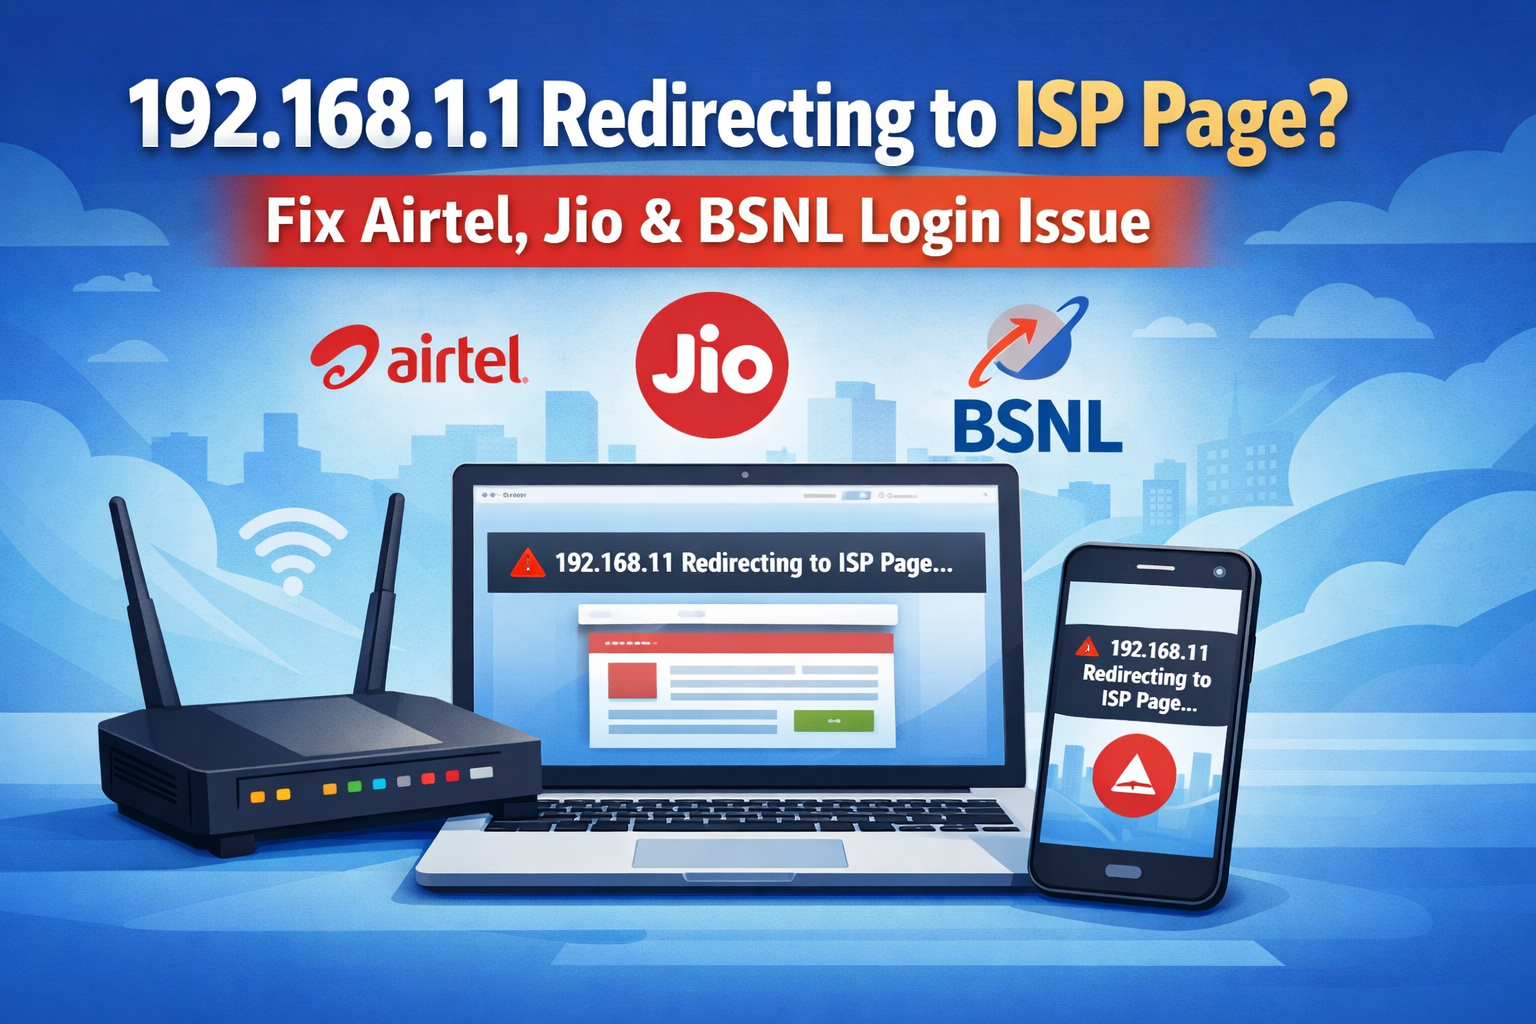
192.168.1.1 Redirecting to ISP Page? Fix Airtel, Jio & BSNL Router Login Issue
Trying to open your router’s admin panel at 192.168.1.1, but keeps getting redirected to your ISP page? Don’t worry! You’re not alone – this happens to many Airtel, Jio, and BSNL users.
Good news 👉 This is easy to fix, and your router is not faulty!
In this guide, you’ll learn why 192.168.1.1 redirects to the ISP page and how to fix it on desktop and mobile.
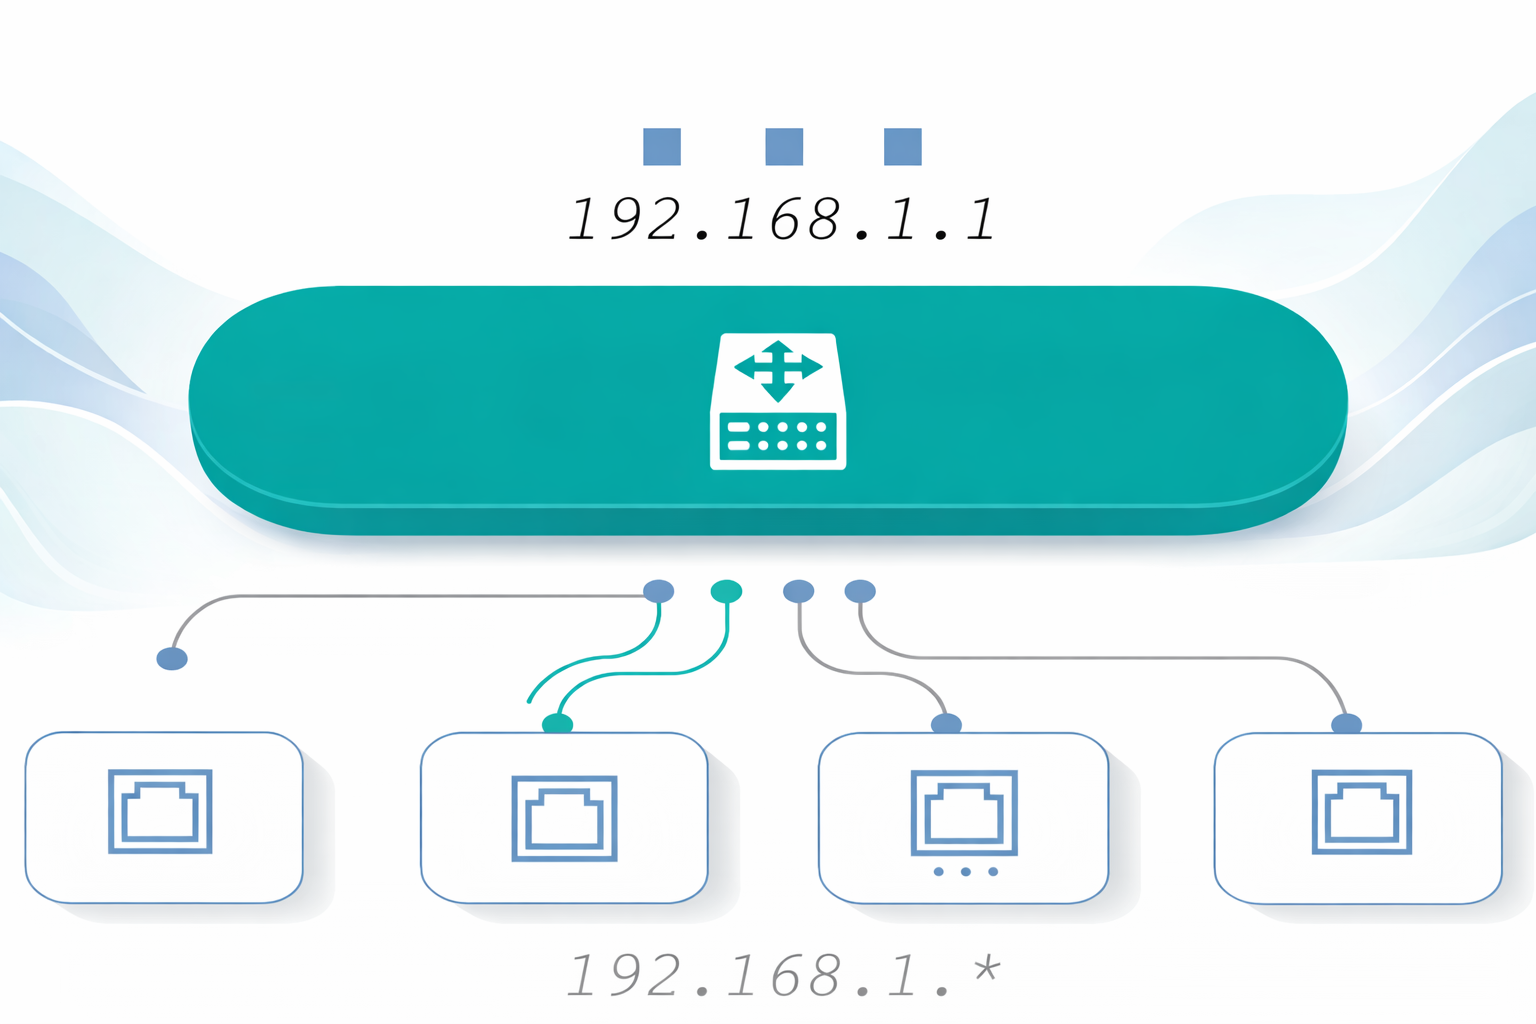
Why 192.168.1.1 Redirecting to ISP Page?
When 192.168.1.1 redirecting to ISP page happens, it usually means your router, browser, or ISP settings are blocking direct access to the router admin panel.
The most common reasons include:
- ISP firmware restrictions (Airtel / Jio / BSNL)
- Incorrect WiFi or network connection
- Browser cache or DNS conflict
- Router running in bridge or access point mode
- ISP-controlled router login redirection
Because of this, instead of the router login page, users are redirected to an ISP customer portal or landing page.
Quick Checks Before You Start
Before trying advanced solutions, make sure:
- Your device is connected to the same WiFi network as the router
- Mobile data is turned OFF
- VPN or proxy is disabled
- You are typing 192.168.1.1 correctly in the browser address bar
👉 Often, these quick checks alone fix the problem.
How to Fix 192.168.1.1 Redirecting to ISP Page ?
Step-by-Step Guide to Fix Router Login Redirect
This problem is often connected with common router login issues. Follow these steps until the admin page opens.
1️⃣Use HTTP Instead of HTTPS
Most ISP routers do not support secure HTTPS access for the admin panel.
Try opening:
http://192.168.1.1
This simple change often stops the redirect and opens the router login page instantly.
2️⃣ Clear Browser Cache and DNS
Stored browser data can force your device to open the ISP page.
Steps:
- Clear browser cache and cookies
- Open Command Prompt (Windows)
- Run the command : ipconfig /flushdns
- Restart your browser and try again.
3️⃣ Try a Different Browser or Incognito Mode
Browser extensions may cause redirects. Try accessing 192.168.1.1 using:
- Chrome (Incognito mode)
- Firefox
- Microsoft Edge
This helps rule out browser-related problems.
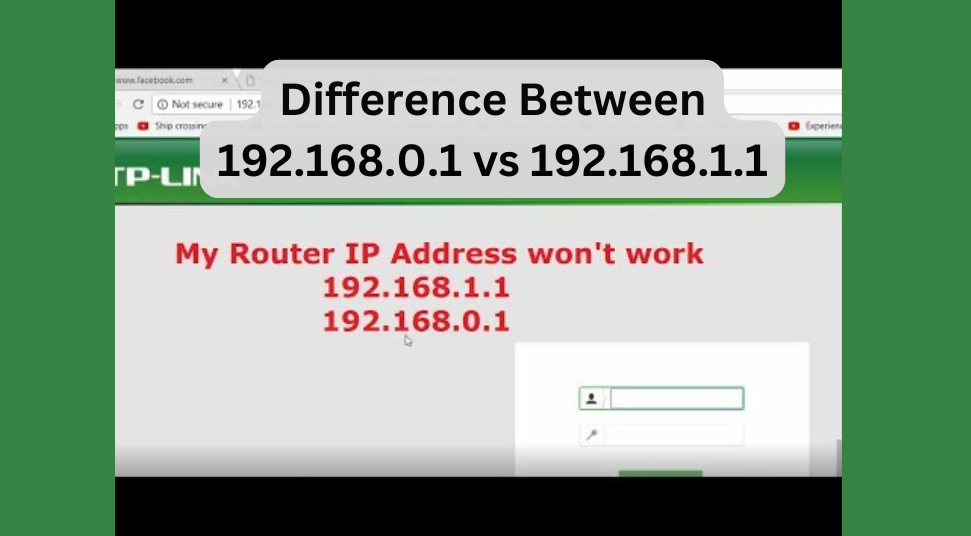
4️⃣ Check Your Router’s Correct IP Address
Not all routers use 192.168.1.1 as the default gateway.
To confirm the correct router IP:
- Open Command Prompt
- Type: ipconfig
- Find the Default Gateway address
- If it is different, use that IP instead of 192.168.1.1.
5️⃣ Disable ISP Redirect (Advanced Users)
Some ISPs lock the router firmware and force redirection.
Possible solutions:
- Reset the router to factory settings
- Change router mode from bridge mode to router mode
- Use a personal router instead of the ISP-provided one
After resetting, ISP login credentials may be required.
ISP-Specific Fixes
If admin access is still blocked, checking the default router username and password may help
Airtel Router
- Open `http://192.168.1.1`
- Disable Airtel smart redirect (if available)
- Login using a LAN cable for best results
Jio Fiber Router
- Use the router gateway IP shown on your device
- Admin access may be limited by Jio firmware
- Use the MyJio app for basic configuration
BSNL Router
- Clear browser cache and DNS
- Reset the router if the issue continues
- Default admin login usually works after reset
Frequently Asked Questions (FAQs)
❓Why does my router open the ISP page instead of the admin login?
This happens when the ISP restricts router access or your browser forces a redirect due to cached data.
❓Can I permanently remove the ISP redirect?
Yes. You can reset the router, disable redirect options, or use your own personal router.
❓Is 192.168.1.1 safe to use?
Yes. It is a private IP address used only to manage your local router settings.
Final Thoughts
If 192.168.1.1 redirecting to ISP page is stopping you from accessing your router settings, this guide should help you regain full control of your admin panel.
- The problem is common and safe.
- Usually caused by ISP restrictions or browser conflicts
By following these steps, you can easily access your router and manage WiFi settings without frustration.
🔖 Bookmark this page for future router login problems.
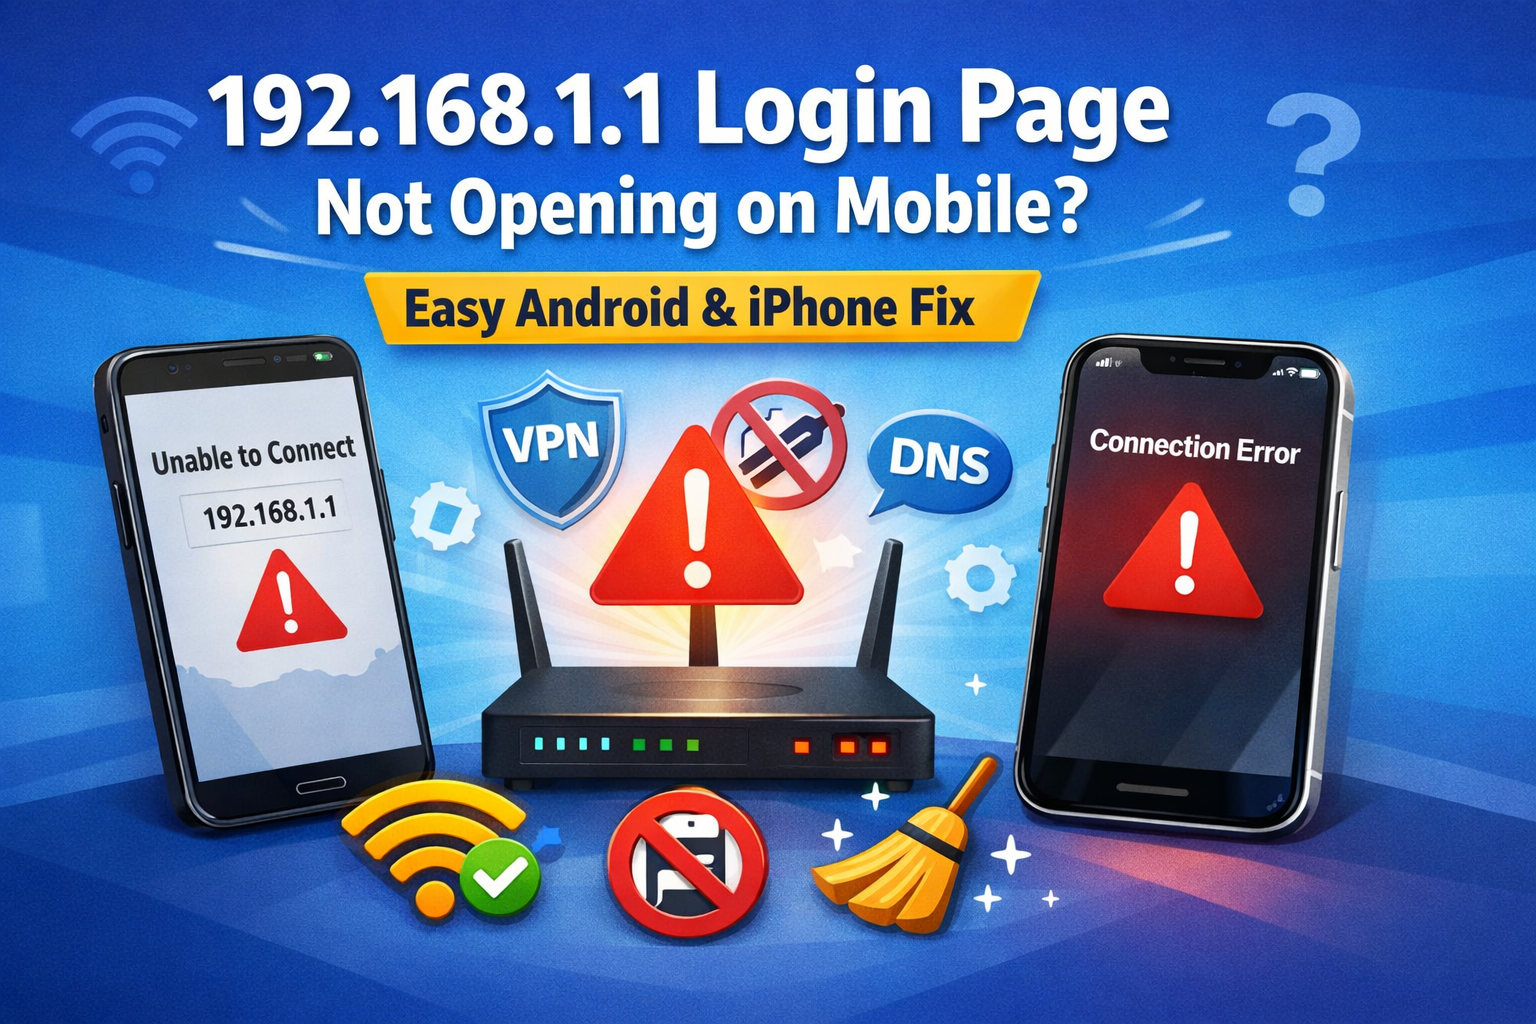
Facing router login problems? Check out our complete troubleshooting guide: 192.168.1.1 Login Page Not Opening– Quick fixes for router access issues