How To Choose The Right WiFi Extender?
Do you find yourself constantly battling weak or nonexistent Wi-Fi signal in certain areas of your home? If so, a Wi-Fi extender may be the solution you’re looking for. But with so many extenders on the market, how do you choose the right one? This article will guide you through the key factors to consider when selecting a WiFi extender to boost your home network.
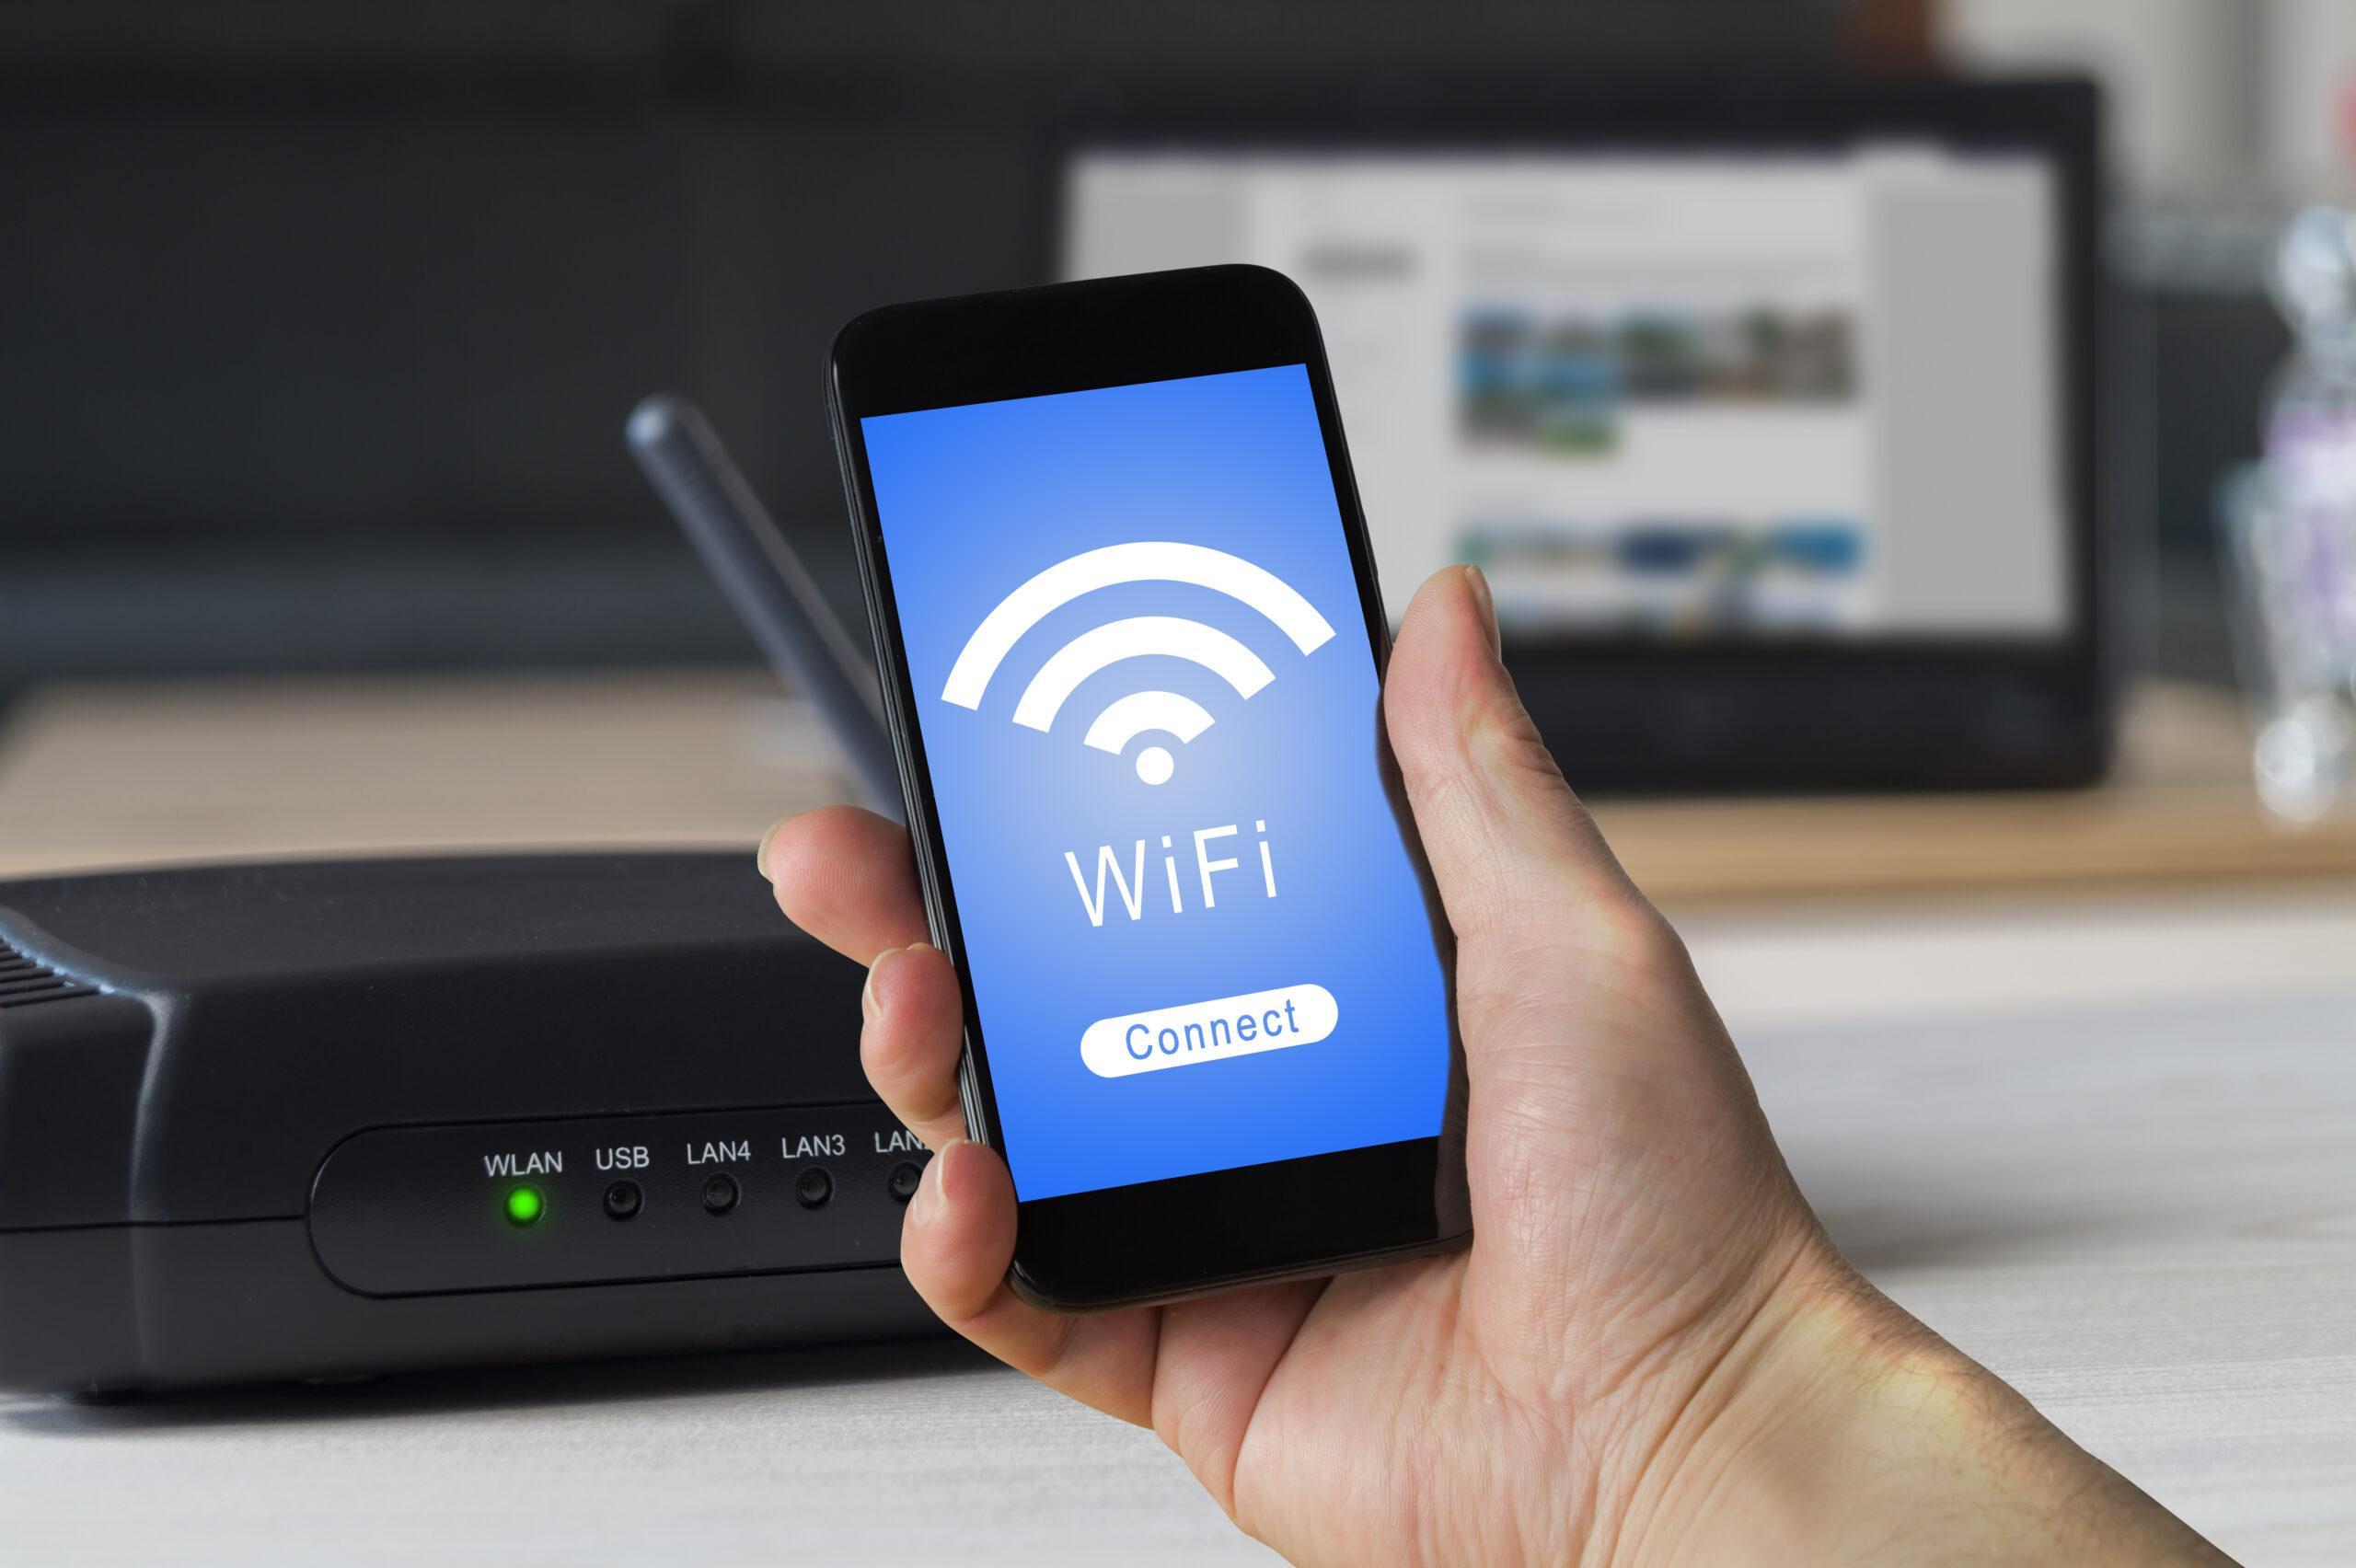
Understanding Wi-Fi Extenders
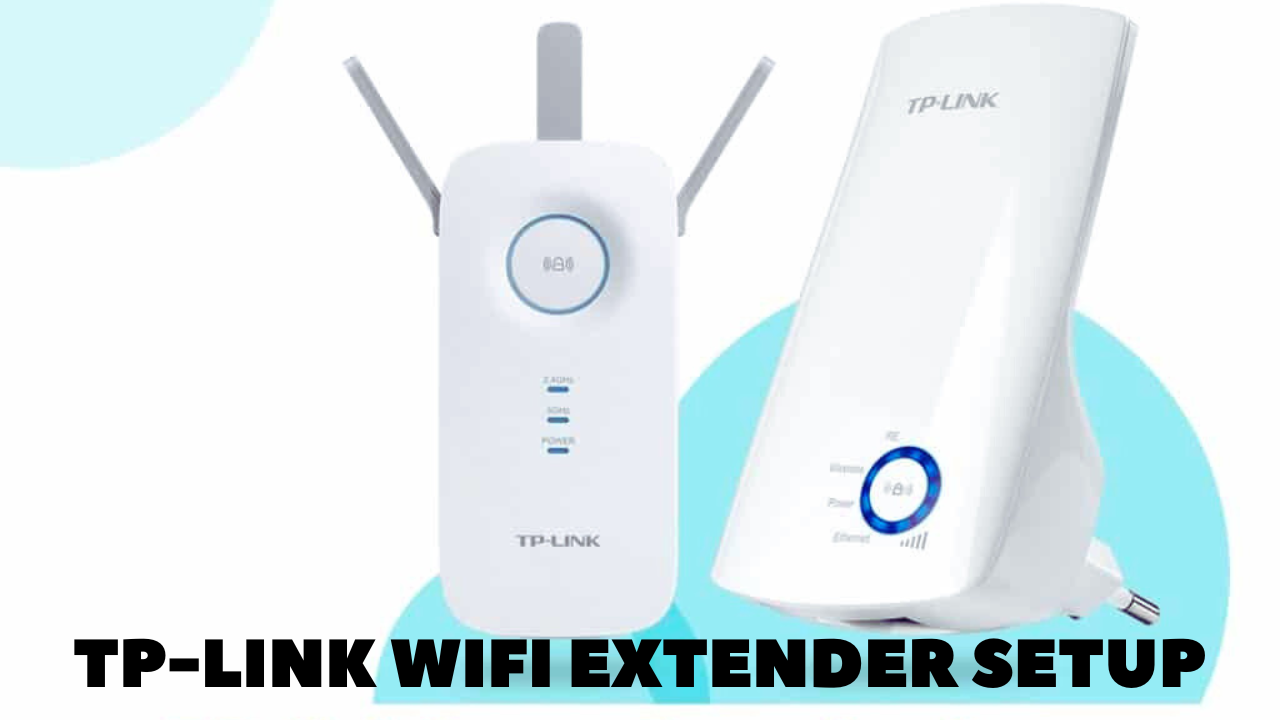
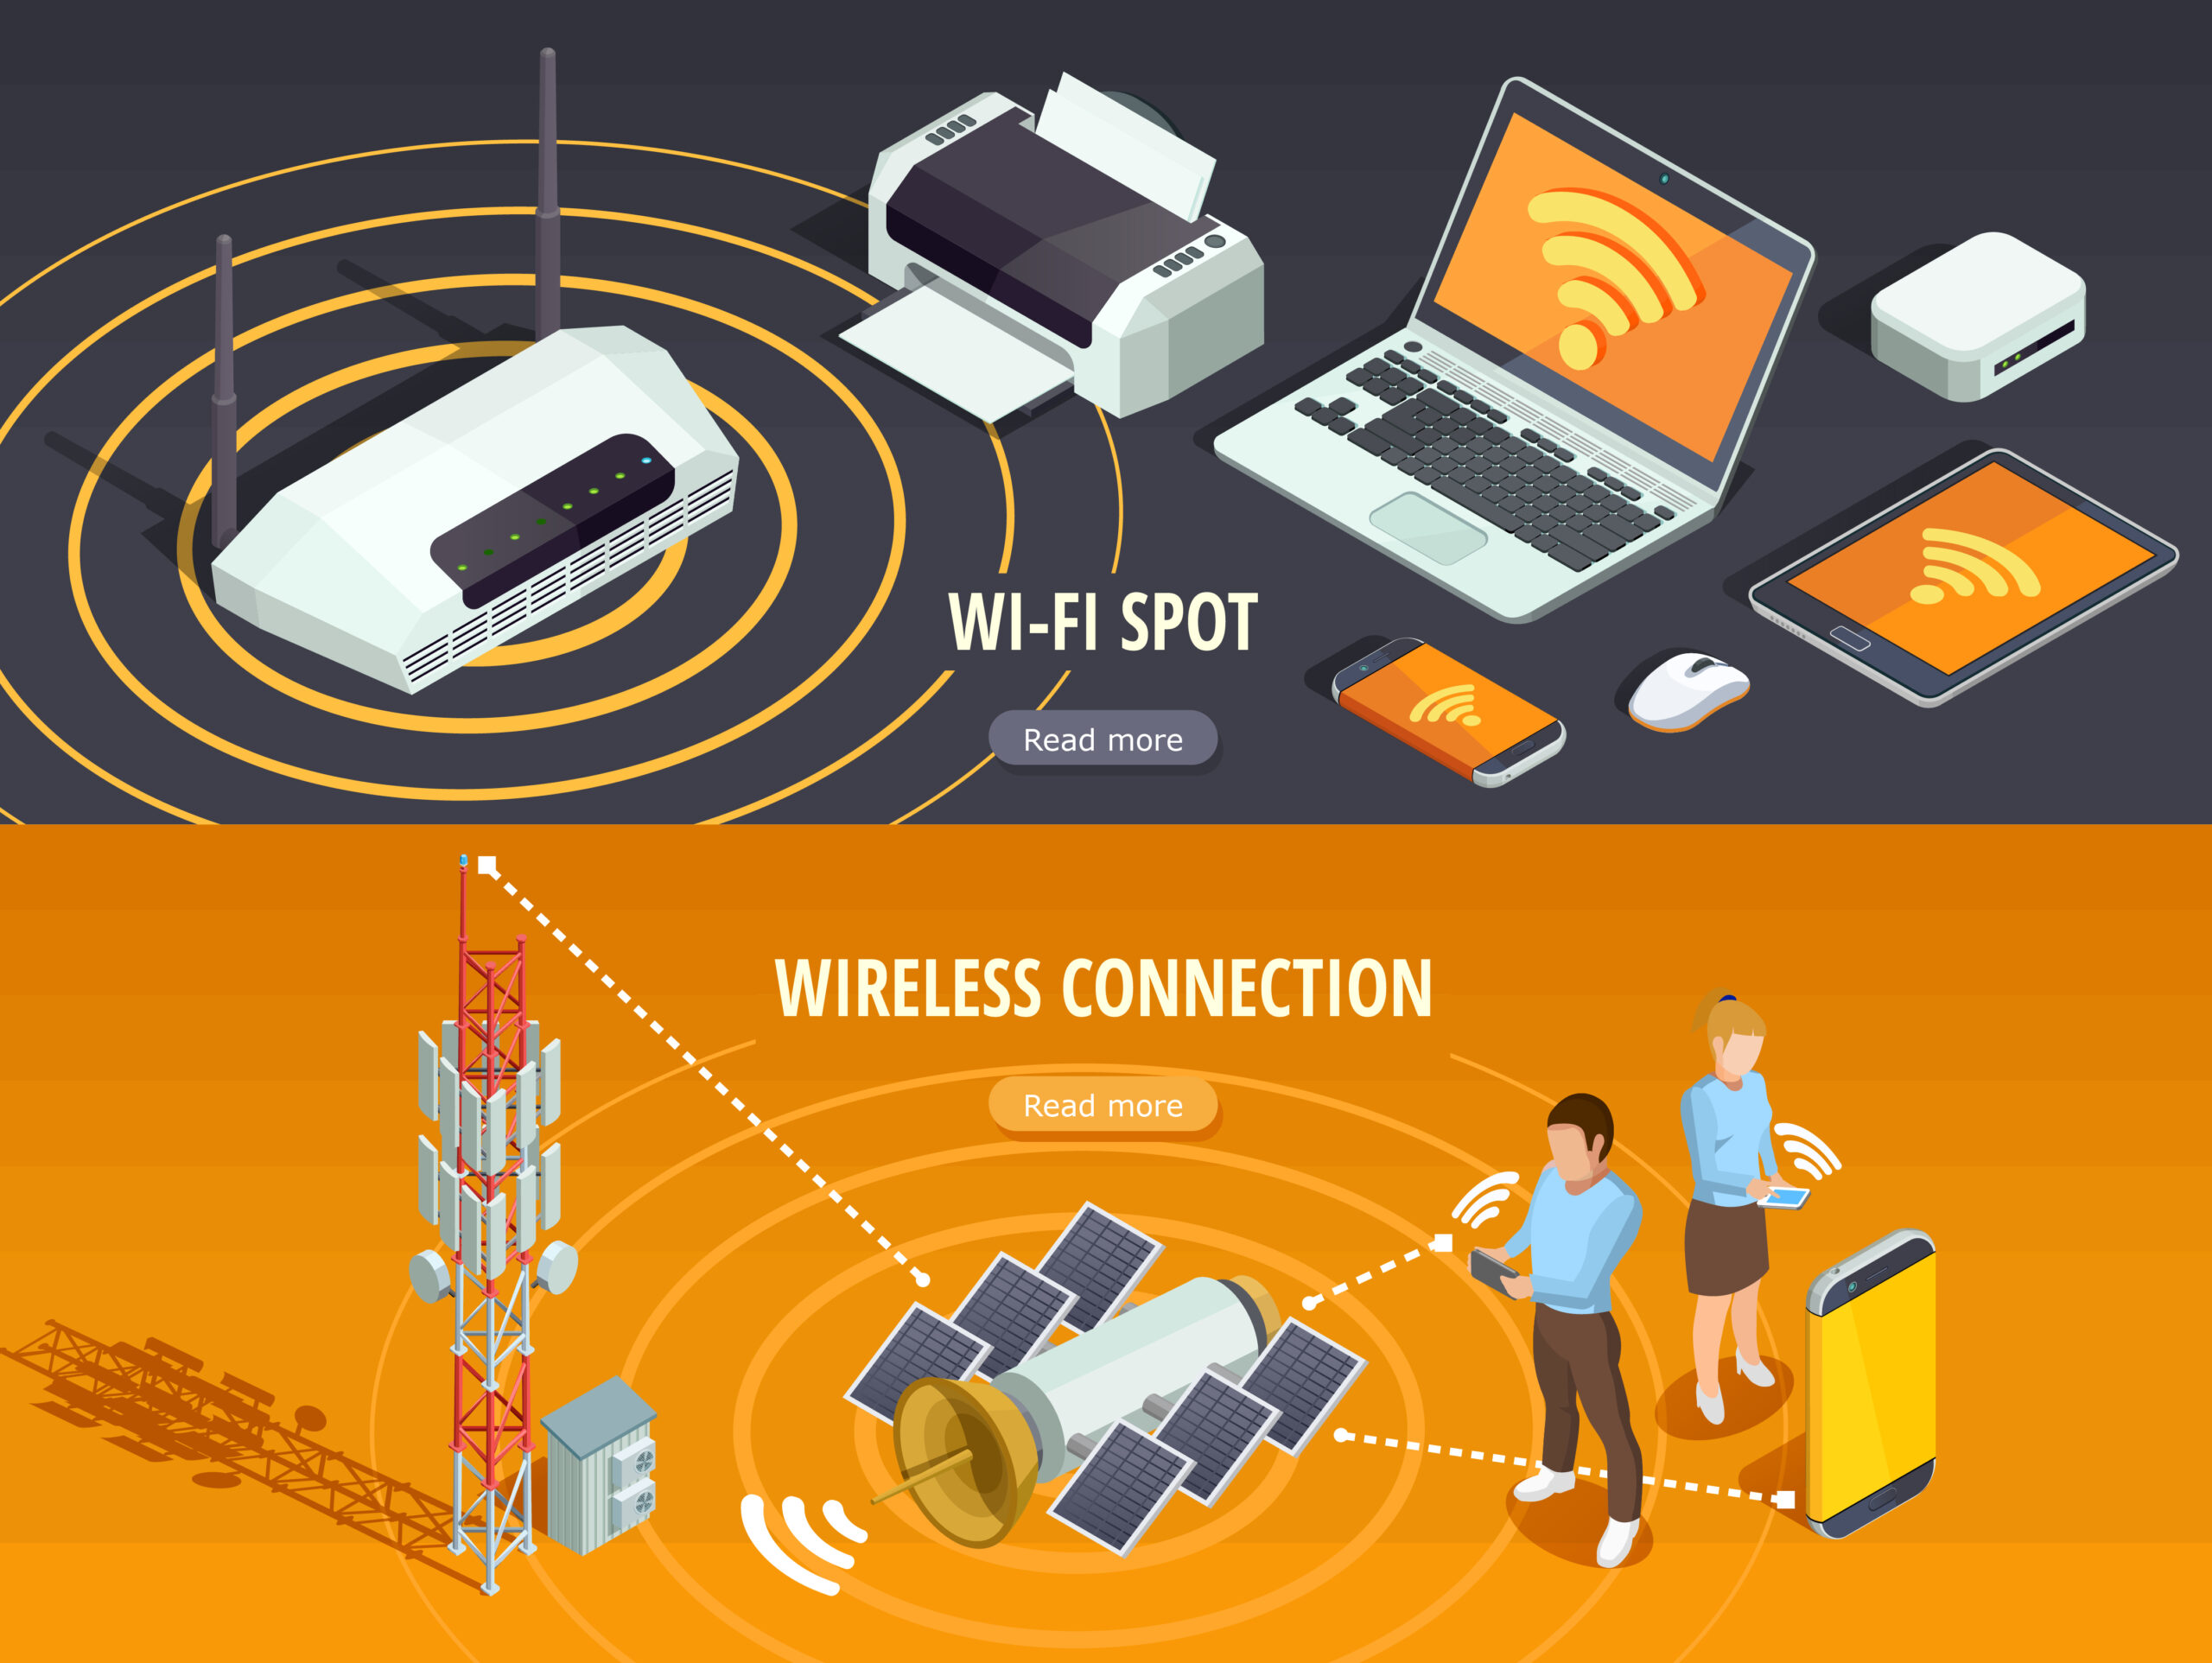
A Wi-Fi extender acts as a receiver and transmitter, picking up the signal from your router and then rebroadcasting it to extend its reach. This can be particularly helpful for larger homes, homes with thick walls, or areas where your router’s signal struggles to penetrate.
Choosing the Right Extender
Here are the key factors to consider when choosing a Wi-Fi extender:
Range and Coverage
The primary purpose of a WiFi extender is to extend the range of your existing WiFi network. When evaluating extenders, pay close attention to their stated range and coverage capabilities. Keep in mind that the actual range may vary depending on factors such as obstructions, interference, and the layout of your space. If you have a large home or office, consider investing in a mesh WiFi system, which uses multiple nodes to create a seamless network with uniform coverage throughout the entire area.
Speed and Performance
In addition to extending the range of your WiFi network, a good WiFi extender should also maintain high-speed performance. Look for extenders that support dual-band or tri-band operation, as these devices can provide faster speeds and better performance, especially in crowded WiFi environments. Pay attention to the extender’s maximum data transfer rates, as this will impact the speed of your connection to devices connected to the extender.
Ease of Setup and Management
Setting up a WiFi extender should be a straightforward process, even for those with limited technical expertise. Look for extenders that offer easy-to-follow setup instructions and intuitive management interfaces. Some extenders also come with mobile apps that allow you to monitor and manage your network from your smartphone or tablet, providing added convenience and flexibility.
Conclusion
Choosing the right WiFi extender can significantly improve the coverage and performance of your wireless network. By considering factors such as compatibility, range, speed, and ease of setup, you can select an extender that meets your specific needs and enhances your overall WiFi experience. Whether you’re working from home, streaming your favorite movies, or playing online games, a reliable WiFi extender is an invaluable investment in staying connected.
Also Read: Enhancing Your Wi-Fi Coverage with 192.168.188.1 Wireless Setup