192.168.188.1 - 192168111
192.168.188.1 Wireless Setup
Enhancing Your Wi-Fi Coverage with 192.168.188.1 Wireless Setup

In today’s digitally connected world, a stable and robust Wi-Fi network is essential for seamless internet access. However, there are instances when dead zones or weak signals can hinder your online activities. To address these connectivity issues, 192.168.188.1 Wireless Setup have emerged as a practical solution.

Wi-Fi extenders, also known as range extenders, are devices that amplify the range of your existing Wi-Fi network, effectively eliminating signal dead zones and improving overall connectivity. Most Wi-Fi extenders can be easily configured using the default IP address 192.168.188.1.

Understanding the 192.168.188.1 IP Address

The IP address 192.168.188.1 is a common default IP address for many Wi-Fi extenders. It serves as the gateway for accessing the extender’s administration panel, where you can manage its settings and configure it to connect to your existing Wi-Fi network.

Guiding Steps for 192.168.188.1 Wireless Setup

  • Power Up the Extender: Begin by connecting the Wi-Fi extender to a power outlet. Once powered on, wait for it to boot up completely.
  • Connect to the Extender’s Network: Using your computer or mobile device, connect to the Wi-Fi network of the extender. The network name will typically be something like “TP-Link_Extender” or “Netgear_Extender.”
  • Access the Administration Panel: Open a web browser on your connected device and enter the default IP address 192.168.188.1 into the address bar. This will direct you to the extender’s administration panel.
  • Enter Login Credentials: You will be prompted to enter the username and password for the extender. This information can usually be found in the extender’s manual or on a sticker attached to the device.
  • Configure Extender Settings: Once logged in, you will be able to configure the extender’s settings. This includes selecting your existing Wi-Fi network, entering the network password, and adjusting other parameters such as the extender’s name and channel.
  • Save and Apply: After making the desired changes, click the “Save” or “Apply” button to save the settings and apply them to the extender.

Optimizing Wi-Fi Extender Placement

For optimal performance, it is crucial to place the Wi-Fi extender in a strategic location. Here are some key considerations:

  • Central Location: Position the extender midway between your router and the areas where you need stronger Wi-Fi signal.
  • Avoid Obstructions: Keep the extender away from walls, metal objects, and large appliances that can interfere with the signal.
  • Unobstructed Line of Sight: Ensure there is a clear line of sight between the extender and your router.

Troubleshooting Common Issues

If you encounter any challenges during the setup process or while using the extender, here are some troubleshooting tips:

  • Check Network Connection: Verify that your device is connected to the extender’s network.
  • Restart Extender: Try restarting the extender to clear any temporary glitches.
  • Update Firmware: Ensure the extender’s firmware is up to date.
  • Contact Manufacturer: If the issue persists, contact the extender’s manufacturer for further assistance.

Conclusion

By following these comprehensive guidelines on 192.168.188.1 wireless setup, you can effectively eliminate Wi-Fi dead zones and enhance your overall network coverage. Remember, proper placement and regular maintenance will ensure your Wi-Fi extender continues to deliver optimal performance.

192.168.188.1 admin setup and WiFi password
Mastering WiFi Password Setup and Administration for 192.168.188.1

In the modern age of connectivity, managing your home or office network efficiently has become essential. Whether you’re an IT enthusiast or a casual user, understanding how to manage your 192.168.188.1 admin setup and WiFi password is a valuable skill. This blog post will walk you through the process, ensuring that you have full control over your network’s security and performance.

Section 1: Unlocking the Gateway – 192.168.188.1 Admin Setup

Subtitle: Navigating the Control Center of Your Network

Your network’s gateway, often accessible via 192.168.188.1, is the control center of your WiFi ecosystem. Here, you can customize settings, troubleshoot issues, and ensure your network runs at its best. In this section, we’ll guide you through the essentials of setting up and accessing your 192.168.188.1 admin interface.

Section 2: Password Protecting Your Network

Subtitle: Strengthening Your Digital Fortress

  • The WiFi password is your first line of defense against unwanted intrusions. Here, you’ll learn the best practices for creating a strong WiFi password, how to change it, and why it’s crucial for securing your network.
  • Your network’s safety is in your hands.

Section 3: Tips and Tricks for Network Optimization

Subtitle: Maximizing Your Network’s Potential

No one likes a slow or unreliable WiFi connection. In this section, we’ll explore tips and tricks to boost your network’s speed, eliminate dead zones, and ensure a seamless online experience for all your devices.

Section 4: Troubleshooting Common Issues

Subtitle: Navigating the Roadblocks

Even with the best setups, network issues can still arise. We’ll discuss common problems and provide step-by-step solutions to keep your network running smoothly.

Conclusion: Take Control of Your Network

In conclusion, managing your 192.168.188.1 admin setup and WiFi password is the key to a secure and efficient network. By mastering these skills, you can ensure that your digital world remains a safe and connected place.

Whether you’re a beginner or an advanced user, this blog post is your gateway to network management success. So, take the reins, secure your network, and optimize your online experience.

192.168.188.1 Extender Setup
192.168.188.1 Extender Setup: IP Address Role & Default IP Address

When it comes to extending your WiFi network using a range extender or WiFi repeater, understanding the role of IP addresses is essential. One commonly used IP address for 192.168.188.1 extender setup. In this guide, we’ll delve into the significance of this IP address and provide insights into the extender setup process.

The Role of IP Addresses in Extender Setup

IP addresses, or Internet Protocol addresses, are numerical labels assigned to each device connected to a network. They serve as unique identifiers, allowing devices to communicate with one another. In the context of WiFi extenders, IP addresses play a crucial role in the configuration and management of the extender device.

192.168.188.1: A Common Default IP Address

Many WiFi extenders and repeaters come with a default IP address, such as 192.168.188.1, which is used for initial setup and configuration. This default IP address allows you to access the extender’s web-based interface, where you can adjust settings, customize your network, and optimize performance.

Steps for Setting Up a WiFi Extender with 192.168.188.1

Here’s a step-by-step guide for setting up a WiFi extender using the default IP address 192.168.188.1:

1. Physical Setup:

  • Unbox your WiFi extender and connect it to a power source.
  • Place the extender in a location that is within the range of your existing WiFi network and where it can effectively boost the signal.

2. Connect to the Extender:

  • On your computer or mobile device, access the list of available WiFi networks.
  • Look for the network name (SSID) associated with your extender (e.g., “ExtenderNetwork”) and connect to it.

3. Access the Web Interface:

  • Open a web browser on your connected device.
  • In the address bar, type 192.168.188.1 and press Enter. This will take you to the extender’s configuration page.

4. Login to the Extender:

You may be prompted to enter a username and password to access the extender’s settings. Refer to your extender’s manual for the default login credentials, which are often “admin” for both the username and password.

5. Configure Extender Settings:

  • Follow the on-screen instructions to configure your extender. You will typically need to select your existing WiFi network from a list and provide the network’s password.
  • Customize your extender’s network name (SSID) and password if desired.
  • Apply the settings and wait for the extender to reboot.

6. Reconnect to Your WiFi Network:

After the extender has restarted, your device will disconnect from the extender’s network. Reconnect to your primary WiFi network.

Conclusion

Understanding the role of default IP addresses, such as 192.168.188.1 extender setup, is key to successfully setting up a WiFi extender. With the right knowledge and steps, you can effortlessly extend your WiFi network’s coverage and enjoy a stronger, more reliable connection throughout your home or office. Remember to consult your extender’s user manual for specific setup instructions, as details may vary by manufacturer and model.

192.168.188.1 not working
Troubleshooting Guide: How to Fix the 192.168.188.1 Not Working Issue

Having trouble with your network? We’ve all been there. It’s frustrating when things don’t work as they should, especially when it comes to accessing the internet. One common issue that many people face is when the IP address 192.168.188.1 stops working. But fear not, because we’re here to unravel this mystery and help you get your network back up and running. In this article, we’ll dive deep into the possible reasons why 192.168.188.1 not working for you and provide you with the solutions you need. Whether it’s a problem with your modem, router, or network settings, In this article, we will explore the possible reasons behind this problem and provide solutions to get you back on track.

Check Your Network Connection

Before diving into complex troubleshooting, it’s essential to verify your network connection. Ensure that your computer or device is connected to the router that uses 192.168.188.1 as the default gateway. Use an Ethernet cable or connect to the router’s Wi-Fi network to establish a connection.

Verify the IP Address

Sometimes, a simple typo can cause the issue. Make sure you’ve entered the IP address correctly. It should be 192.168.188.1 and not 192.168.l88.1 or any other variation.

Clear Browser Cache and Cookies

Over time, web browser caches and cookies can accumulate, leading to various issues when accessing websites, including router login pages. Clear your browser’s cache and cookies, and then try accessing 192.168.188.1 again.

Disable VPNs and Proxy Servers

If you’re using a VPN or proxy server, it may interfere with your ability to access the router’s interface. Try disabling these services temporarily and then attempt to connect to 192.168.188.1.

Check for IP Address Conflicts

IP address conflicts can occur when multiple devices on your network have the same IP address. To resolve this, access your router’s settings through its IP address (if possible) and assign a unique IP to each device.

Reboot Your Router

Sometimes, a simple router reboot can solve connectivity issues. Unplug the router’s power cable, wait for a minute, and then plug it back in. Allow the router to restart fully, and then try accessing 192.168.188.1 again.

Reset Your Router to Factory Defaults

If all else fails, you can perform a factory reset on your router. This will revert all settings to their default values, including the IP address. Keep in mind that this should be a last resort, as it will erase all custom configurations. Consult your router’s manual for instructions on how to perform a factory reset.

Check Hardware Issues

Physical issues with your router or network cables can also cause connectivity problems. Ensure that all cables are securely connected, and inspect your router for any visible damage or signs of malfunction. If necessary, consider contacting your router’s manufacturer for support or replacement.

Contact Your ISP or Router Manufacturer

If you still cannot access 192.168.188.1 after trying the above steps, it’s time to reach out for professional assistance. Contact your Internet Service Provider (ISP) or the router manufacturer’s customer support for further guidance and troubleshooting.

Conclusion

Encountering issues with 192.168.188.1 not working can be frustrating, but with patience and a systematic approach, you can often resolve the problem. Start with the basic steps like checking your network connection and clearing browser cache, and then work your way through the more advanced troubleshooting options. If all else fails, don’t hesitate to seek help from your ISP or router manufacturer to ensure your network is up and running smoothly again.

192.168.188.1 Login Admin
Supercharge Your Wifi Speed with 192.168.188.1 Login: A Step-by-Step Guide to Optimizing Your Wifi Repeater

Looking to take your wifi speed to the next level? Look no further than 192.168.188.1 Login! In this comprehensive and easy-to-follow guide, we will walk you through the process of optimizing your wifi repeater for maximum performance.

Whether you’re a tech-savvy individual or a beginner, this step-by-step guide will help you unlock the true potential of your wifi network. Say goodbye to slow internet speeds and enjoy a seamless online experience.

By logging in to 192.168.188.1, you will gain access to a world of advanced settings and customization options for your wifi repeater. From adjusting transmission power to selecting the optimal channel, we will cover it all.

Throughout the guide, we will provide clear instructions and practical tips to ensure that you can easily follow along and make the most of your wifi repeater. Get ready to supercharge your wifi speed and enhance your online productivity with 192.168.188.1 Login!

Don’t settle for mediocre wifi performance any longer. Let’s dive in and optimize your wifi repeater for lightning-fast speeds with 192.168.188.1 Login.

Understanding the importance of wifi speed with 192.168.188.1 Login optimization

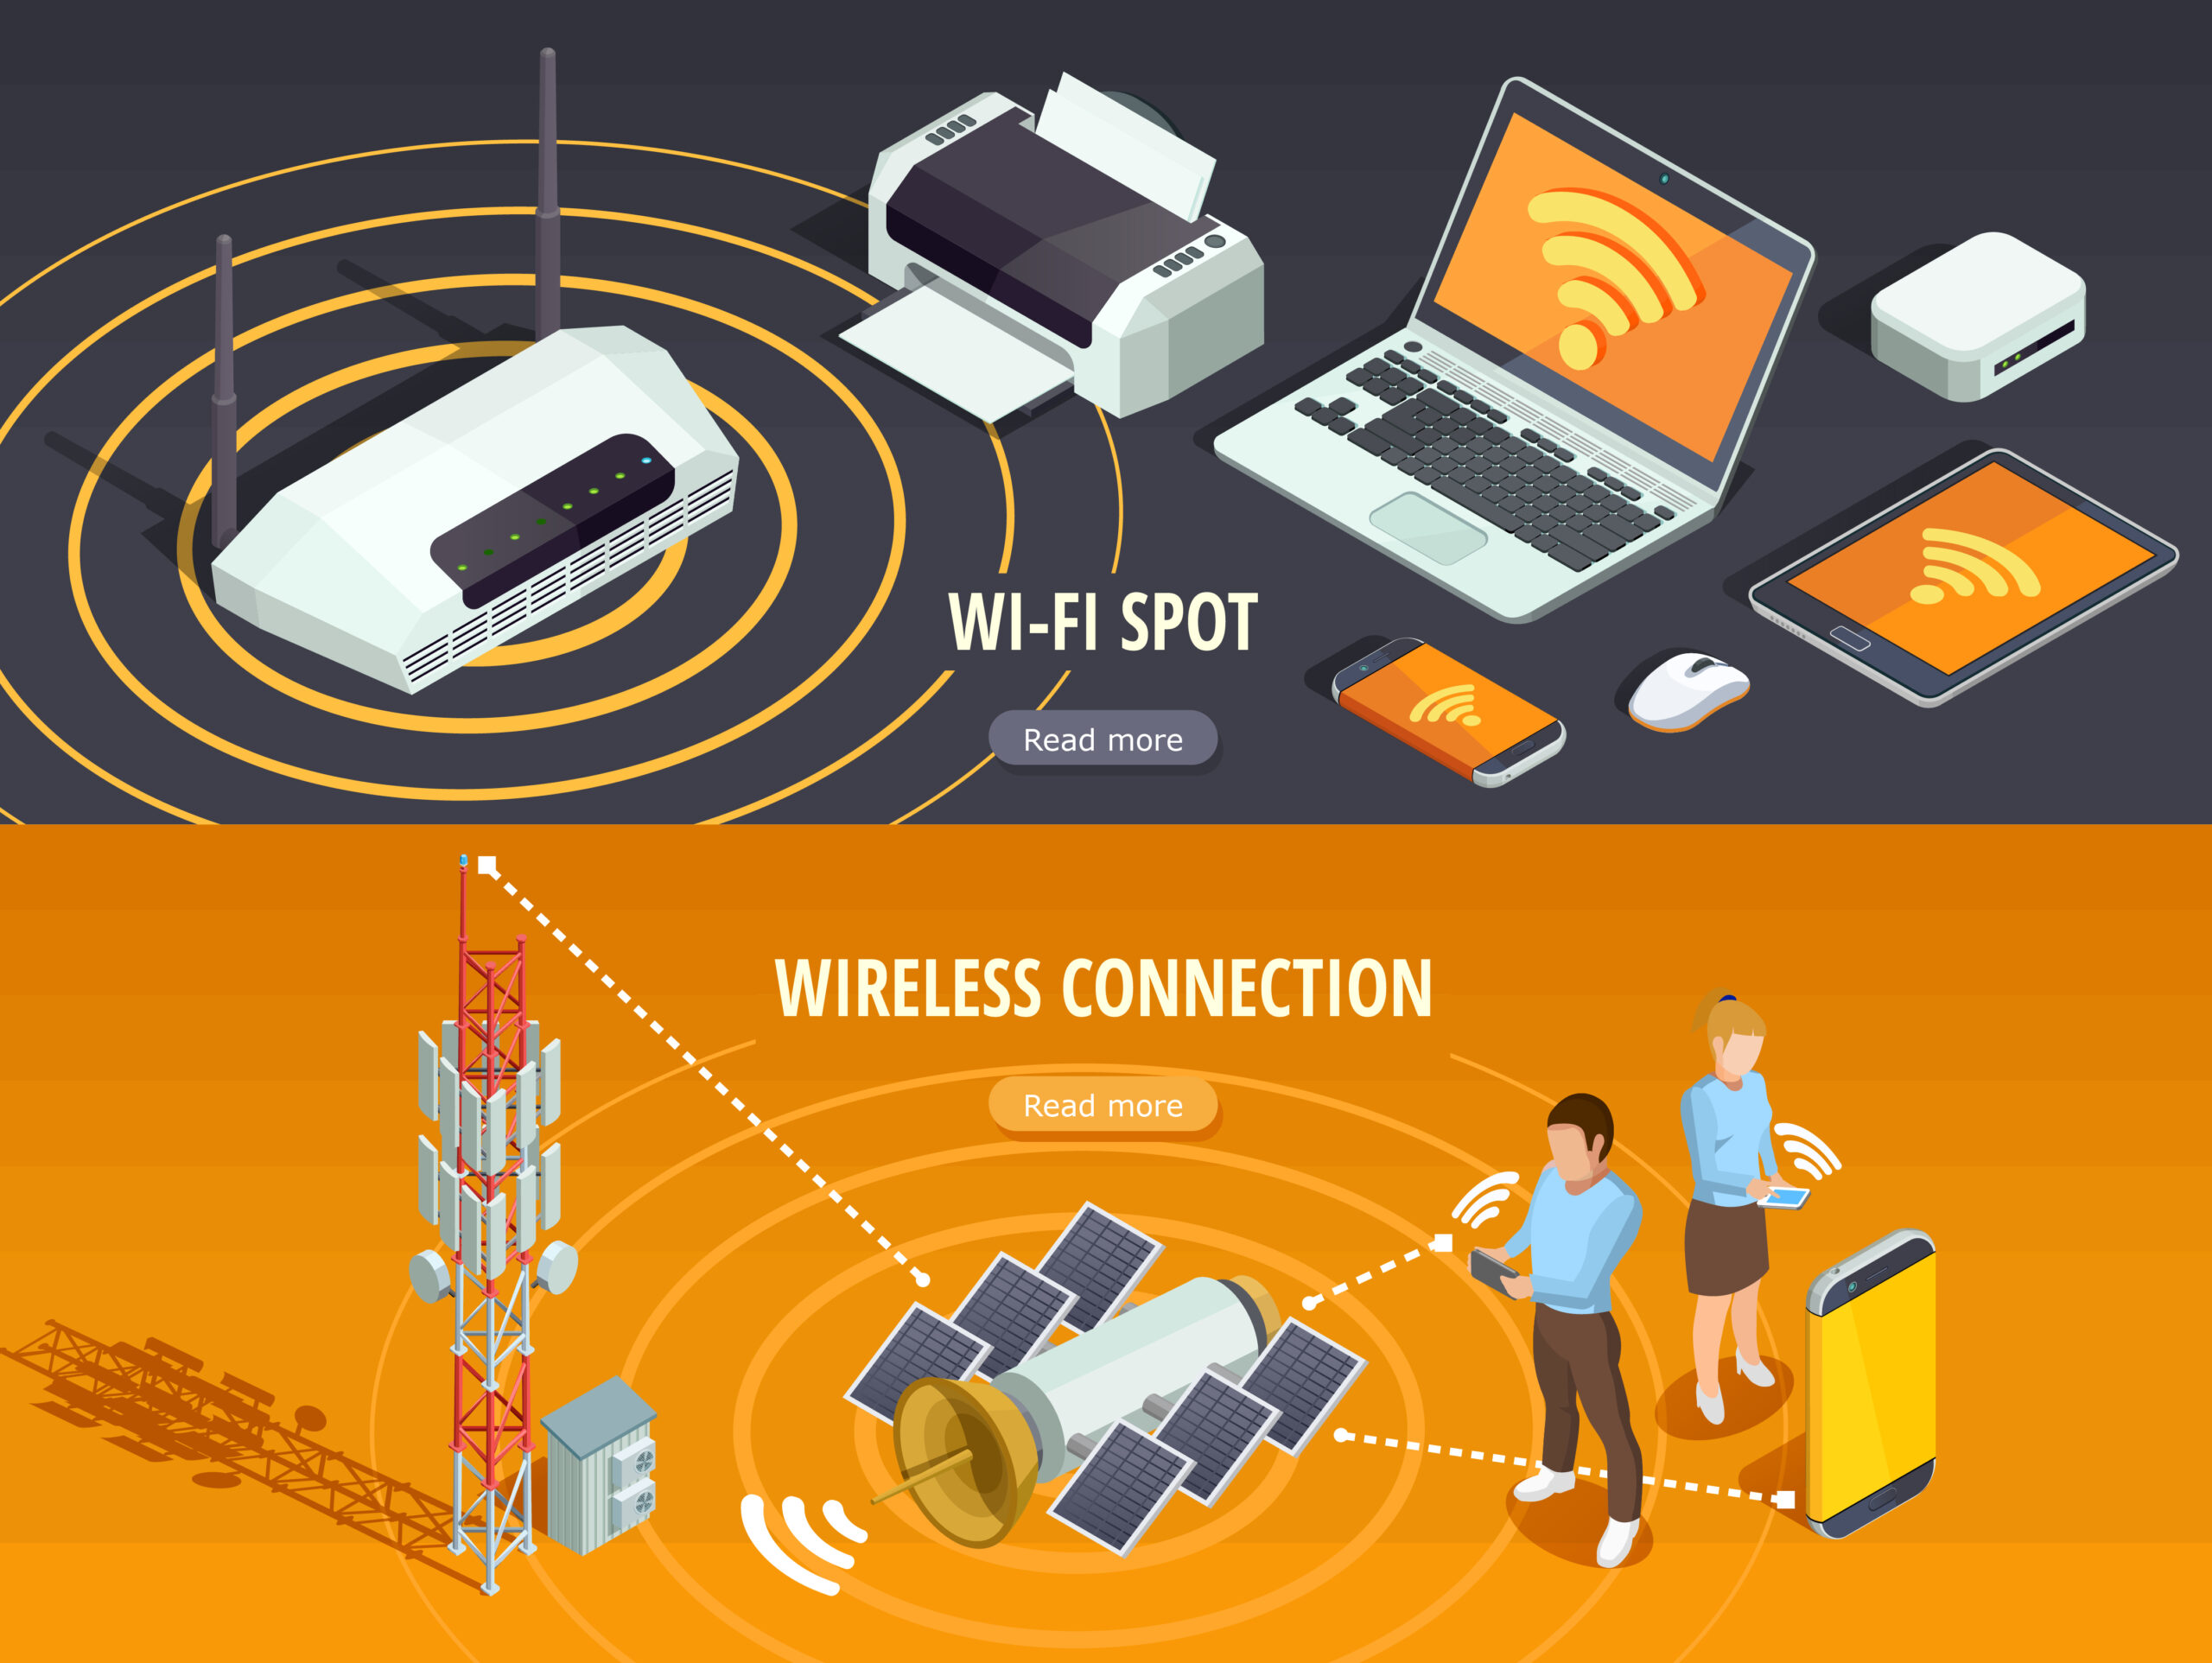
In today’s digital age, a fast and reliable internet connection is essential for both work and leisure activities. Slow wifi speeds can be incredibly frustrating, causing delays, buffering, and interrupted online experiences. That’s why it’s crucial to optimize your wifi speed to ensure a seamless and efficient online experience. By making use of the 192.168.188.1 Login, you can unlock a plethora of advanced settings and customization options for your wifi repeater, allowing you to maximize your wifi speed and enhance your productivity.

When it comes to wifi speed optimization, it’s important to understand the factors that can affect your internet connection. One common issue is signal interference caused by physical barriers such as walls, furniture, or even other electronic devices. Additionally, distance from the wifi router can also impact the strength and speed of your internet connection. By using a wifi repeater, you can extend the range of your wifi signal and eliminate these common obstacles.

Common issues that affect wifi speed

Before delving into the world of wifi repeaters and optimization, it’s essential to identify the common issues that can affect your wifi speed. Understanding these issues will help you troubleshoot and address them effectively. One major issue is network congestion, especially in densely populated areas or buildings with multiple wifi networks. The more devices connected to a single network, the slower the internet speed becomes. Another issue is outdated firmware or software on your wifi repeater or router, which can hinder performance and limit speed capabilities. By recognizing these issues, you can take the necessary steps to rectify them and improve your wifi speed.

Identifying the need for a wifi repeater

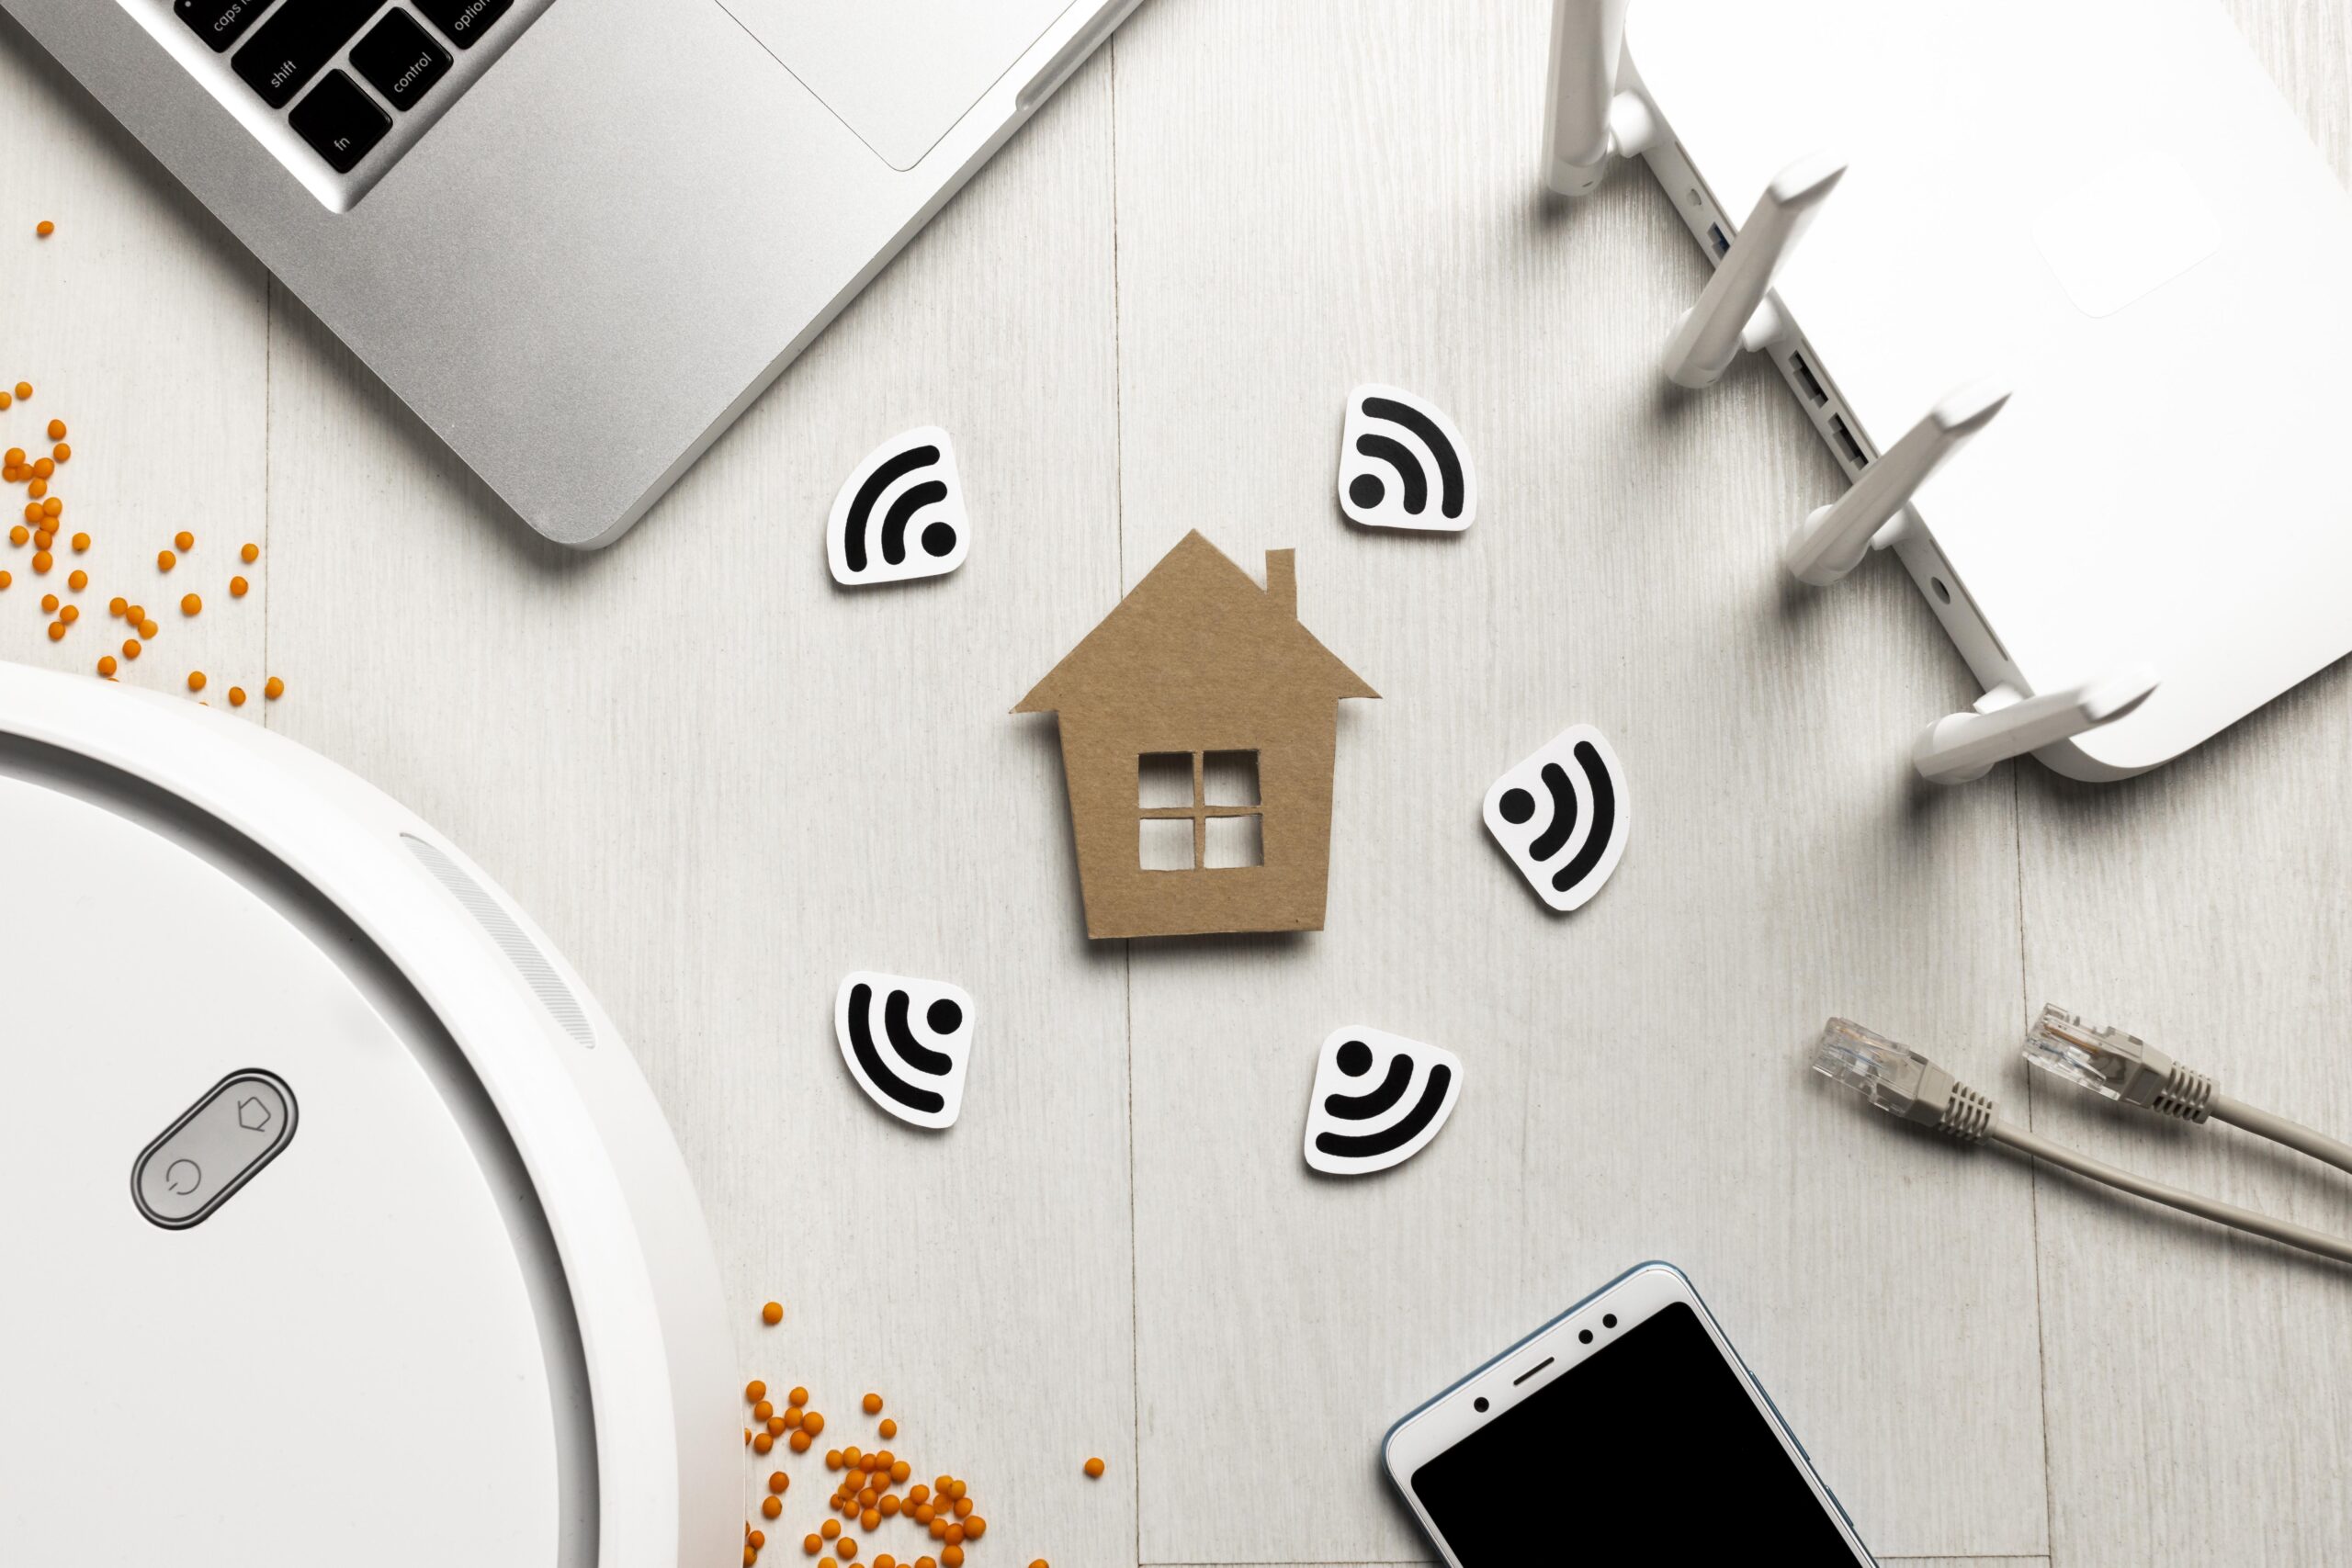
If you’re experiencing slow wifi speeds or dead zones in certain areas of your home or office, it may be time to consider using a wifi repeater. A wifi repeater, also known as a range extender, is a device that amplifies and extends your wifi signal, providing coverage to areas that were previously out of reach. This is particularly useful in larger homes or spaces with multiple floors, where the wifi signal may struggle to reach all areas. By strategically placing a wifi repeater, you can ensure that every corner of your space has a strong and reliable internet connection.

Step-by-step guide to accessing the wifi repeater settings

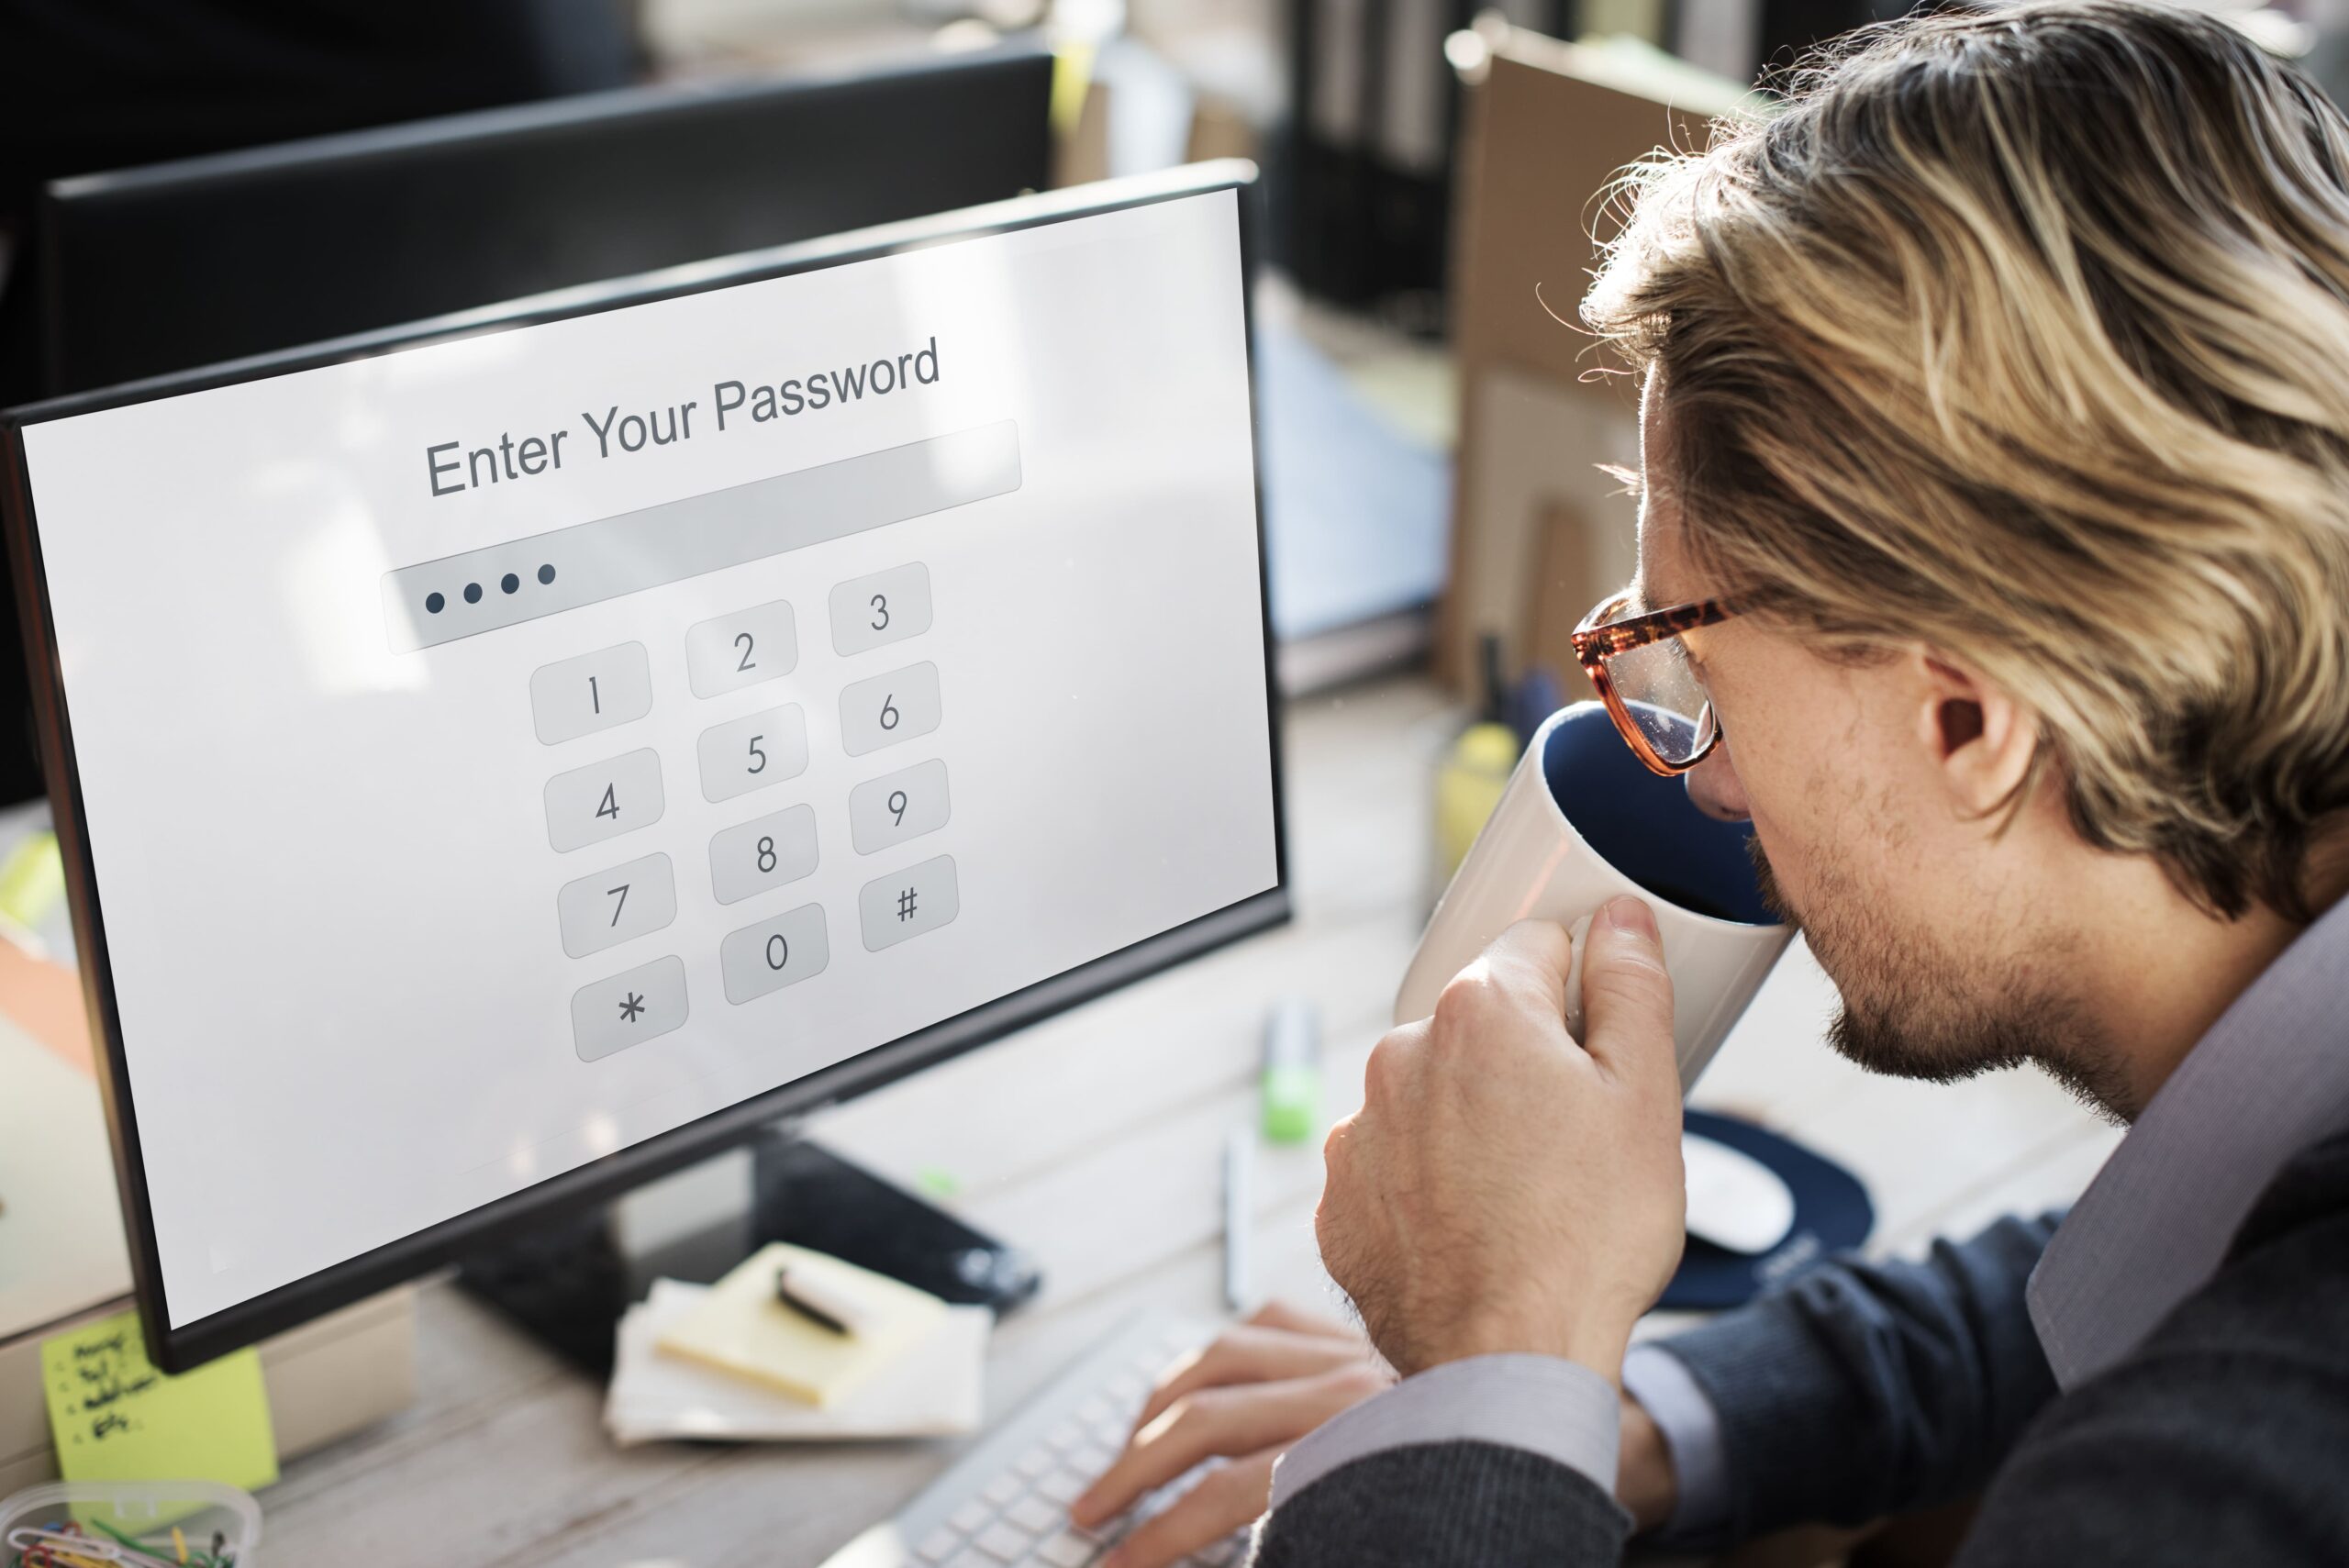
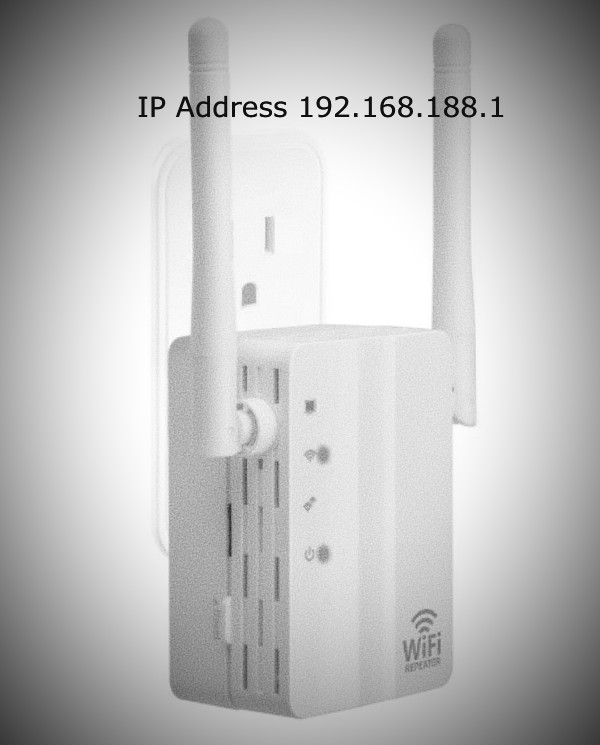
Now that you understand the importance of optimizing your wifi repeater and have identified the need for one, it’s time to dive into the step-by-step guide for accessing the wifi repeater settings. The first step is to connect your device to the wifi network of your repeater. Once connected, open your preferred web browser and enter “192.168.188.1” into the address bar. This will direct you to the login page of your wifi repeater.

On the login page, you will be prompted to enter your username and password. If you haven’t changed these credentials before, the default username and password can usually be found in the user manual or on the back of the repeater. After entering the login details, click on the “Login” or “Submit” button to access the admin panel of your wifi repeater.

Optimizing wifi repeater  settings for maximum speed

Once you have successfully logged in to the admin panel of your wifi repeater, it’s time to optimize the settings for maximum speed. One of the first settings to consider is the transmission power. Increasing the transmission power will boost the signal strength and widen the coverage area of your wifi repeater. However, be cautious not to set it too high, as it can cause interference with neighboring wifi networks.

Next, you should select the optimal channel for your wifi repeater. Wifi channels can become crowded, especially in areas with multiple networks. By choosing a less congested channel, you can minimize interference and improve your wifi speed. Within the admin panel, you will find the option to change the channel settings. Experiment with different channels to find the one that provides the best performance.

Troubleshooting common issues with wifi repeaters

Even with the best optimization efforts, wifi repeaters can sometimes encounter issues that affect their performance. It’s important to troubleshoot these issues to ensure a smooth and uninterrupted internet experience. One common issue is the placement of the wifi repeater. Ensure that it is positioned in a central location to maximize coverage and minimize signal loss. Additionally, check for firmware updates for your repeater and install them if available. Outdated firmware can cause stability issues and impact performance.

Another troubleshooting step is to check for any interference from other electronic devices. Cordless phones, baby monitors, and microwave ovens can all interfere with wifi signals. Move these devices away from your wifi repeater or switch them off if possible. Lastly, ensure that your wifi repeater is not overheating. Excessive heat can cause performance issues, so make sure it is well-ventilated and not placed in direct sunlight.

Additional tips for improving wifi speed

In addition to optimizing your wifi repeater settings, there are several other tips and tricks you can employ to further improve your wifi speed. Firstly, consider upgrading your internet plan with your service provider. Higher bandwidth plans can provide faster internet speeds. Additionally, you can try adjusting the position and orientation of your wifi router and repeater for better signal propagation. Lastly, minimize the number of devices connected to your wifi network. The more devices connected, the more strain on the network, resulting in slower speeds.

Read Also: 192.168.188.1 Wireless Extender Setup – Managing The Slow Wifi Issue

Conclusion

In conclusion, optimizing your wifi speed is crucial for a seamless online experience. By utilizing the 192.168.188.1 Login, you can unlock advanced settings and customization options that will supercharge your wifi repeater and boost your internet speed. From understanding common wifi speed issues to troubleshooting and additional tips, this comprehensive guide has provided you with the knowledge and tools to enhance your wifi performance. Say goodbye to slow internet speeds and hello to lightning-fast connectivity with 192.168.188.1 Login. Take control of your wifi repeater settings and enjoy a seamless online experience like never before.

192.168.188.1 Wireless Extender Setup
192.168.188.1 Wireless Extender Setup: Extending Your Wi-Fi Range

In today’s connected world, a strong and reliable Wi-Fi signal is essential. But what if there are dead zones in your home or office where the Wi-Fi signal is weak or nonexistent? This is where a wireless extender, also known as a Wi-Fi repeater or range extender, comes to the rescue. In this article, It will guide you through the process of using 192.168.188.1 wireless extender setup to expand your Wi-Fi coverage.

Understanding the Wireless Extender

A wireless extender is a device that captures your existing Wi-Fi signal and amplifies it, effectively extending the range of your wireless network. It’s a simple and cost-effective solution to eliminate Wi-Fi dead zones and provide a strong connection in areas that were previously out of reach.

Prerequisites for 192.168.188.1 Setup

Before dive into the setup process, make sure you have the following:

  • A wireless extender compatible with your router.
  • Access to your existing Wi-Fi network name (SSID) and password.
  • A device with a web browser for configuration.

Step-by-Step Guide for 192.168.188.1 Wireless Extender Setup

Follow these steps to set up your wireless extender:

Step 1: Place the Extender

Position the extender halfway between your router and the area where you need better Wi-Fi coverage. This ensures optimal signal strength.

Step 2: Power On

Plug the extender into an electrical outlet and power it on.

Step 3: Connect to the Extender

  • On your computer or mobile device, open the Wi-Fi settings.
  • Look for the new Wi-Fi network created by the extender (it often has a similar name to your existing network with “_EXT” or “EXT” added).
  • Connect to the extender’s Wi-Fi network using the provided Wi-Fi password (usually found on a label on the extender).

Step 4: Access the Configuration Page

Open a web browser and enter 192.168.188.1 in the address bar and Press Enter.

Step 5: Log In

  • You will be prompted for a username and password to access the extender’s setup page. These credentials may be provided in the extender’s manual or on a label on the device.
  • Once logged in, you will be able to configure your extender.

Step 6: Configure Extender Settings

Follow the on-screen instructions to set up your extender. Typically, this involves selecting your existing Wi-Fi network from a list, entering the Wi-Fi password, and naming your extender’s network.

Step 7: Connect to the Extended Network

  • After configuring the extender, your device will disconnect briefly and then reconnect to the newly extended network.
  • Ensure that your device is now connected to the extender’s network.

Step 8: Test the Extended Wi-Fi Range

Move to the area that previously had weak or no Wi-Fi signal and check if you now have a strong and stable connection.

Conclusion

Using the IP address 192.168.188.1 wireless extender setup can greatly enhance your Wi-Fi coverage and eliminate dead zones in your home or office. By following these steps and ensuring your extender is correctly positioned, you can enjoy a seamless and extended wireless network, providing reliable internet access throughout your space. Say goodbye to Wi-Fi dead zones and hello to uninterrupted connectivity.