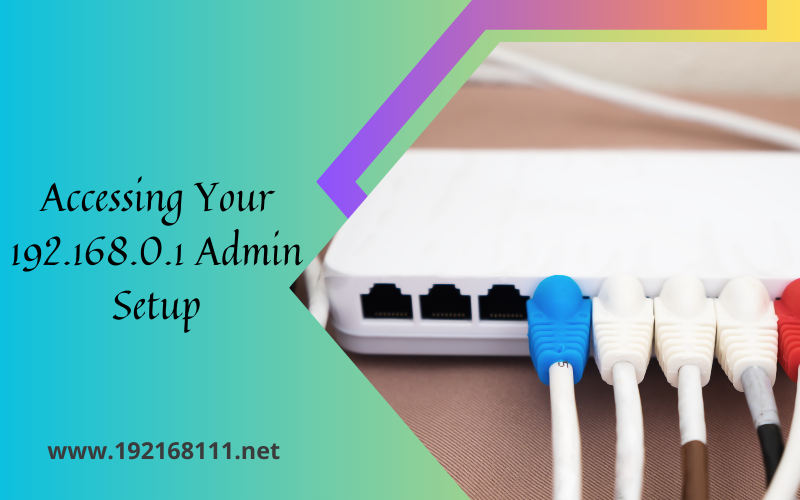
192.168.1.1 Default Username & Password – Router-Wise Admin Login Guide
If you are trying to access your router admin panel using 192.168.1.1 and don’t know the login credentials, this guide will help you instantly.
Most routers use default usernames and passwords, which vary by brand and ISP.
✅ This guide works for most home routers using 192.168.1.1, including TP-Link, D-Link, Netgear, Airtel, BSNL, and Jio.
This router-wise login credentials list helps you access the 192.168.1.1 admin panel quickly without any technical confusion.
🔹 Quick Answer
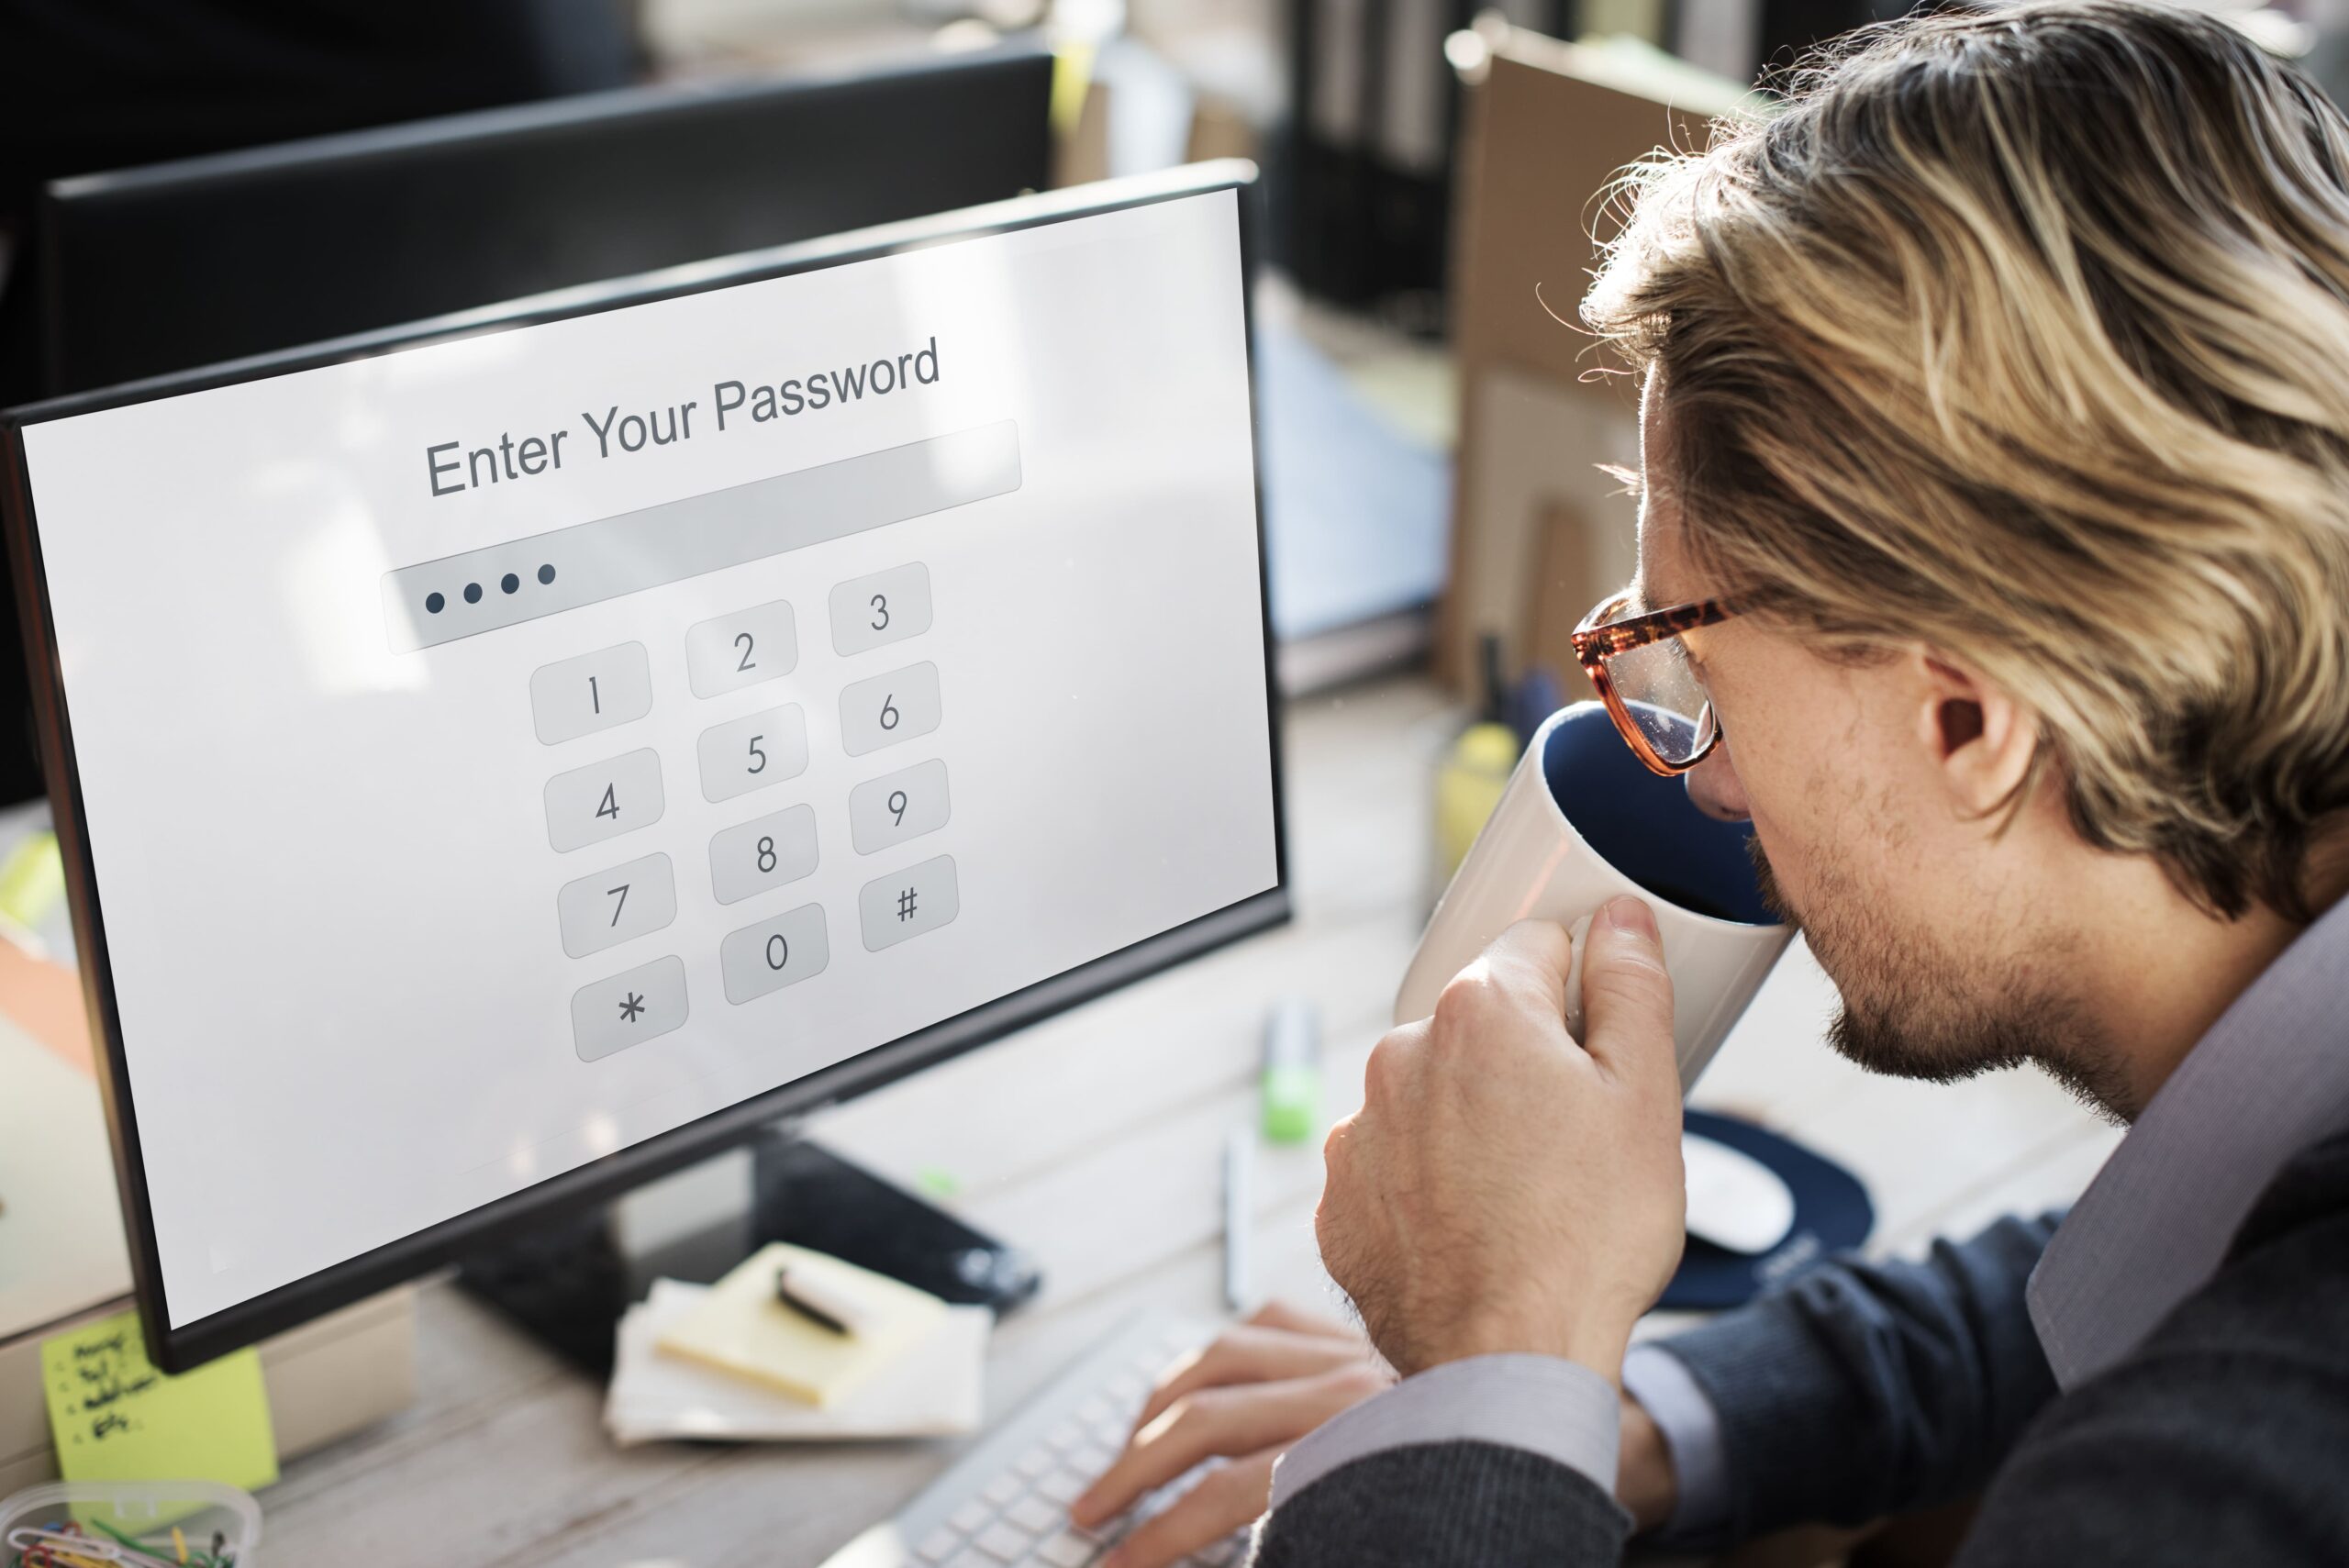
The default username for 192.168.1.1 is usually admin, and the default password is admin or password, depending on the router brand. Many ISP routers also print the login credentials on the back of the device.
🔐 Router-Wise Default Login Credentials (192.168.1.1)
| Router Brand | Default Username | Default Password |
| TP-Link | admin | admin |
| D-Link | admin | admin |
| Netgear | admin | password |
| Tenda | admin | admin |
| Linksys | admin | admin |
| Asus | admin | admin |
| Huawei | admin | admin |
| Cisco | admin | admin |
| Airtel Router | admin | admin / printed on |
| BSNL Router | admin | admin |
| Jio Router | admin | admin / password |
⚠️ Important:
Some ISP-provided routers use custom credentials, which are printed on a sticker at the back or bottom of the router.
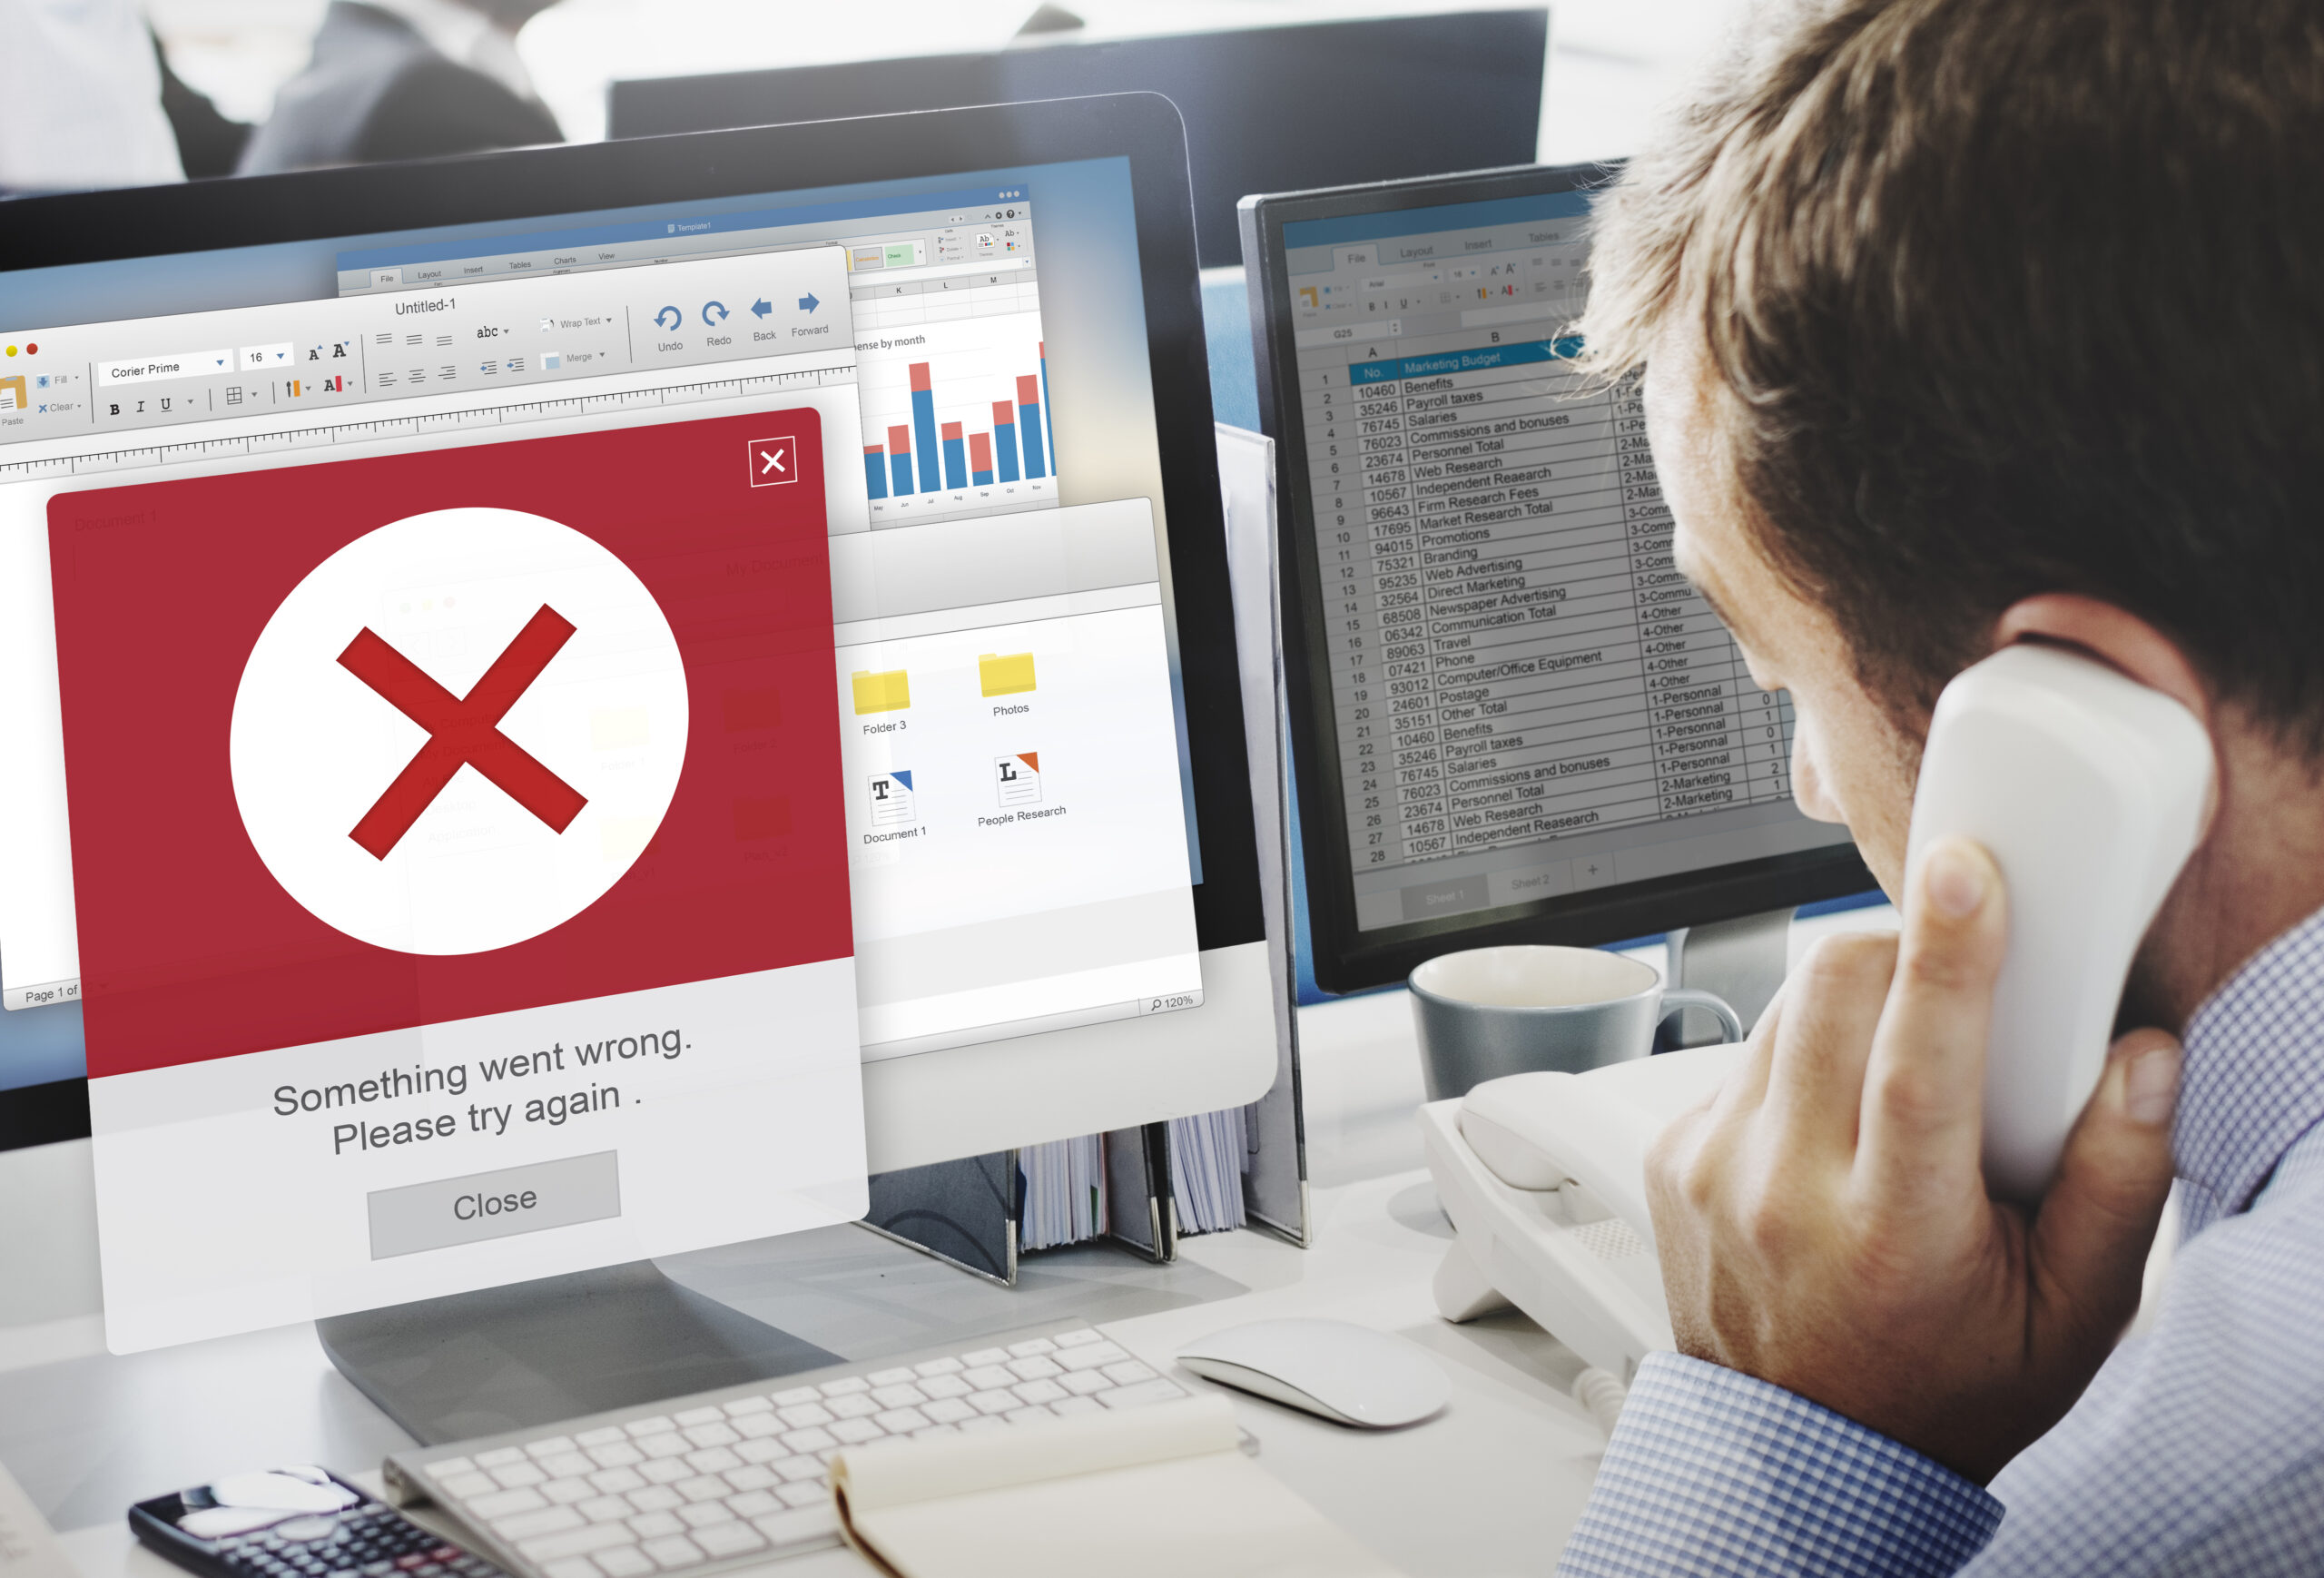
🔧 If Default Username & Password Don’t Work
Try these quick fixes before resetting your router:
- Ensure your device is connected to the same WiFi network
- Turn OFF mobile data
- Open 192.168.1.1 in Incognito / Private mode
- Clear browser cache & cookies
- Try another browser (Chrome / Firefox)
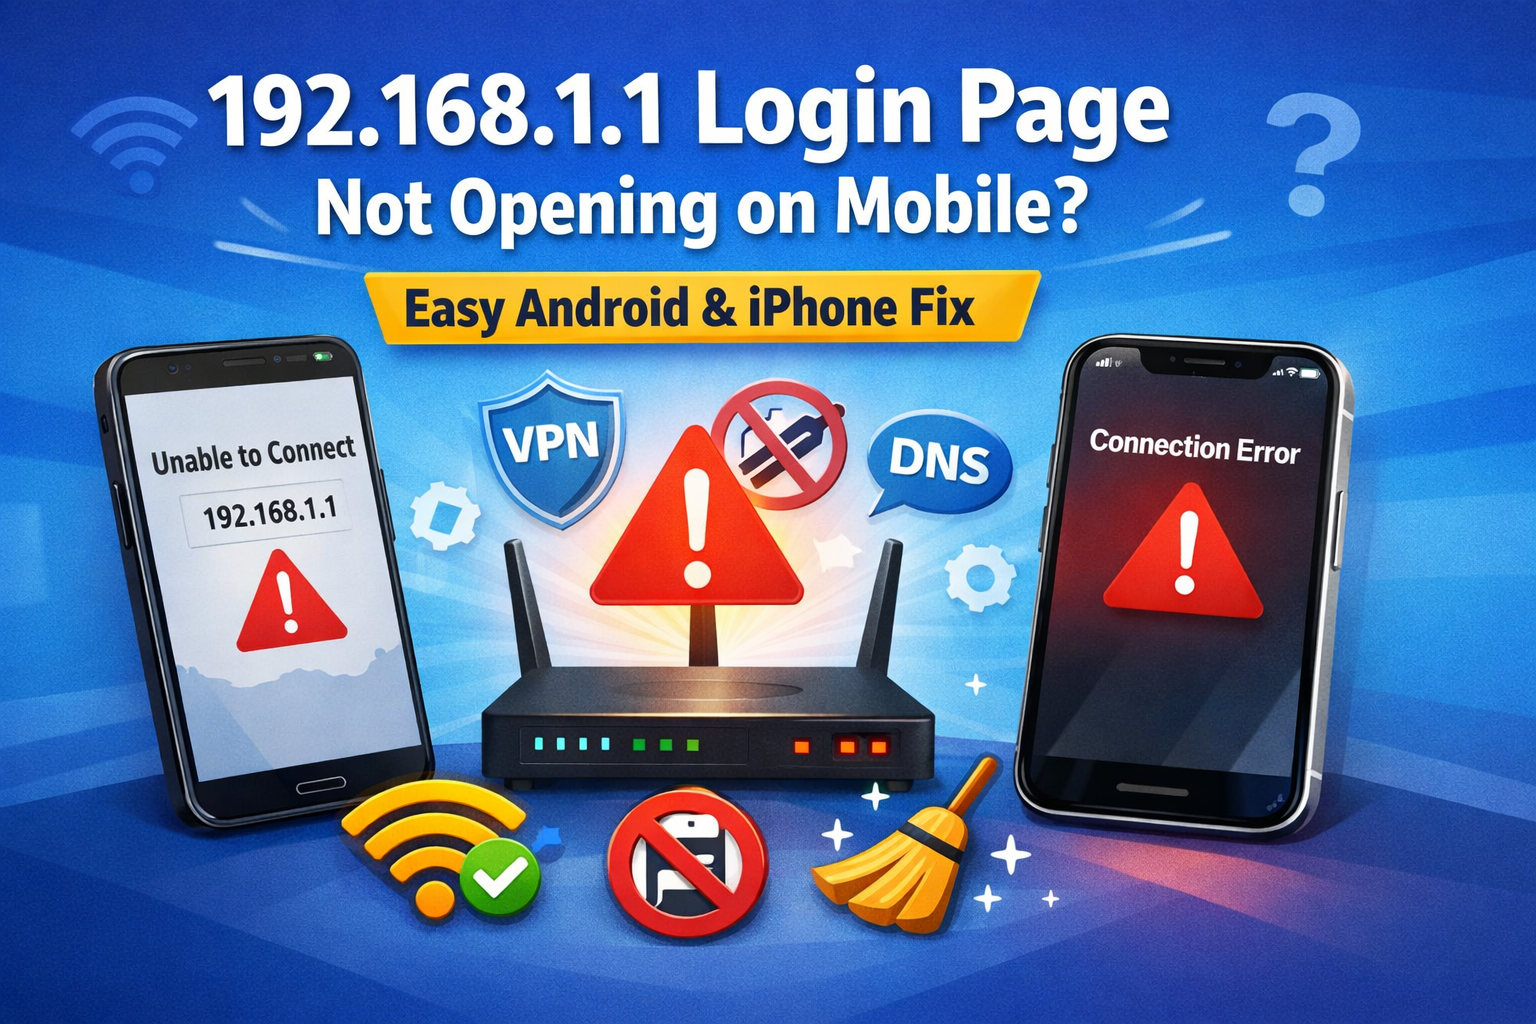
👉 If the login page doesn’t load, check this fix:
192.168.1.1 Not Opening on Mobile (Android & iPhone)
Following these steps usually resolves most connection issues without resetting your router. It ensures your browser or device settings are not blocking access to the admin panel.
🔁 How to Reset Router to Restore Default Login
If the router admin password was changed earlier and you can’t remember it, resetting the router can help restore the default login credentials.
⚠️ Note: Reset should always be your last option.
Steps to Reset Your Router
- Press and hold the Reset button for 10–15 seconds
- Wait for the router to reboot
- Open 192.168.1.1 again
- Log in using the default username & password
⚠️ Warning: Resetting the router will erase your WiFi name (SSID), WiFi password, and all custom network settings. Only proceed if you have no other way to access the router admin panel.
When Reset Does NOT Fix the Issue
In some cases, even after resetting, 192.168.1.1 does not open the router admin panel and instead redirects to your ISP’s website.
If 192.168.1.1 is redirecting to the ISP page instead of opening the router admin panel, follow this step-by-step fix guide.
Why 192.168.1.1 Opens the ISP Page
This issue usually occurs due to:
- ISP-locked firmware
- Wrong default gateway
- Router-modem conflict
👉 Tried everything but still stuck?
A detailed troubleshooting guide can help you regain access to your router safely without resetting or damaging your network settings.
FAQs
What is the default username for 192.168.1.1 routers?
Most routers use admin as the default username.
What is the default password for 192.168.1.1?
Common default passwords include admin, password, or blank.
Where can I find router login credentials?
Check the sticker on the back or bottom of your router.
Can I change my router username and password?
Yes. After logging in, go to Security or Administration settings.
💡 Tip: Always change the default router password after login to prevent unauthorized access. Keeping default credentials can put your network at risk.
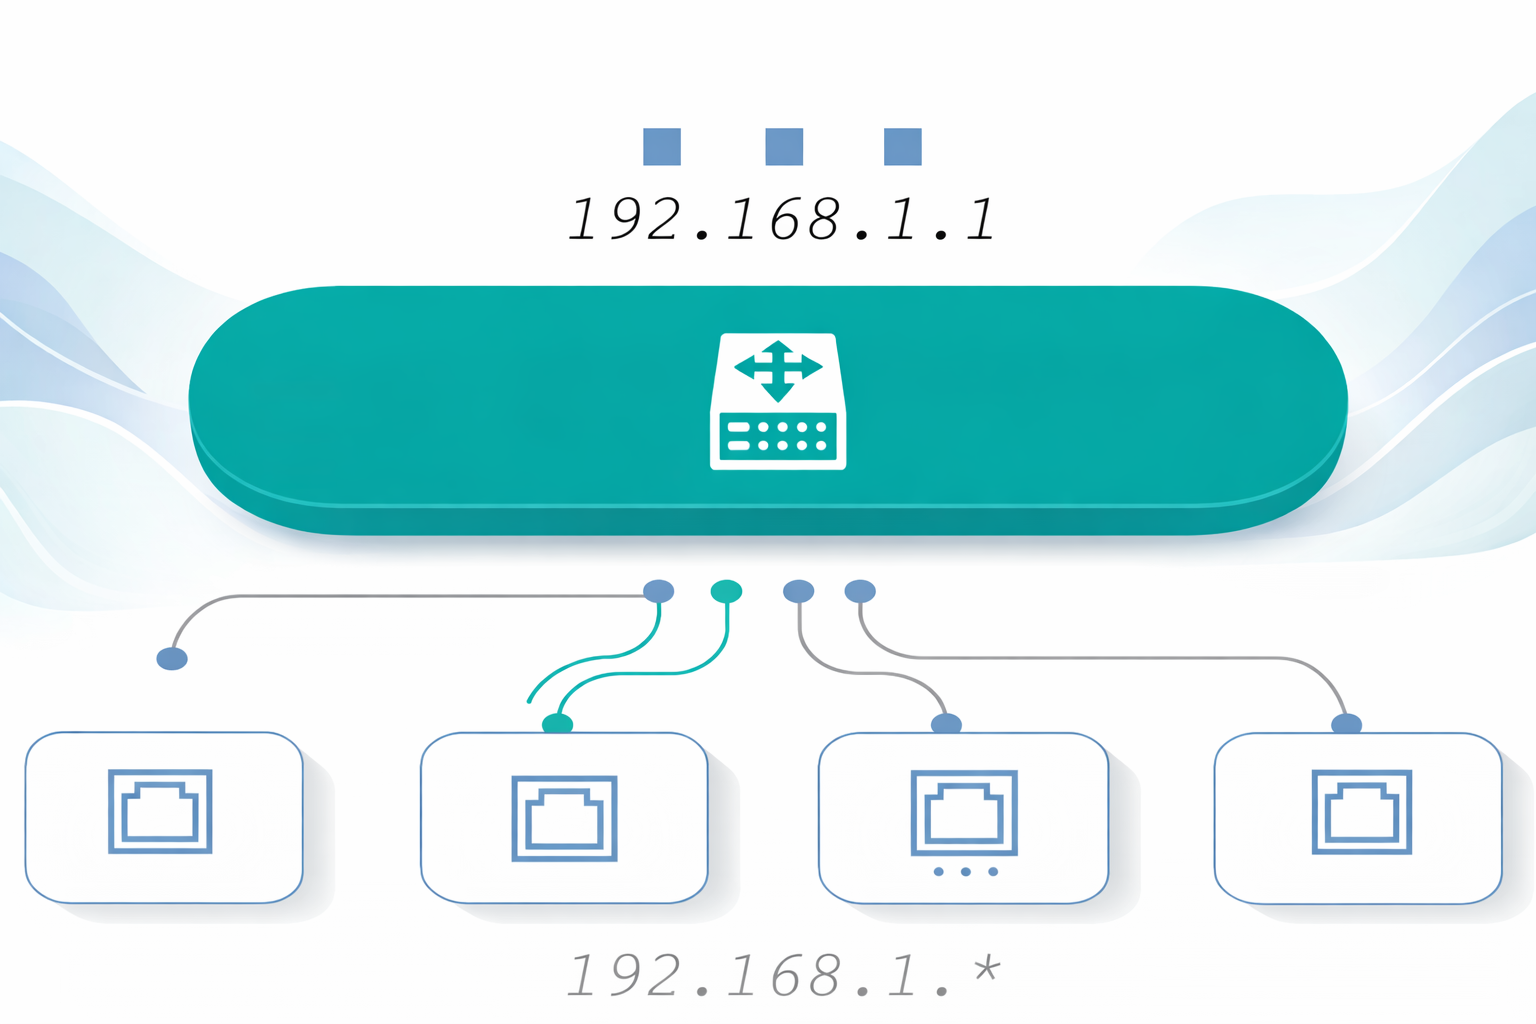
192.168.1.1 Login – Admin Access Guide
This guide is based on commonly used router configurations and real user login issues faced while accessing 192.168.1.1. Following proper steps ensures smooth network management and a secure home WiFi environment.