A Comprehensive Guide to TP-Link WiFi Extender Setup and Optimization
The TP-Link wifi extender is a widely used gadget. In vast spaces, it is highly useful for setting up a network at home or at the business. It assists in extending or boosting your wifi signal over your entire house, beyond the router’s boundaries. We’ll go over the several techniques and procedures in this post to assist you with setting up your TP Link WiFi extender.
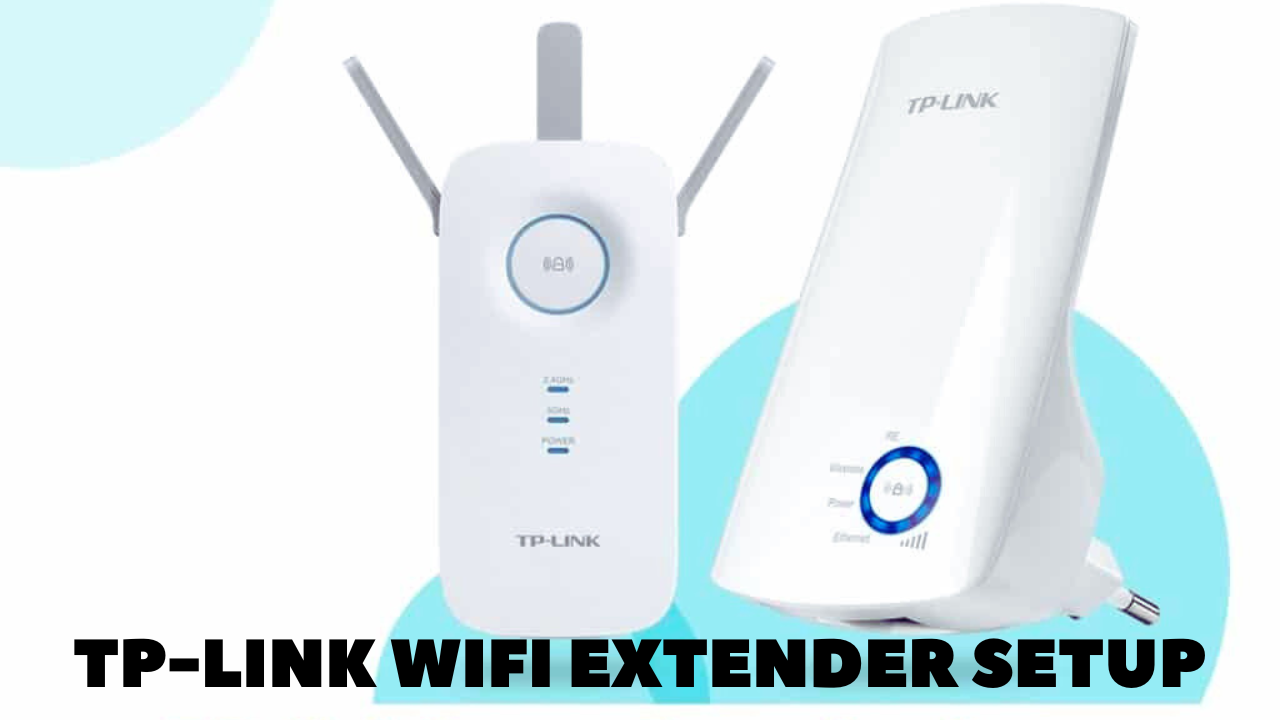
How to Set Up a TP Link WiFi Extender
TP-Link is widely distributed in more than 170 countries, with offices and distribution networks. To effectively build and maintain their networks, major corporations, small organizations, and individuals all use their solutions. Before using a newly acquired TP-Link wifi extender, it must be properly configured.
These are the instructions for configuring the wifi extender from TP-Link.
- Location: Choose the location where your extender will receive the strongest Wi-Fi signal from your router and have enough coverage for the desired area.
- Activate the extension by plugging it into a nearby electrical socket next to your router. Next, watch for the power indicator to solidify.
- Connectivity: Open the Wi-Fi settings on your PC or mobile device, then connect to the default network (SSID) that the extender is using. The usual way is to start it with “TP-Link_Extender.”
- Configuration type “tplinkrepeater.net” into the address bar of a web browser (such as Chrome, Firefox, or Safari). As an alternative, you can select your IP address by default. Typically, it is “192.168.0.1” or “192.168.1.1.” press enter.
- Register To access the online management interface of the extender, enter the normal username and password. For both username and password, the default credentials are usually “admin”. To be sure, check the extender’s documentation or handbook.
- Fast Setup After logging into your account, quickly set up your device by following the on-screen directions. Usually, it entails browsing the list of accessible Wi-Fi networks and choosing the one you want to connect to. Enter the network password that you have selected.
- Adjust the settings to your requirements: Once the installation is complete, you can change the advanced options. This can be accomplished by modifying the security settings, configuring extra options, or changing your extended name of the network (SSID).
- Add changes: Save the settings, and wait for the installer to restart. This may take a few minutes. After restarting, your TP-Link Wi-Fi repeater will be installed and ready to use.
How to connect extension TP connection to router
Next, you will learn how to configure a TP-Link wifi repeater using a router. This can be done in two ways. The first step is to manually connect the extender to the router using an Ethernet cable. Another is to use the WPS button. Below is the process by which these two processes are related.
Connection via Ethernet
- Turn on the TP-Link wireless repeater.
- Connect it to your computer with an Ethernet cable. Open any web browser and in its address bar enter IP 192.168.0.254 and press Enter.
- Select the Settings option, and then click Next. Select your local area and click Next.
- Now the TP-Link repeater will search for a wireless network. This process usually takes a few minutes.
- Then, once the list of available networks appears on your screen, click on your network name to select it. When prompted, enter the wireless network password.
- If you want to create a network group or load, you can click Copy from the main router option. But if you want to create a different network, select the Customize option. Then click Next.
- Finally, a screen will appear that allows you to view all network settings. If they are all correct, you can click Finish.
TP-Link repeater will restart once, then it can connect to the Internet.
Connect using the WPS button
- Turn on your device
- Next, press the power button on your router to put it into active mode. Press the WPS button on the router directly.
- Then press the Wifi button directly on the developer. Check if the LED indicator on the repeater is turned on.
- If there is no light, it means that the wireless signal is not working. If a wireless signal is detected, do not establish the connection.
- Your TP-Link repeater is configured using the WPS method. You can keep it at the desired place in your home and start using it.
Conclusion
We hope that now that you have finished reading this article, you will know how to set up a TP Link wifi extender and the different methods and procedures available. If you have tried all these methods but you can’t set it up yourself, you should seek help from networking experts.