The Complete Guide to 192.168.0.1 Router Setup: Step-by-Step Instructions
Setting up a router is the fundamental gateway to accessing the internet and managing your network. Among the multitude of routers available, those using the 192.168.0.1 IP address for configuration hold a significant place. If you’re new to this or seeking a comprehensive guide, here’s everything you need to know about the 192.168.0.1 router setup process.
Understanding 192.168.0.1:
192.168.0.1 is a default private IP address commonly used by various router manufacturers as a gateway for accessing the router’s admin panel. It serves as an entry point to configure network settings, security, and other vital aspects of your internet connection.
Initial Steps:
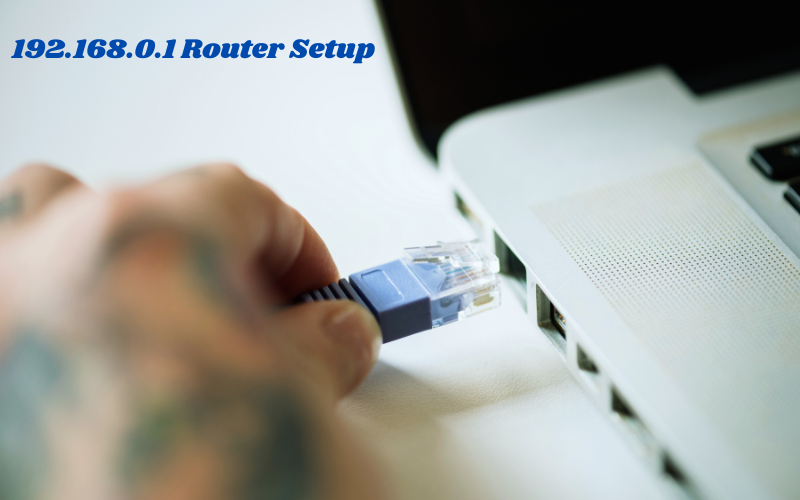
- Hardware Setup: Ensure your router is properly connected to your modem and powered on. Use an Ethernet cable to connect your computer to any of the LAN ports on the router.
- Accessing the Router Interface: Open a web browser and type “http://192.168.0.1” into the address bar. Hit Enter. This action should prompt a login screen.
Logging In:
Enter Credentials: Typically, you’ll need to input the default username and password. Common combinations include “admin” for both username and password, but this might vary based on the router brand and model. Refer to your router’s manual for precise details.
Configuring Settings:
- Dashboard Overview: Once logged in, you’ll be directed to the router’s dashboard. Here, you’ll find various tabs or sections for different settings like network configuration, wireless setup, security options, firmware updates, and more.
- Network Settings: Navigate to the appropriate section to set up your network. You can configure the router’s IP address, DHCP settings, LAN settings, and WAN settings based on your specific requirements.
- Wireless Setup: To set up Wi-Fi, access the wireless settings section. Here, you can change the SSID (network name), password, encryption type, and other wireless security settings.
- Security Measures: It’s crucial to bolster security. Enable features like WPA/WPA2 encryption, MAC address filtering, and change default login credentials to prevent unauthorized access.
Troubleshooting:
- Resetting the Router: If you encounter issues or forget your login credentials, you can perform a factory reset. Locate the reset button on your router (usually at the back), press and hold it for around 10-15 seconds until the router restarts to its default settings.
- Contact Support: If problems persist, reaching out to your router’s manufacturer support or consulting online forums for guidance can be immensely helpful.
Final Thoughts:
Configuring your router through 192.168.0.1 provides you with significant control over your network. Remember to secure your router with strong passwords, update firmware regularly, and customize settings as needed for optimal performance and security.
In conclusion, the 192.168.0.1 router setup IP address is a gateway to customize and manage your router settings. With these step-by-step instructions, you can confidently set up and tailor your network to suit your specific needs.