192.168.0.1 vs 192.168.1.1: Understanding the Difference in Router IP Addresses
Ever stumbled upon the terms 192.168.0.1 vs 192.168.1.1 while configuring your home network? These are common default router IP addresses use by various network equipment manufacturers. While they might seem similar, they serve distinct purposes and can impact your network’s functionality. Let’s delve into the differences and clarify any confusion.
What is a Default Router IP Address?
A default router IP address acts as a gateway for your devices to connect to the internet. It’s the address you enter into your device’s network settings to access the internet and other network resources. Think of it as the bridge connecting your local network to the broader digital world.
The Significance of the Last Octet
The last octet (the final set of numbers) in a default router IP address is crucial. It often determines the specific function or purpose of the address within your network.
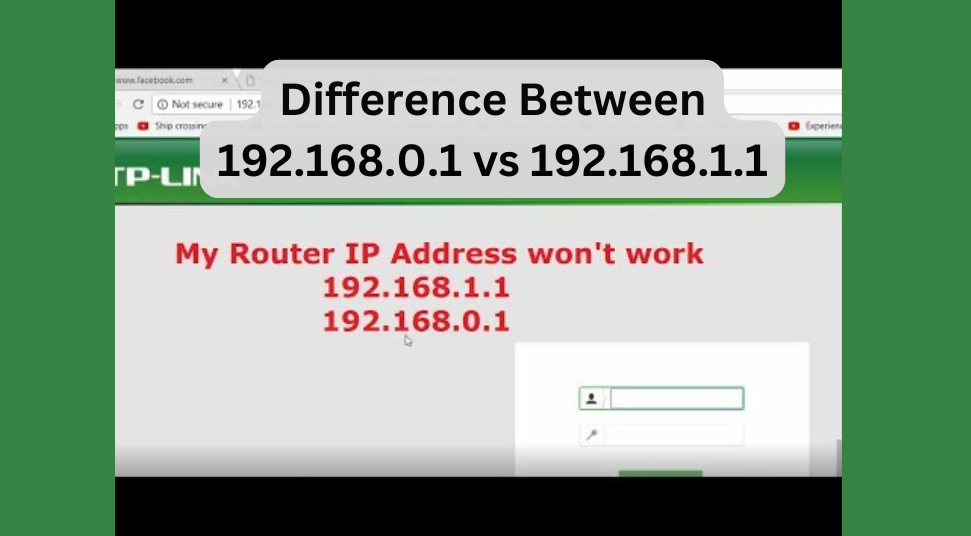
- 192.168.0.1: This address is frequently used by routers, especially older models or those from specific manufacturers. It’s often the default gateway for devices connected to the router’s main network interface.
- 192.168.1.1: This address is another common default gateway, often used by routers from different manufacturers or newer models. It may be assigned to a specific network or interface within the router.
Why the Variation?
The variation in default router IP addresses stems from several factors:
- Manufacturer Standards: Different manufacturers may adhere to different conventions or standards for default IP addresses.
- Router Models: Older and newer models of routers might have different default addresses.
- Network Configuration: Network administrators can customize default IP addresses to suit specific requirements or avoid conflicts.
How to Determine Your Router’s IP Address
If you’re unsure of your router’s default IP address, here are a few common methods:
- Check the Router’s Label: The IP address is often printed on a sticker on the bottom or back of the router.
- Consult the User Manual: Refer to the router’s manual for the default IP address.
- Use the Command Prompt (Windows) or Terminal (macOS):
- Open the command prompt or terminal.
- Type
ipconfig(Windows) orifconfig(macOS) and press Enter. - Look for the “Default Gateway” entry to find the IP address.
Conclusion
Understanding the difference between 192.168.0.1 vs 192.168.1.1 is essential for effective network management. While they might seem similar, they serve distinct purposes within your network. By knowing your router’s default IP address, you can easily access its settings and configure your network as needed. Remember, if you encounter difficulties, consulting your router’s manual or seeking online resources can provide valuable assistance.