Enhancing Your Wi-Fi Coverage with 192.168.188.1 Wireless Setup
In today’s digitally connected world, a stable and robust Wi-Fi network is essential for seamless internet access. However, there are instances when dead zones or weak signals can hinder your online activities. To address these connectivity issues, 192.168.188.1 Wireless Setup have emerged as a practical solution.
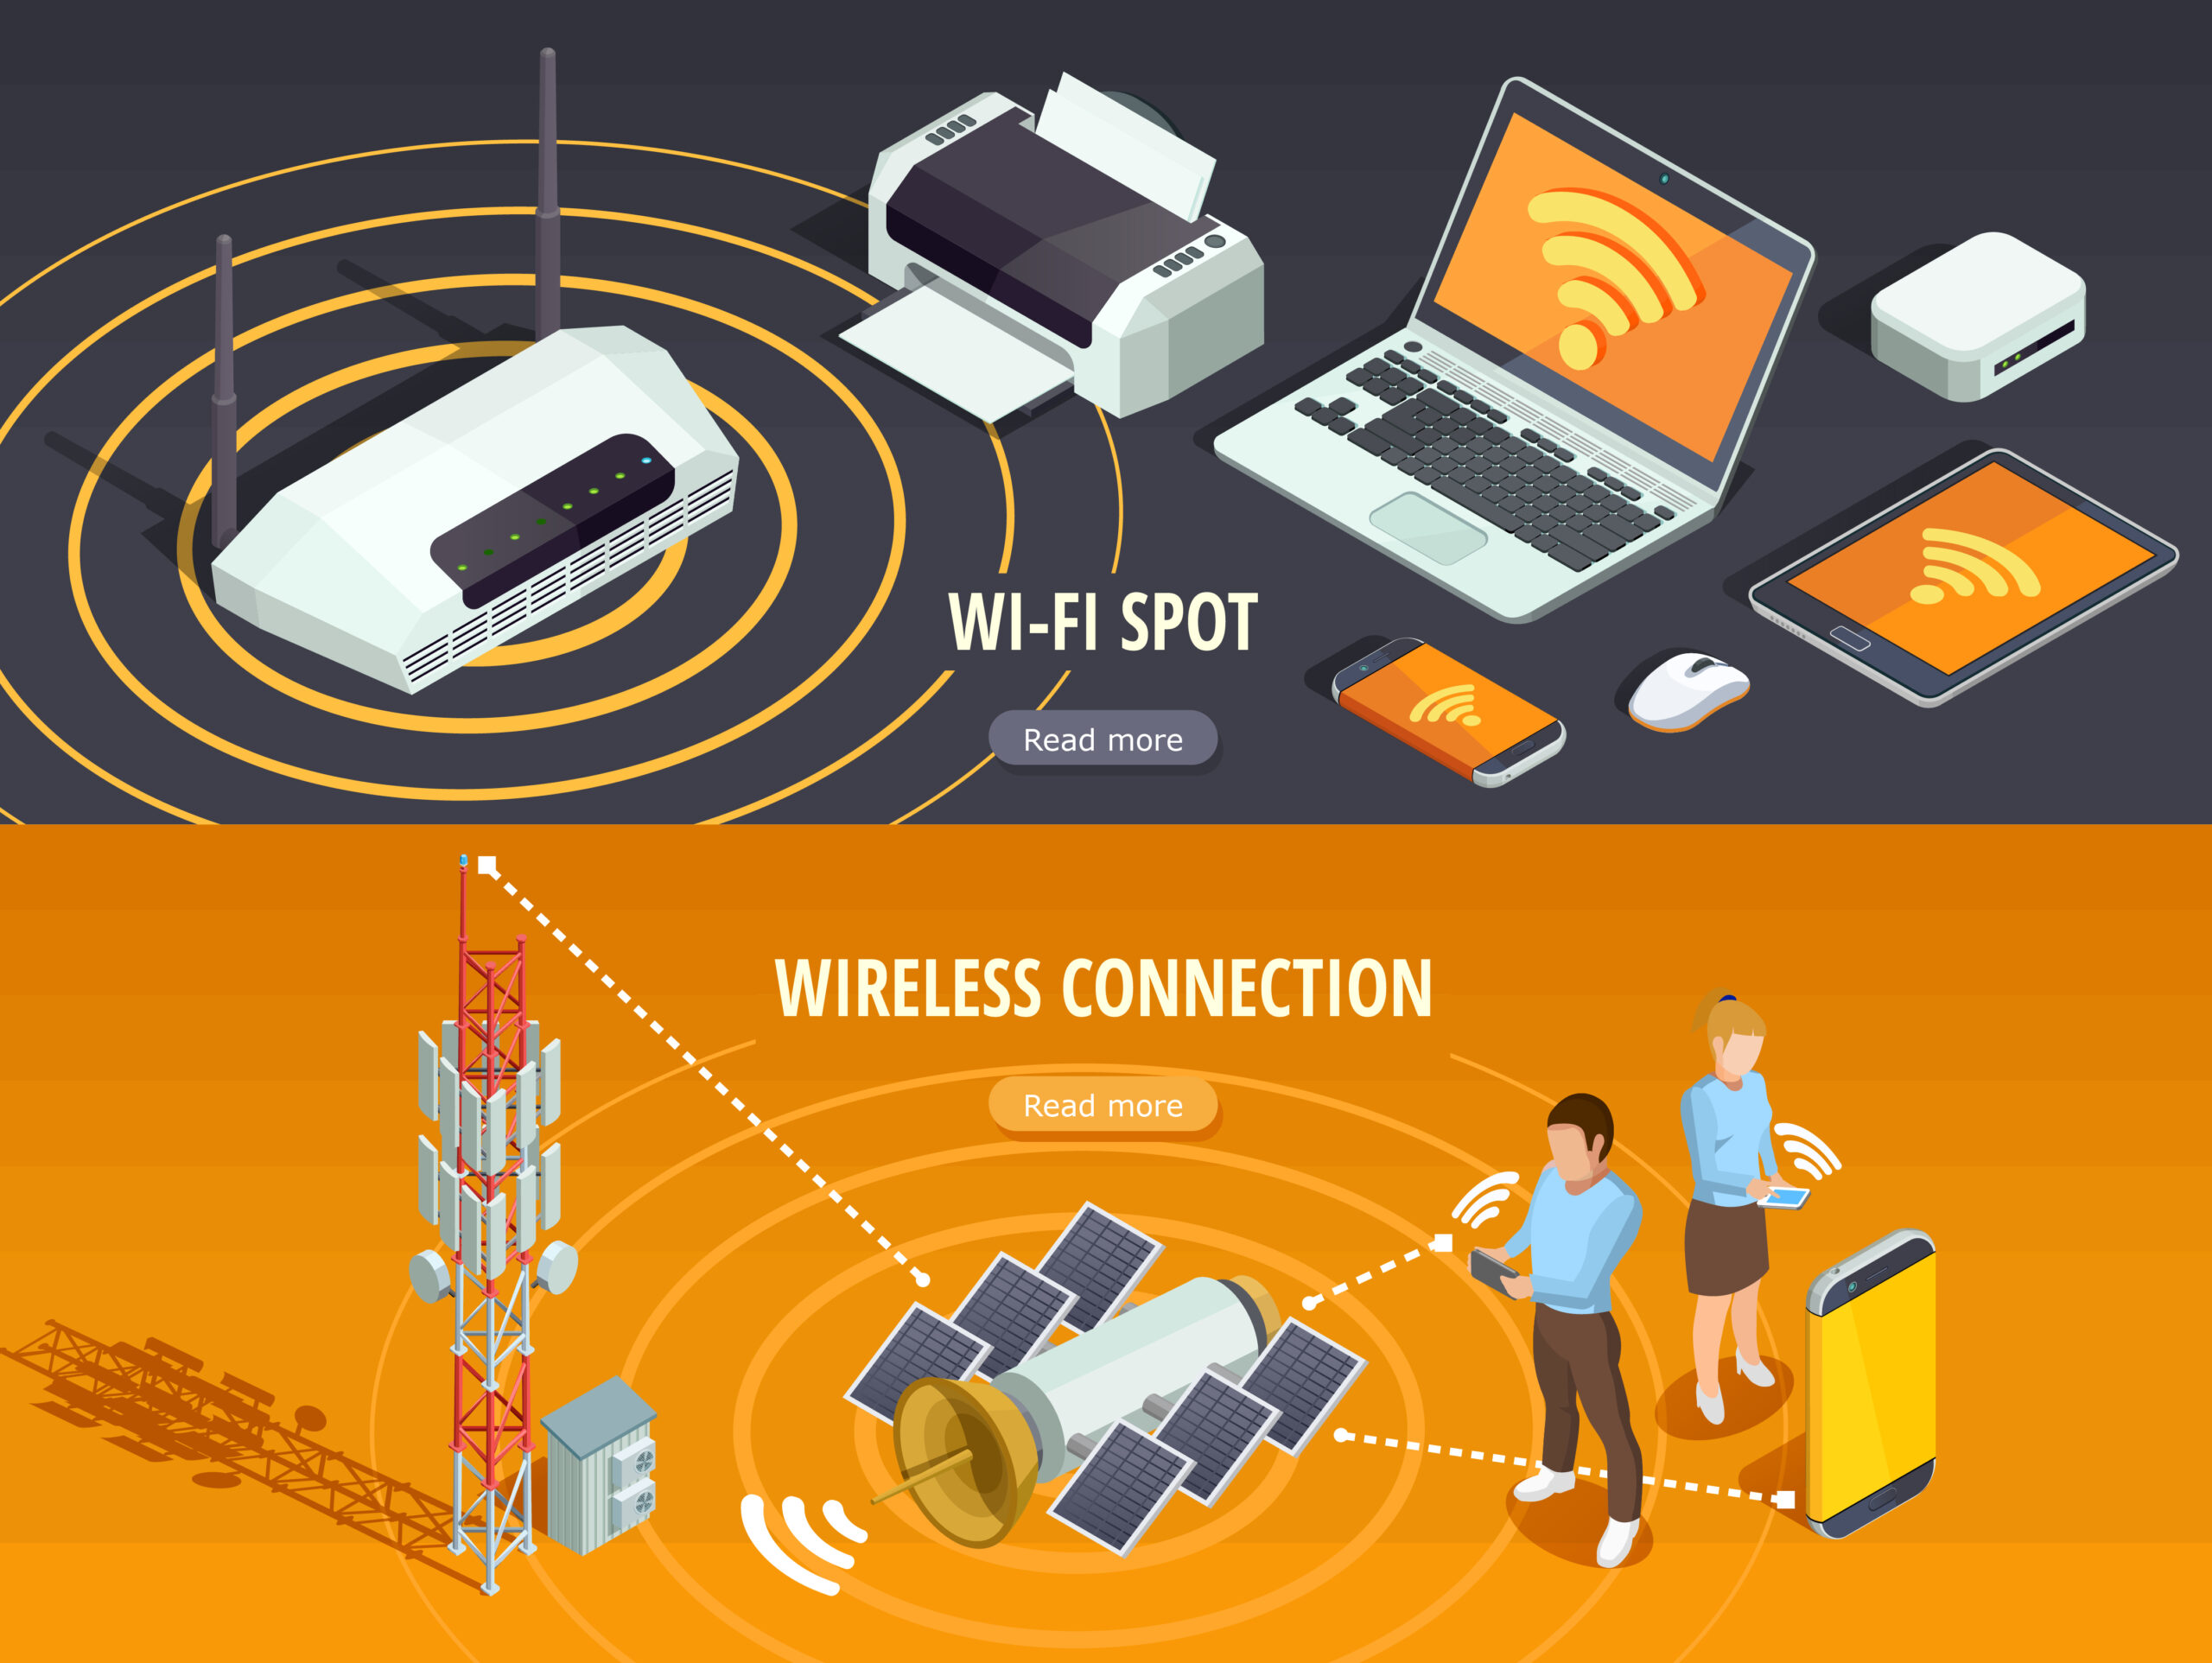
Wi-Fi extenders, also known as range extenders, are devices that amplify the range of your existing Wi-Fi network, effectively eliminating signal dead zones and improving overall connectivity. Most Wi-Fi extenders can be easily configured using the default IP address 192.168.188.1.
Understanding the 192.168.188.1 IP Address
The IP address 192.168.188.1 is a common default IP address for many Wi-Fi extenders. It serves as the gateway for accessing the extender’s administration panel, where you can manage its settings and configure it to connect to your existing Wi-Fi network.
Guiding Steps for 192.168.188.1 Wireless Setup
- Power Up the Extender: Begin by connecting the Wi-Fi extender to a power outlet. Once powered on, wait for it to boot up completely.
- Connect to the Extender’s Network: Using your computer or mobile device, connect to the Wi-Fi network of the extender. The network name will typically be something like “TP-Link_Extender” or “Netgear_Extender.”
- Access the Administration Panel: Open a web browser on your connected device and enter the default IP address 192.168.188.1 into the address bar. This will direct you to the extender’s administration panel.
- Enter Login Credentials: You will be prompted to enter the username and password for the extender. This information can usually be found in the extender’s manual or on a sticker attached to the device.
- Configure Extender Settings: Once logged in, you will be able to configure the extender’s settings. This includes selecting your existing Wi-Fi network, entering the network password, and adjusting other parameters such as the extender’s name and channel.
- Save and Apply: After making the desired changes, click the “Save” or “Apply” button to save the settings and apply them to the extender.
Optimizing Wi-Fi Extender Placement
For optimal performance, it is crucial to place the Wi-Fi extender in a strategic location. Here are some key considerations:
- Central Location: Position the extender midway between your router and the areas where you need stronger Wi-Fi signal.
- Avoid Obstructions: Keep the extender away from walls, metal objects, and large appliances that can interfere with the signal.
- Unobstructed Line of Sight: Ensure there is a clear line of sight between the extender and your router.
Troubleshooting Common Issues
If you encounter any challenges during the setup process or while using the extender, here are some troubleshooting tips:
- Check Network Connection: Verify that your device is connected to the extender’s network.
- Restart Extender: Try restarting the extender to clear any temporary glitches.
- Update Firmware: Ensure the extender’s firmware is up to date.
- Contact Manufacturer: If the issue persists, contact the extender’s manufacturer for further assistance.
Conclusion
By following these comprehensive guidelines on 192.168.188.1 wireless setup, you can effectively eliminate Wi-Fi dead zones and enhance your overall network coverage. Remember, proper placement and regular maintenance will ensure your Wi-Fi extender continues to deliver optimal performance.