192.168.188.1 Wireless Router Setup: A Comprehensive Guide
Setting up a wireless router can seem like a daunting task, but with the right knowledge and guidance, it can be a simple and straightforward process. In this article, we will guide you through the steps of 192.168.188.1 wireless router setup. We will cover everything from the initial setup to troubleshooting common issues, so you can have your wireless network up and running in no time.
Setting up a wireless router with the IP address 192.168.188.1 is a relatively simple process. However, it is important to follow the steps carefully to ensure a smooth setup and avoid any potential issues in the future.
Initial Setup:
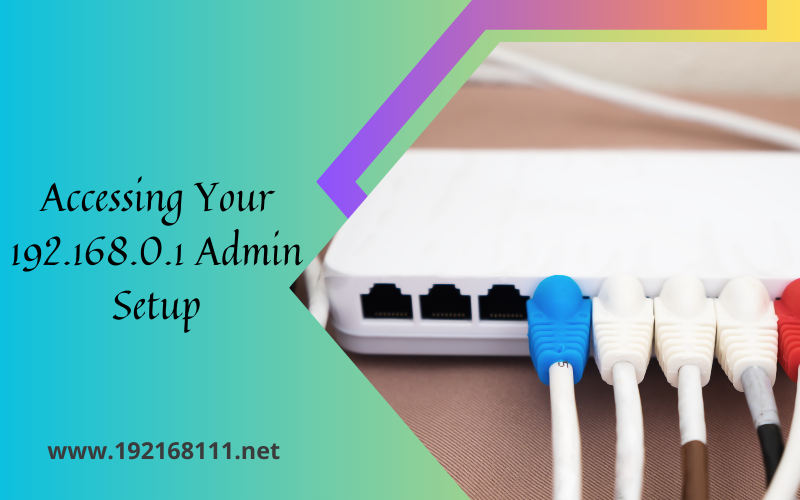
The first step in setting up your wireless router is to unbox it and connect it to your modem. Most routers come with an Ethernet cable that you can use to connect the router to the modem. Once the router is connected, plug it into a power source and turn it on.
Accessing the Router Settings:
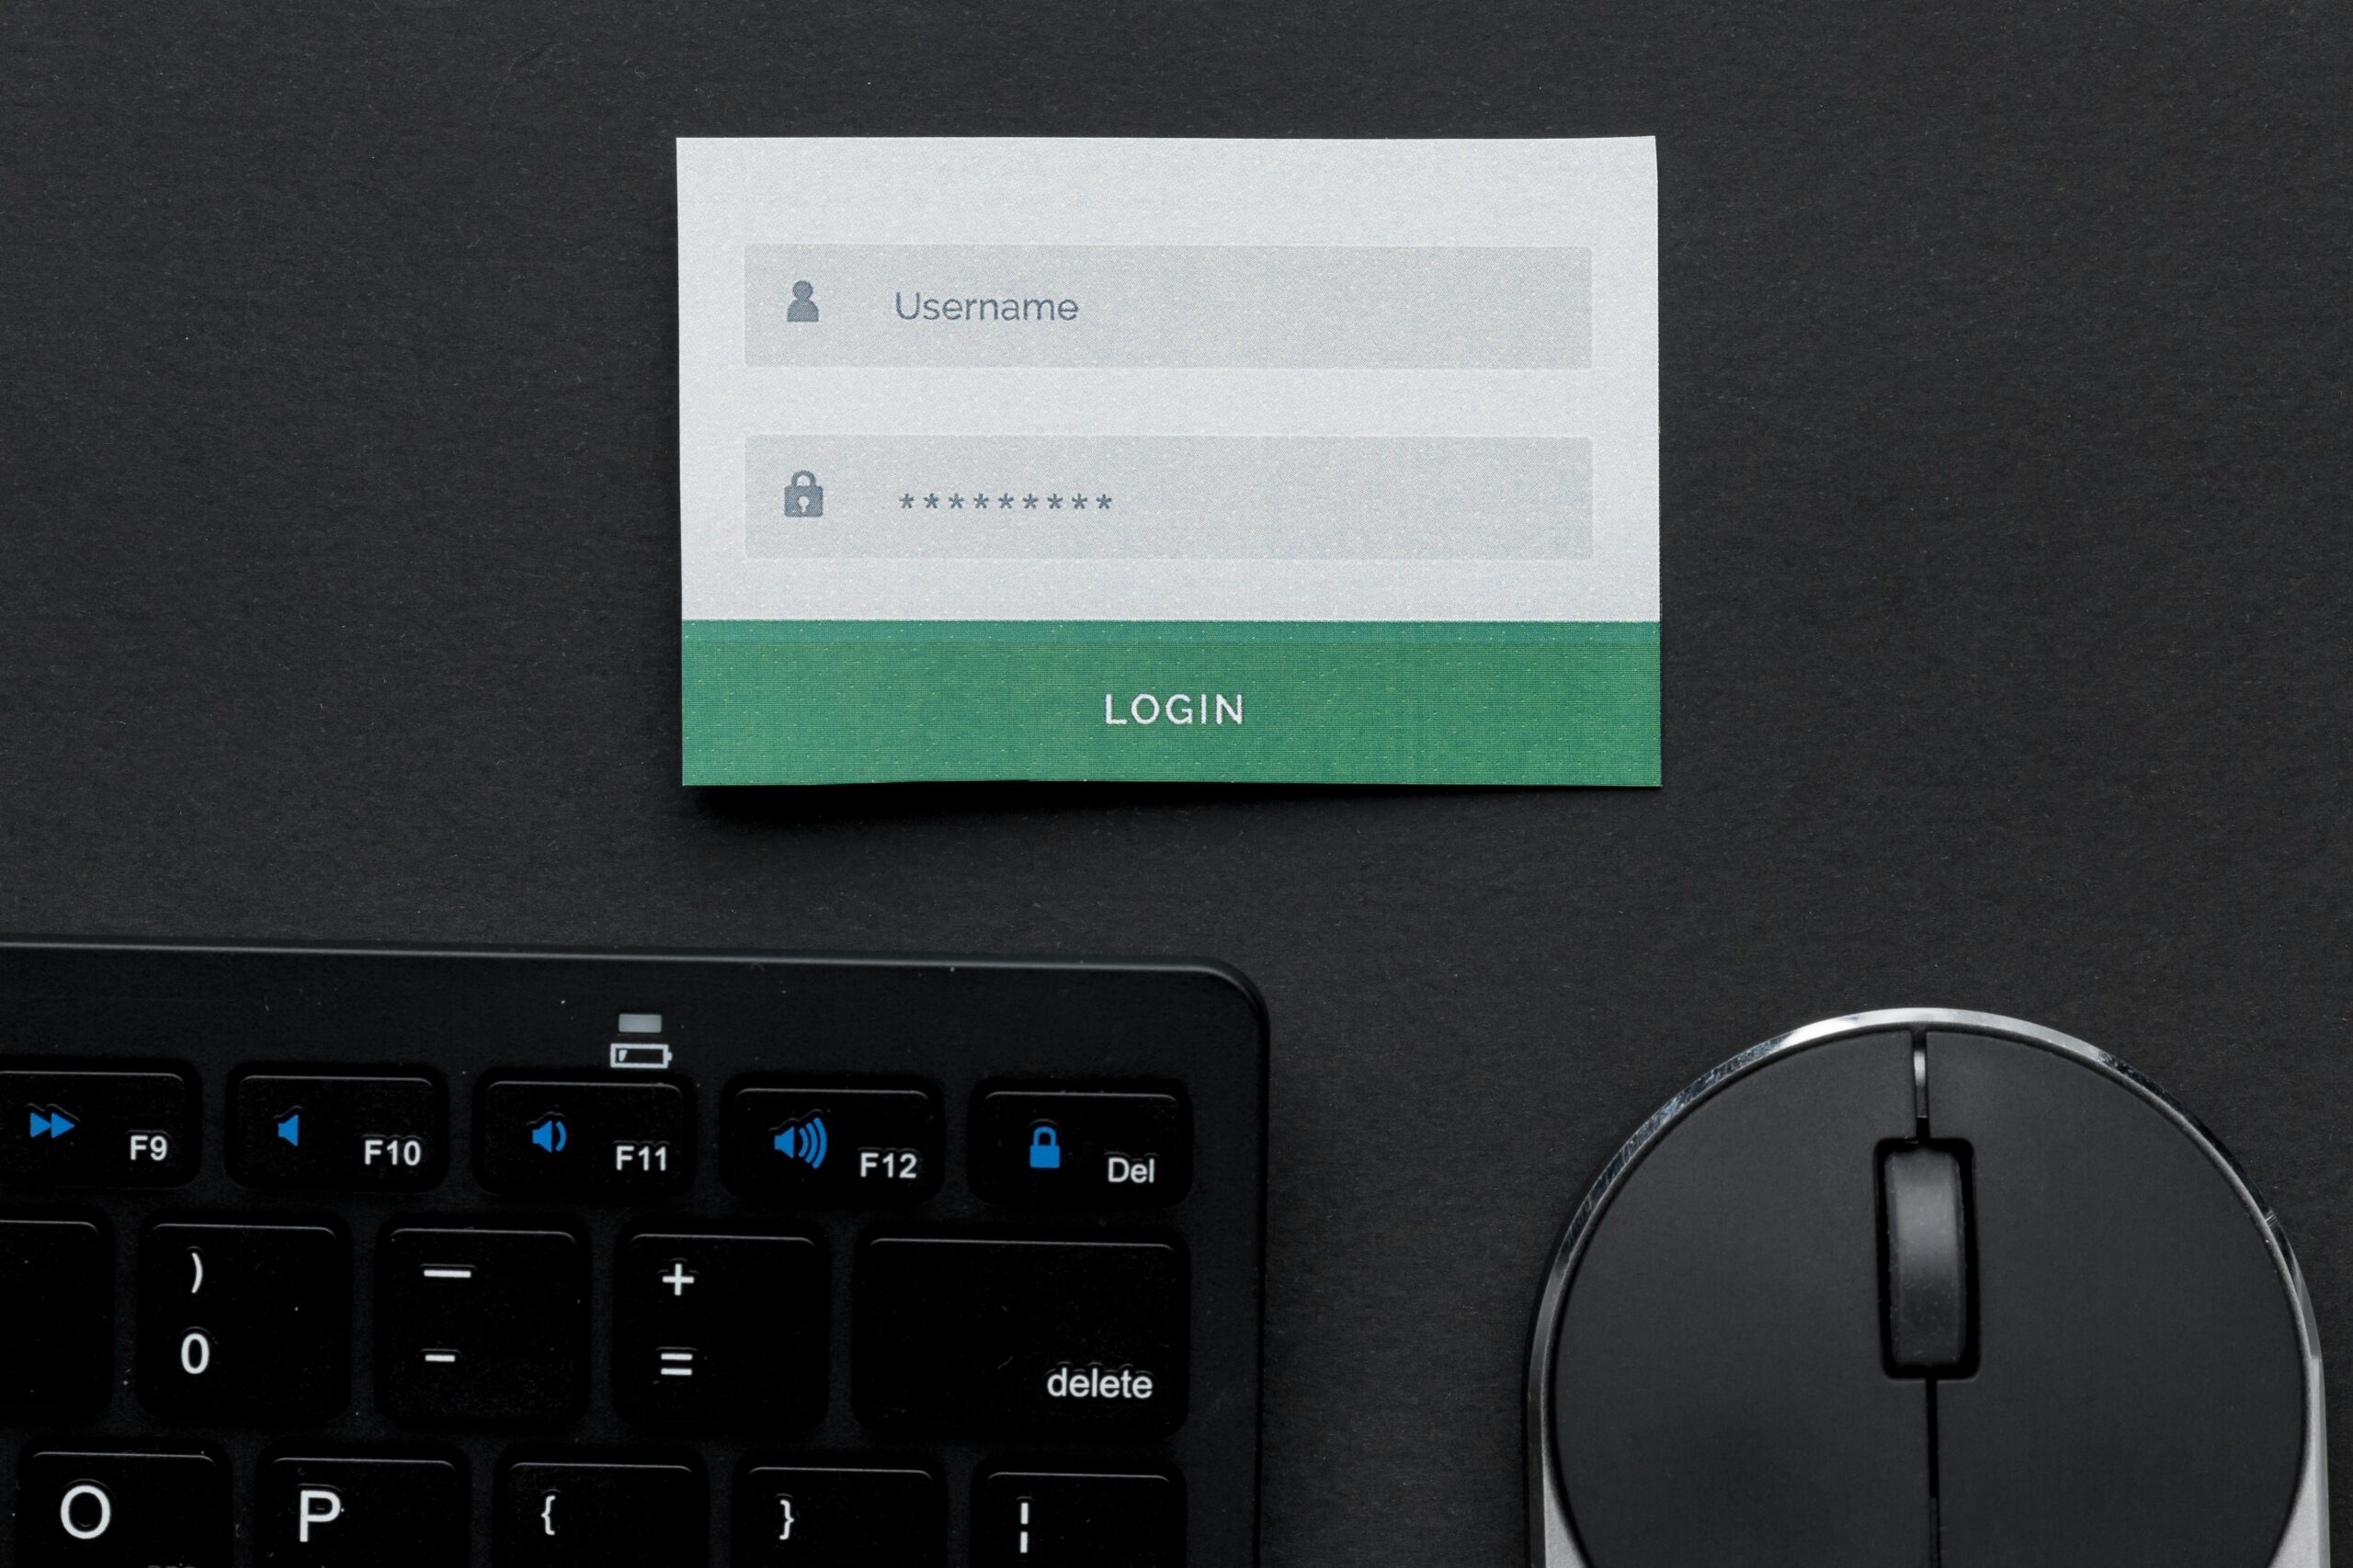
To access the router settings, you will need to find the IP address of your router. This can usually be found on the bottom of the router or in the user manual. Once you have the IP address, enter it into your web browser’s address bar. This will take you to the login page of your router.
Configuring the 192.168.188.1 Wireless Router Setup:
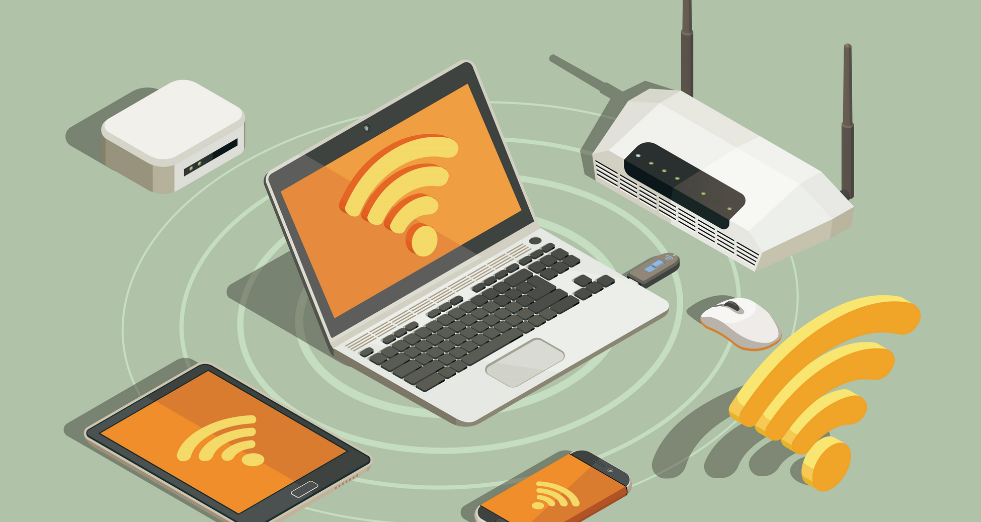
After logging in to your router, you can start configuring it according to your preferences. The first step is to set up a network name (SSID) and a secure password. This will ensure that only authorized devices can connect to your network. You can also configure wireless security to further protect your network from potential threats. Additionally, most routers come with parental control features that allow you to restrict access to certain websites or set time limits for internet usage. You can also set up a guest network for visitors to use without giving them access to your main network.
Troubleshooting Common Issues:
If you encounter any issues during the setup process, don’t panic. Some common issues include no internet connection, slow internet speed, or the router not working. In such cases, try restarting your router and modem, or resetting your router to its factory settings. If the issue persists, you can contact your internet service provider for further assistance.
Read Also: How to Fix the 192.168.188.1 Not Working Issue
Conclusion:
In conclusion, 192.168.188.1 wireless router setup with the IP address 192.168.188.1 is a simple process that can be done by anyone with basic technical knowledge. It is important to secure your wireless network to protect your personal information and prevent unauthorized access. By following the steps outlined in this article, you can have your wireless network up and running in no time.
FAQs:
1. How do I reset my router?
To reset your router, locate the reset button on the back of the router and press and hold it for 10-15 seconds. This will reset the router to its factory settings.
2. Can I change the IP address of my router?
Yes, you can change the IP address of your router by accessing the router settings and navigating to the network settings section.
3. How do I update the firmware of my router?
To update the firmware of your router, go to the manufacturer’s website and download the latest firmware for your specific router model. Then, access the router settings and navigate to the firmware update section to install the new firmware.
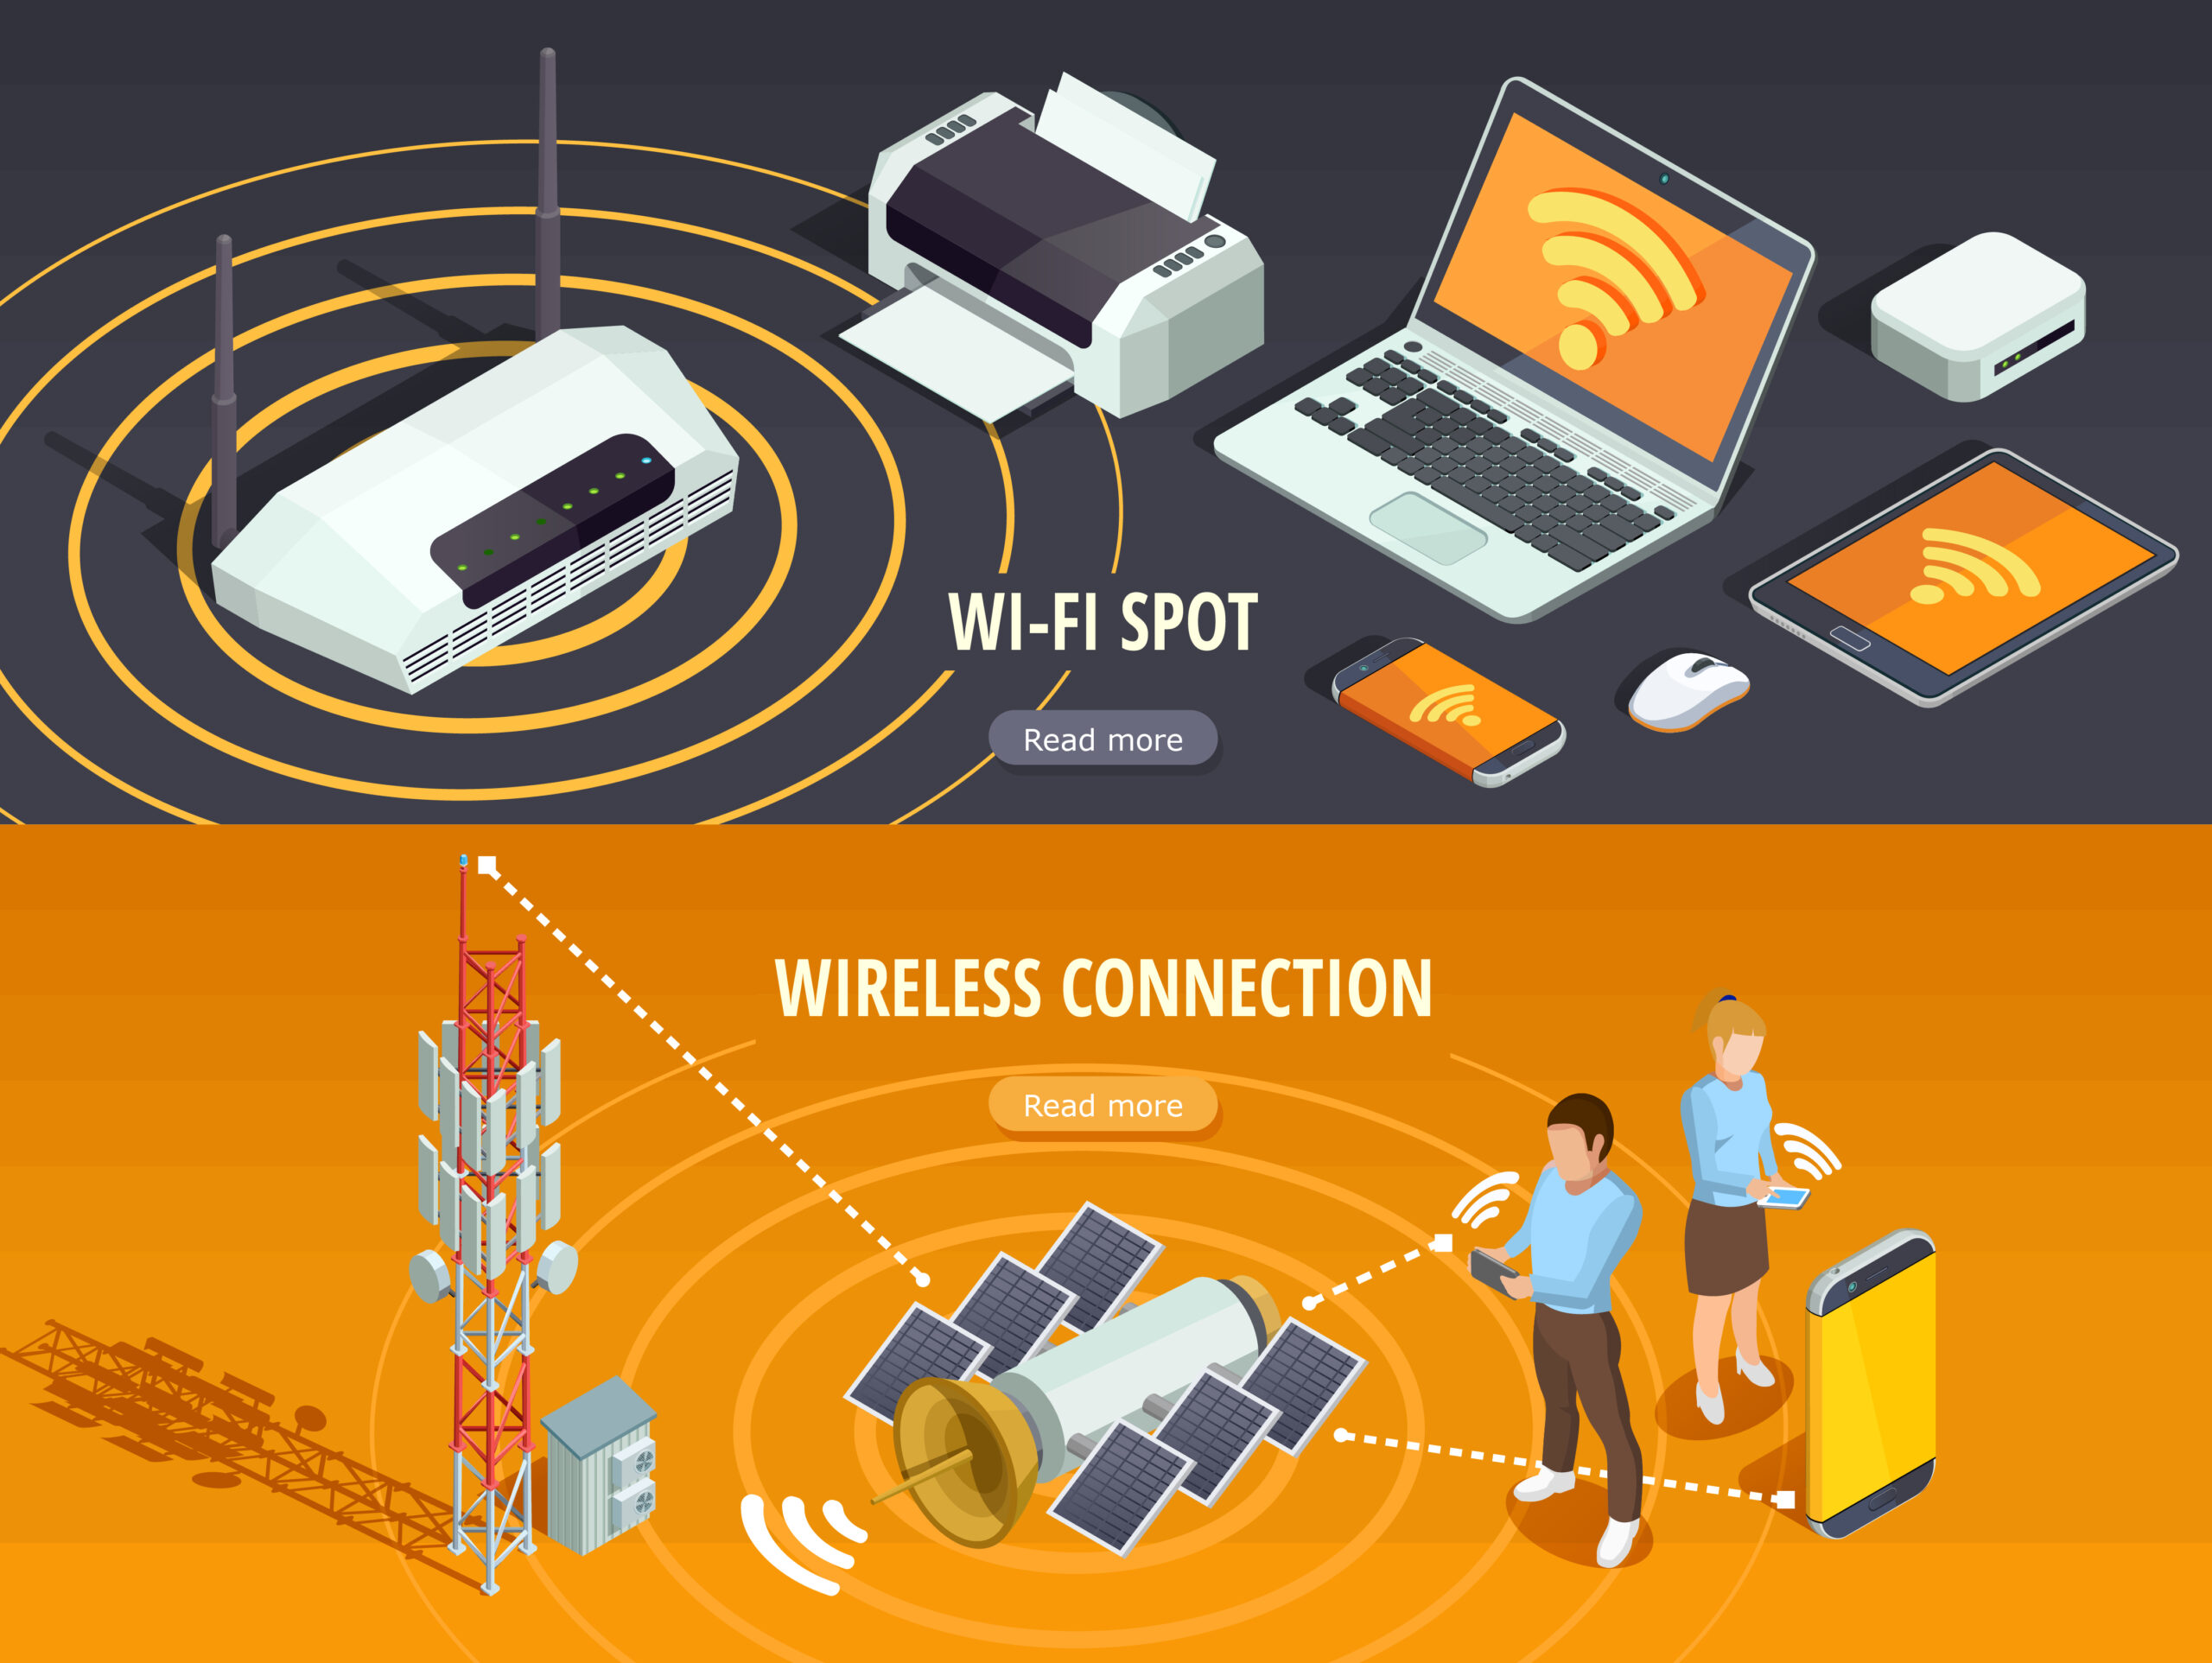
4. How many devices can connect to my wireless network?
The number of devices that can connect to your wireless network depends on the router’s specifications. Most routers can support up to 255 devices.
5. Can I use a wireless router with a wired connection?
Yes, most wireless routers come with Ethernet ports that allow you to connect devices using a wired connection. This can be useful for devices that do not have wireless capabilities or for a more stable internet connection.