wifi repeater 192.168.188.1 admin setup - 192168111
192.168.188.1 admin setup
192.168.188.1 Admin Setup – Get To Know About The Default IP Address!

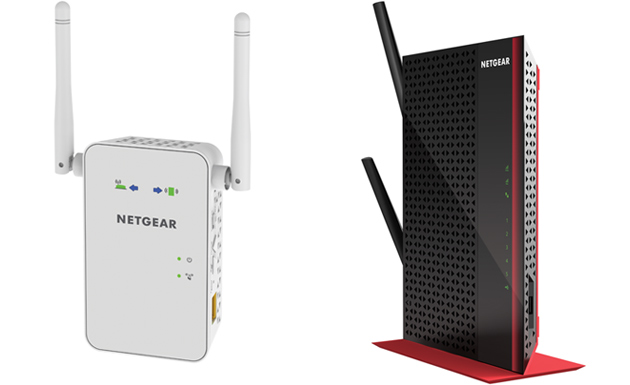
If you’re thinking about buying an extender, be sure you understand all of the important terms and conditions. There are a few things to consider before beginning the 192.168.188.1 admin setup procedure, whether it’s creating connections or upgrading the firmware with the correct IP address. In this short guide, we’ll go over the whole process of installing the extender from start to finish.

Make sure you’re using the correct Netgear extender default IP address to get started. This will take you to the login administrator page as well as the extender’s settings page. You’ll also learn how to change the password, update the firmware, and return the extender to factory settings, among other things.

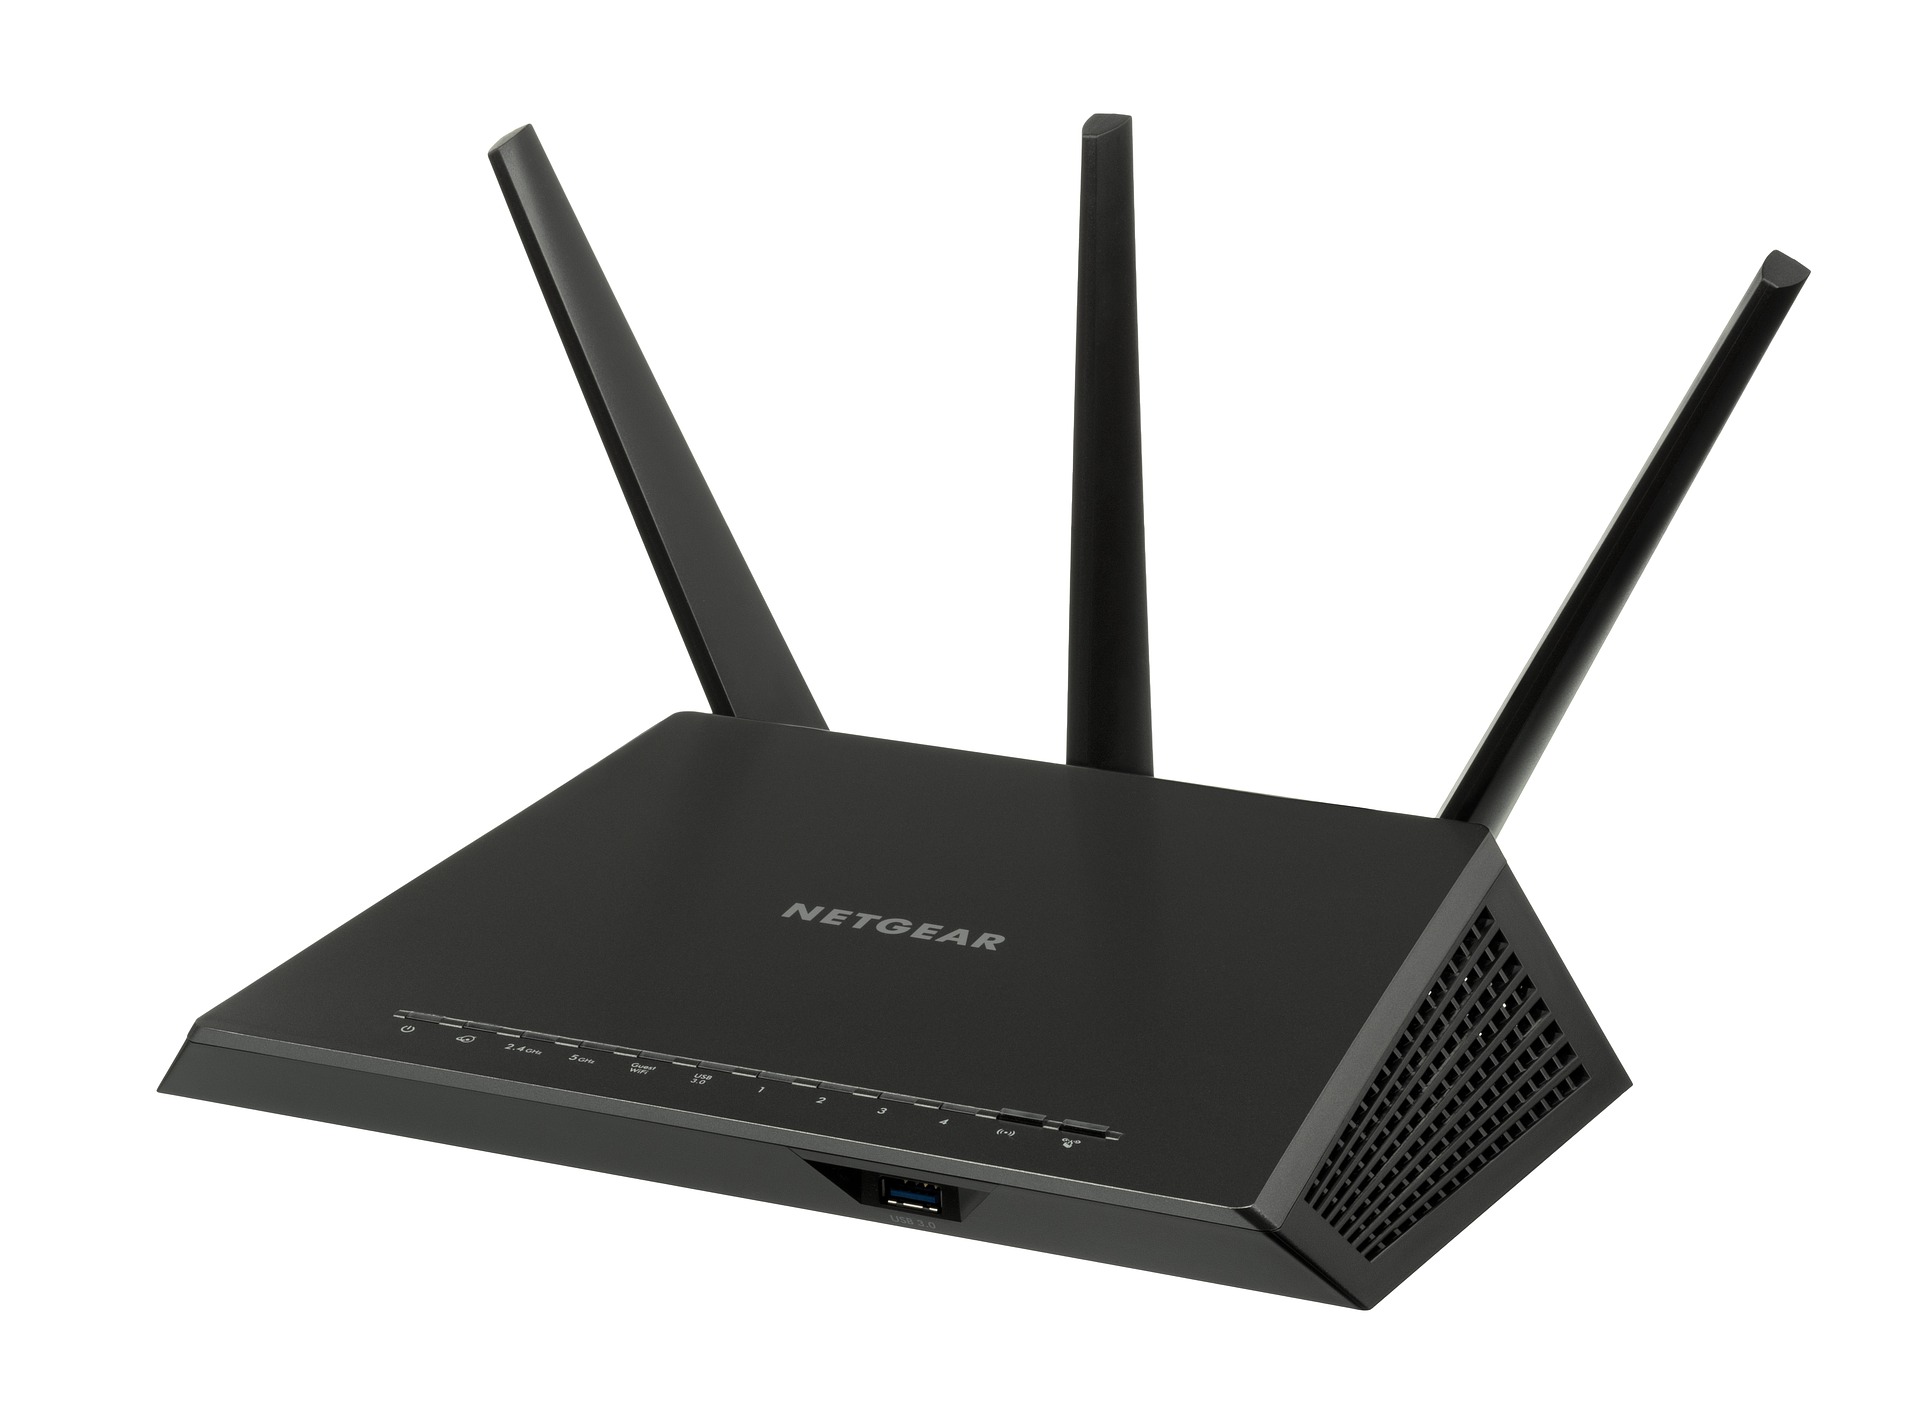
Using the Default IP Address to log in to a Netgear Router –

The default IP address of the Netgear extender is used by the majority of users to log into the Wi-Fi extender. You can use other IP addresses for this procedure, such as 192.168.188.1, depending on your device’s needs.

If you wish to log into your Wi-Fi Range Extender with facing the issues with the 192.168.188.1 admin setup, keep the following procedures in mind:

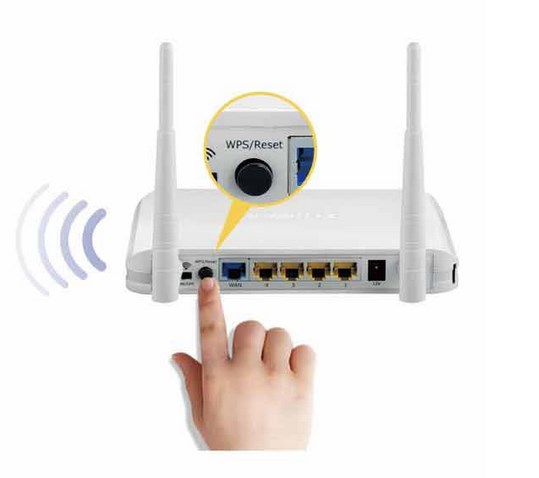
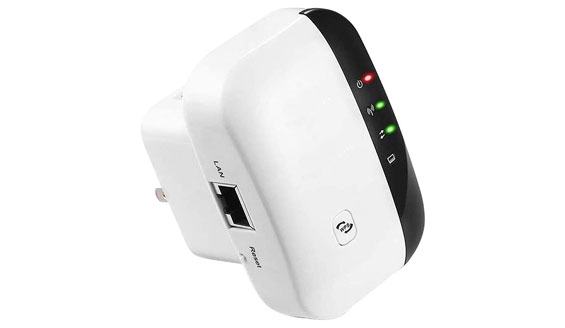
  • Begin by turning on your Netgear Wi-Fi Range Extender.
  • Use a dependable Ethernet cable to connect the extender to your home router.
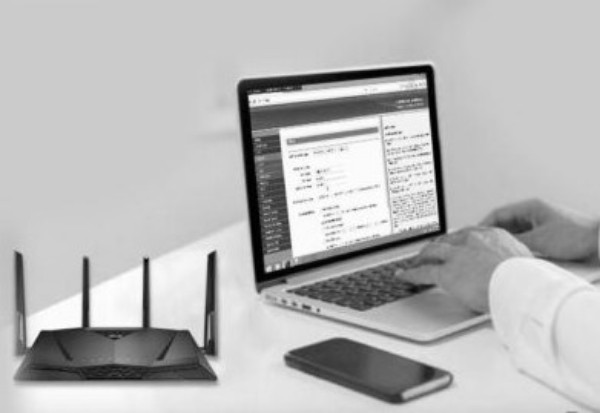
  • It’s time to open a web browser on your PC once the connections have been created properly.
  • In the address bar, type the appropriate IP address, such as 192.168.188.1. Enter the code.
  • You’ll be sent to the extender’s login administrator page.
  • The extender’s necessary username and password must be entered here. Use the default credentials and then click the login button.
  • You will be sent to the extender’s settings page, where you will be able to make adjustments to the device’s operation.

By following a few simple steps, you may quickly log in to your extension.

Firmware Update for Netgear Extender-

It will be simple to regulate the process of a firmware update if you are familiar with the login method for your extender. Here are a few key items to remember!

  • Open a new tab in your current web browser to begin.
  • You may visit the extender login page by entering an IP address such as 192.168.188.1.
  • Select advanced and then administration from the drop-down menu.
  • Here you’ll find the firmware update option.
  • You can quickly download the updated version of your firmware by entering the model number of your device.
  • Once the file has been downloaded, upload it.
  • Make sure you don’t turn off your computer until the firmware upgrade is finished.

You may simply upgrade your device’s firmware using the correct IP address if you follow the procedures above carefully.

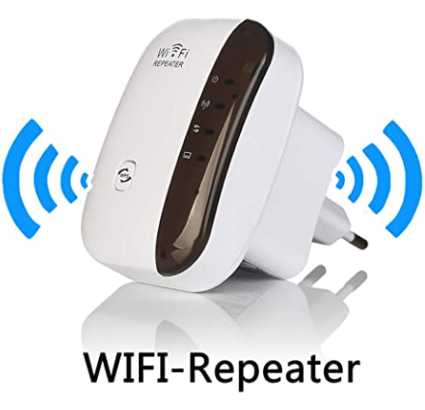
Finally, by following the correct wifi repeater 192.168.188.1 admin setup instructions, you may set up and install the Netgear Range Extender without encountering any issues. Follow the above-given instructions and it will become easy for you to manage the errors without facing consequences.

192.168.188.1 admin setup
192.168.188.1 Admin Setup – Setup Using The Manual Method!

Have you been dealing with connectivity problems for a long time? Do you want to find a long-term solution to this issue? Are you seeking for a cost-effective solution? If you answered yes to all of these questions, you’ve arrived to the correct place. A tiny gadget known as a Wi-Fi extender is the answer to this question. To do 192.168.188.1 admin setup at home or at business, you must follow the correct installation instructions. Make sure you don’t forget any of the points, or you’ll make mistakes. You may simply resolve the difficulties by using the correct IP address.

To ensure that you can control a trouble-free extension configuration, you must adhere to a few key principles. Here, we’ll go through some of the requirements for setting up your Wi-Fi Range Extender.

  • First and foremost, make sure your Wi-Fi extender is in the same room as your home network.
  • Another thing to remember is to use a power socket that is stable and undamaged.

You’ll need two web browsers on your PC or laptop to set up a home-based Wi-Fi network. Check to see if the browser you’re using is up to date. There’s a good probability you won’t be able to access the new extender configuration tab since you won’t be able to log in. This is most likely to happen if you’re using an old version of a web browser. In such a situation, having a backup plan is usually beneficial.

Wifi Extender Configuration –

You may setup your Wi-Fi Range Extender in one of two ways. The manual approach is the first, and the WPS way is the second. Let’s take a closer look at these two configuration options!

Configuration Of A Wifi Range Extender Via Manual Method –

This sort of extension, formerly known as web browser installation, necessitates the completion of certain of the procedures listed below.

  • To provide electricity to your extender, turn on the electrical outlet.
  • As a result, the extender’s LED lights will begin to flicker. If it turns out to be solid green, the connections have been successfully formed.
  • When you’re finished, connect your Wi-Fi extender to your PC or laptop.
  • Now you must open the network administrator and a web browser of your choosing.
  • You’ll need to enter in the extender’s needed IP address here.
  • Press enter once you’ve filled in all of the necessary information.
  • You’ll be sent to the extender’s login admin page.
  • In the provided spaces, you must use the default credentials, username, and password.
  • By pressing the Next button, you will be sent to the extender’s settings page. You’ll be able to make changes to the settings section from here. Change the security levels, password, SSID, LAN, WAN, WLAN, and other settings.
  • To conclude the procedure, press the end button.

Congratulations for completing the new Netgear extender configuration.

BOTTOM LINE:

The WPS technique is the second way to set up the extension. There are some stages in this approach as well, however it is suggested that you utilize the manual way of setting up the extender using the correct wifi repeater 192.168.188.1 admin setup details.