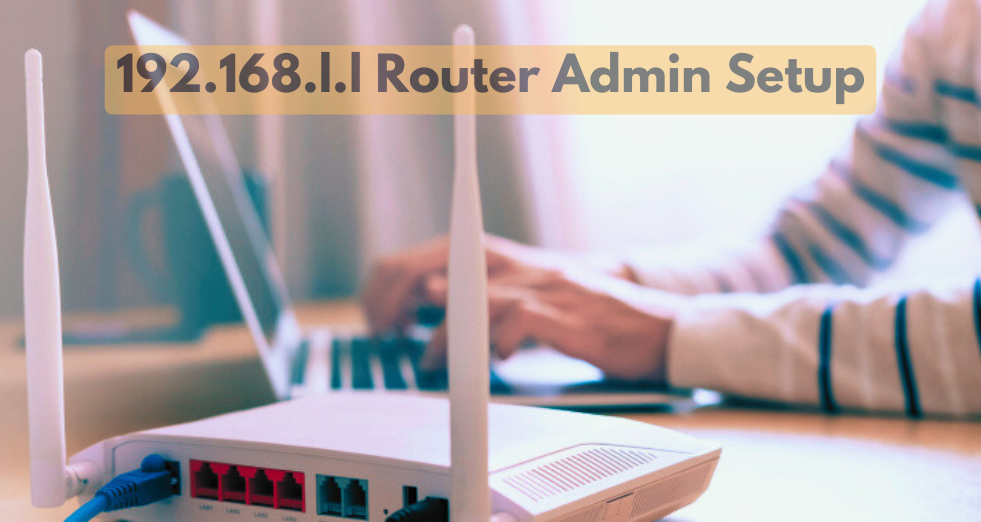
Comprehensive Guide to Securing Your Router at 192.168.11.1 Admin Login
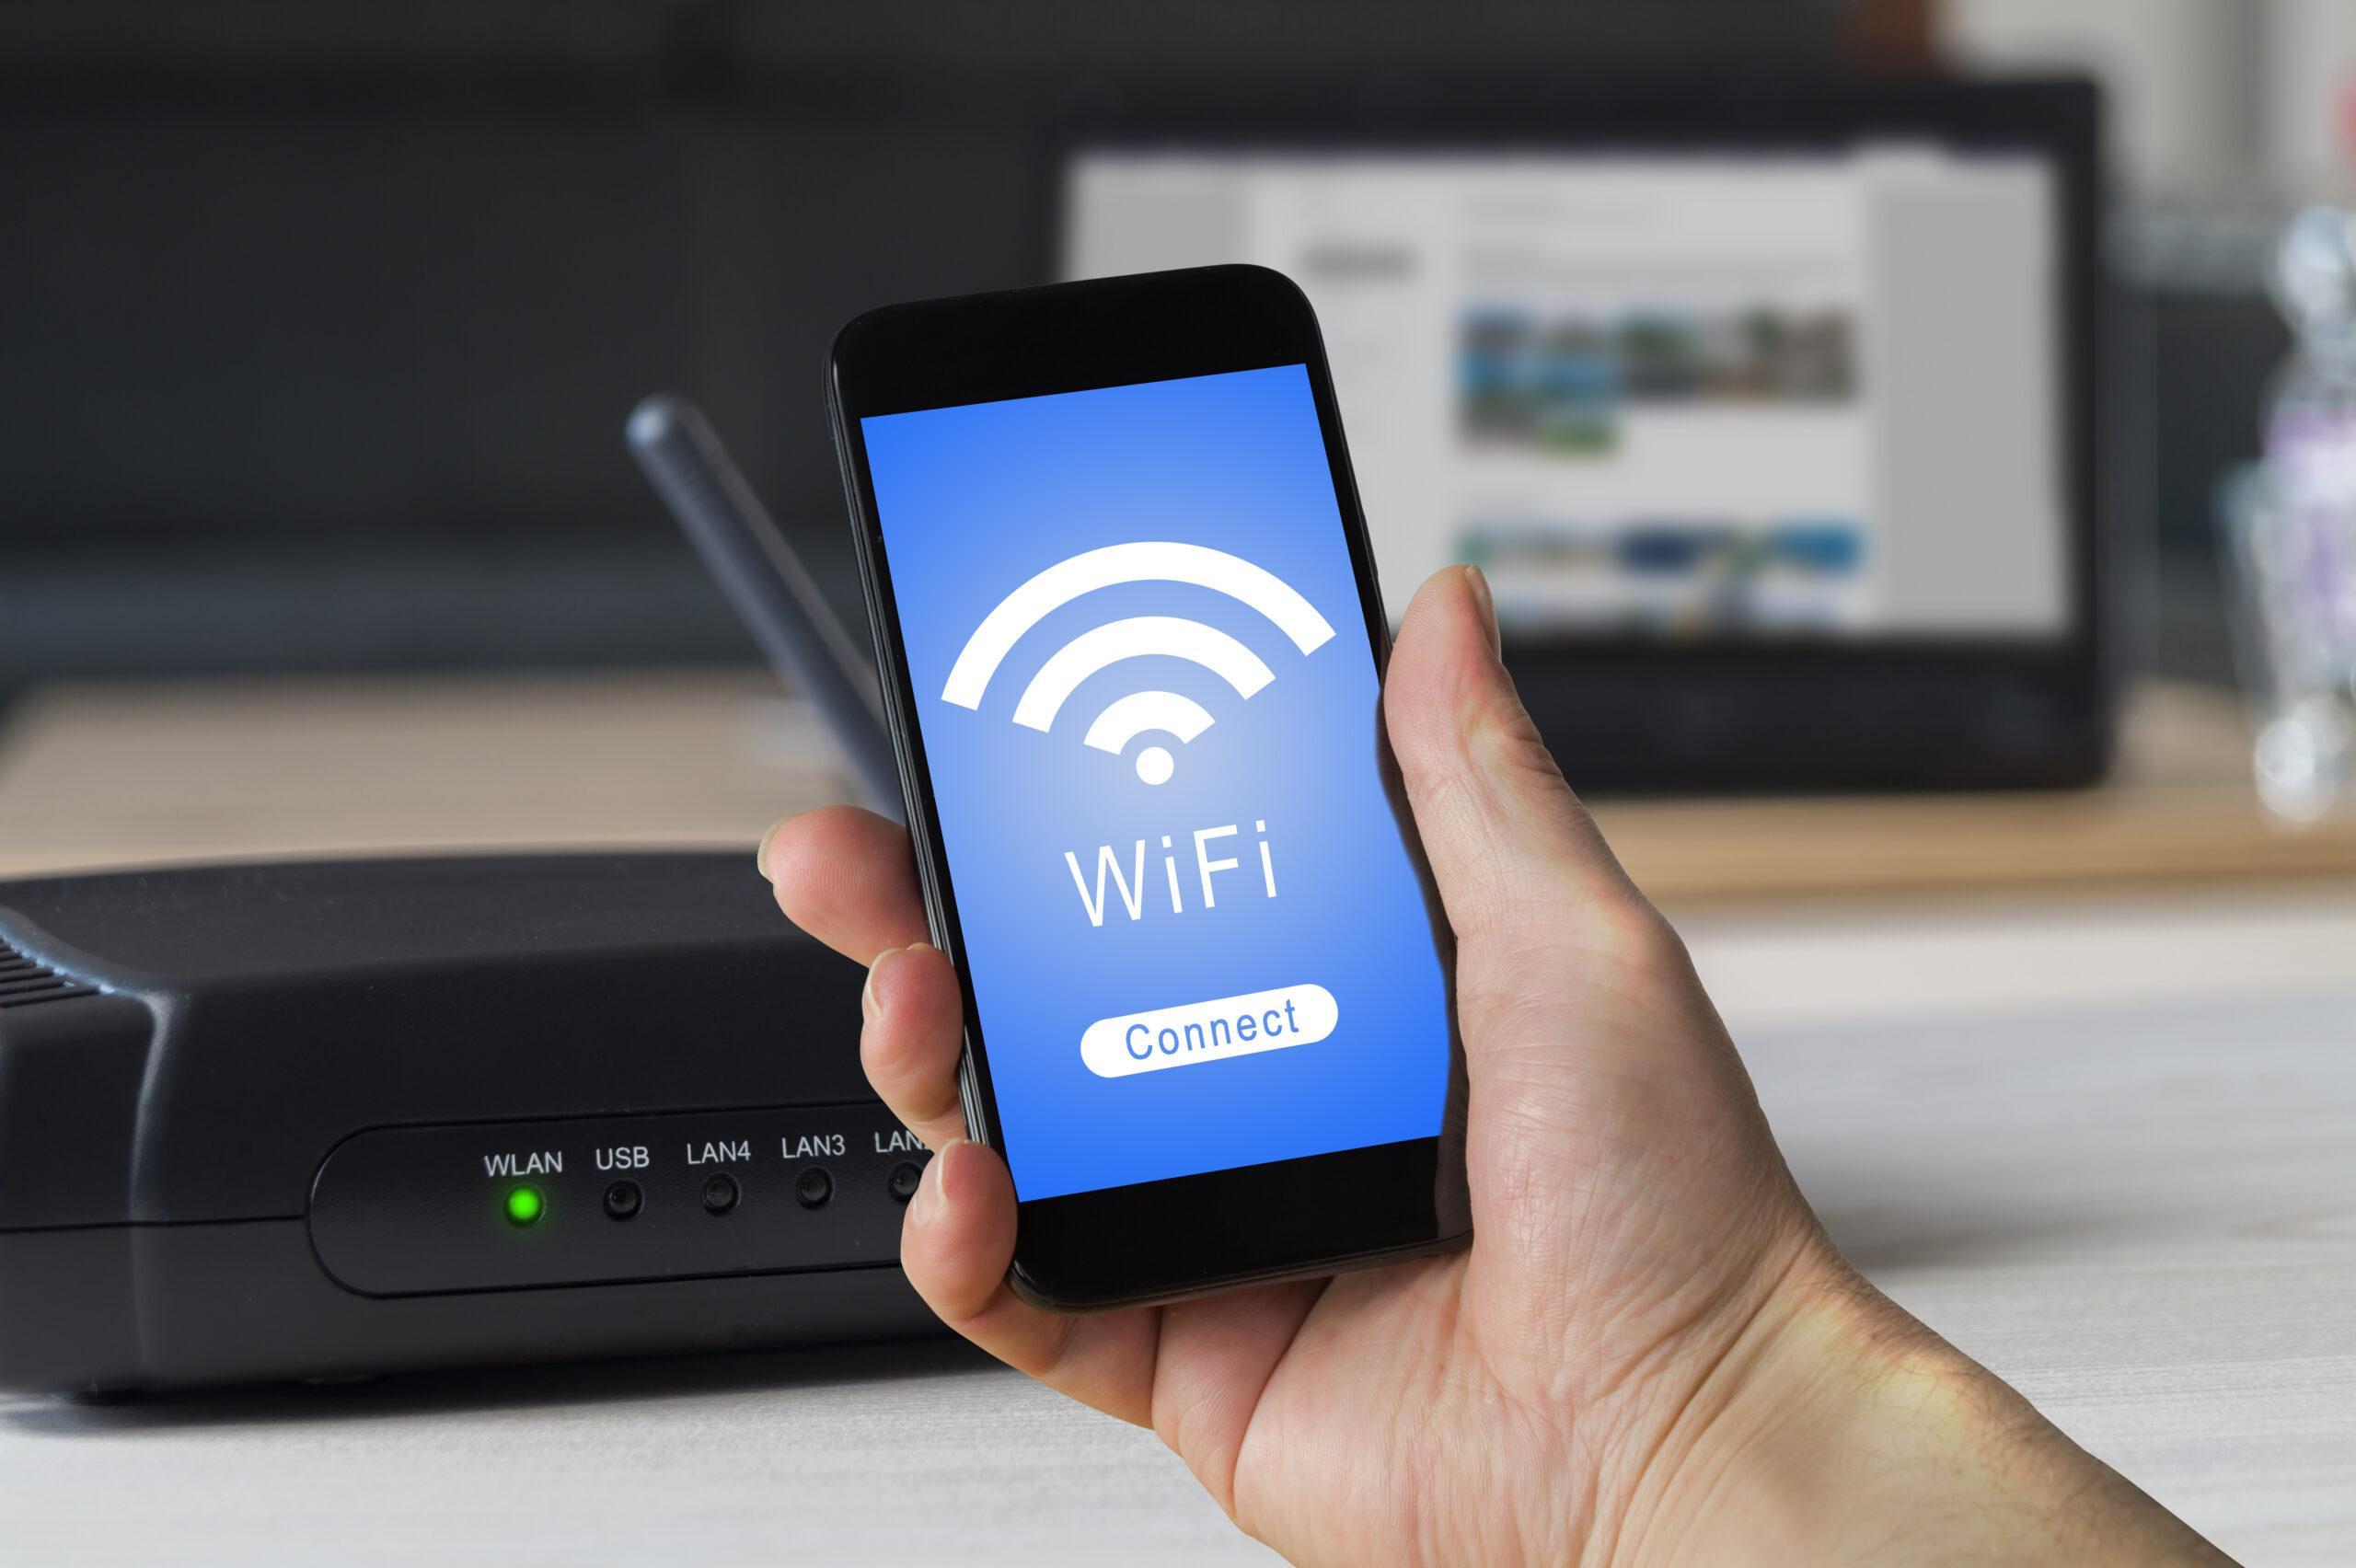
In trendy related global, the safety of your house network is more vital than ever. With cyber threats at the rise, ensuring your router is comfy can protect your personal information and provide peace of mind. This comprehensive guide will walk you through advanced security settings for your router at 192.168.11.1 admin login. We will cover changing default passwords, enabling WPA3 encryption, setting up a guest network, and keeping your router firmware updated. Additionally, we’ll touch upon the WiFi repeater 192.168.188.1 admin setup to enhance your network security and performance.
Step-by-Step Instructions on Changing Default Passwords
Changing your router’s default password is the first step in securing your network. Here’s how to do it:
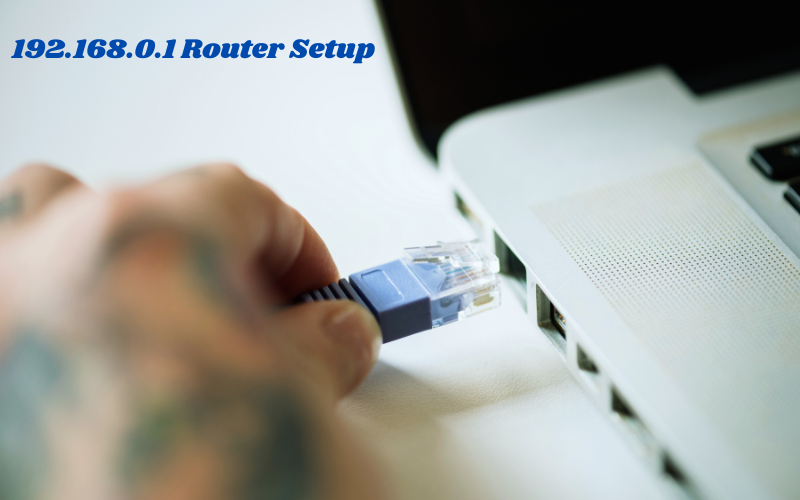
- Access the Router Admin Page:
- Open your web browser and type
192.168.11.1into the address bar. - Enter the default username and password (usually found on a sticker on your router or in the user manual).
- Open your web browser and type
- Navigate to the Settings Page:
- Once logged in, locate the settings or administration tab.
- Change the Password:
- Find the option for changing the password. It may be under ‘System,’ ‘Administration,’ or a similar section.
- Enter your new password. Ensure it is strong—use a mix of uppercase and lowercase letters, numbers, and symbols.
- Save the changes and log out.
Enabling WPA3 Encryption
WPA3 is the latest and most secure Wi-Fi encryption standard. Here’s how to enable it on your router:
- Login to the Admin Panel:
- Use
192.168.11.1to access the router’s admin page with your updated credentials.
- Use
- Access Wireless Settings:
- Go to the ‘Wireless’ or ‘Wi-Fi’ settings section.
- Enable WPA3:
- Look for the security settings or encryption type.
- Select WPA3 from the dropdown menu.
- Save the changes.
Setting Up a Guest Network
Creating a guest network isolates your main network from guests, adding an extra layer of security. Follow these steps:
- Access the Admin Interface:
- Navigate to
192.168.11.1and log in.
- Navigate to
- Locate Guest Network Settings:
- Find the guest network settings under the ‘Wireless’ section.
- Configure the Guest Network:
- Enable the guest network option.
- Set a different SSID (network name) for the guest network.
- Configure a strong password and set appropriate access restrictions.
- Save the changes.
Keeping Your Router Firmware Updated
Firmware updates often include security patches and new features. Here’s how to ensure your router is up-to-date:
- Login to the Admin Panel:
- Use
192.168.11.1to access your router’s settings.
- Use
- Check for Updates:
- Go to the ‘System’ or ‘Administration’ section.
- Look for the firmware update option.
- Update the Firmware:
- If an update is available, follow the on-screen instructions to download and install it.
- Allow the router to reboot if necessary.
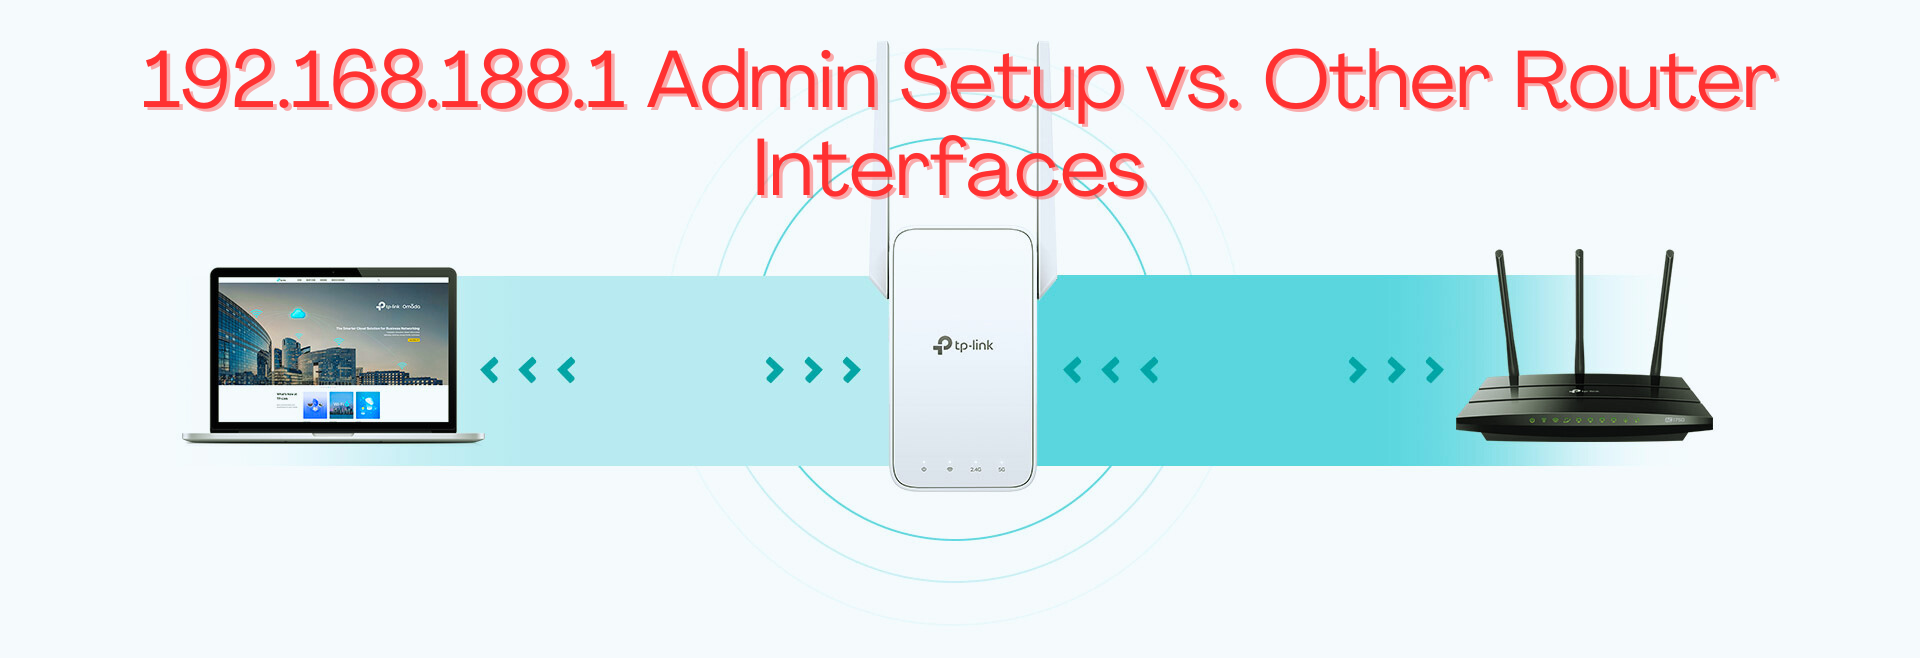
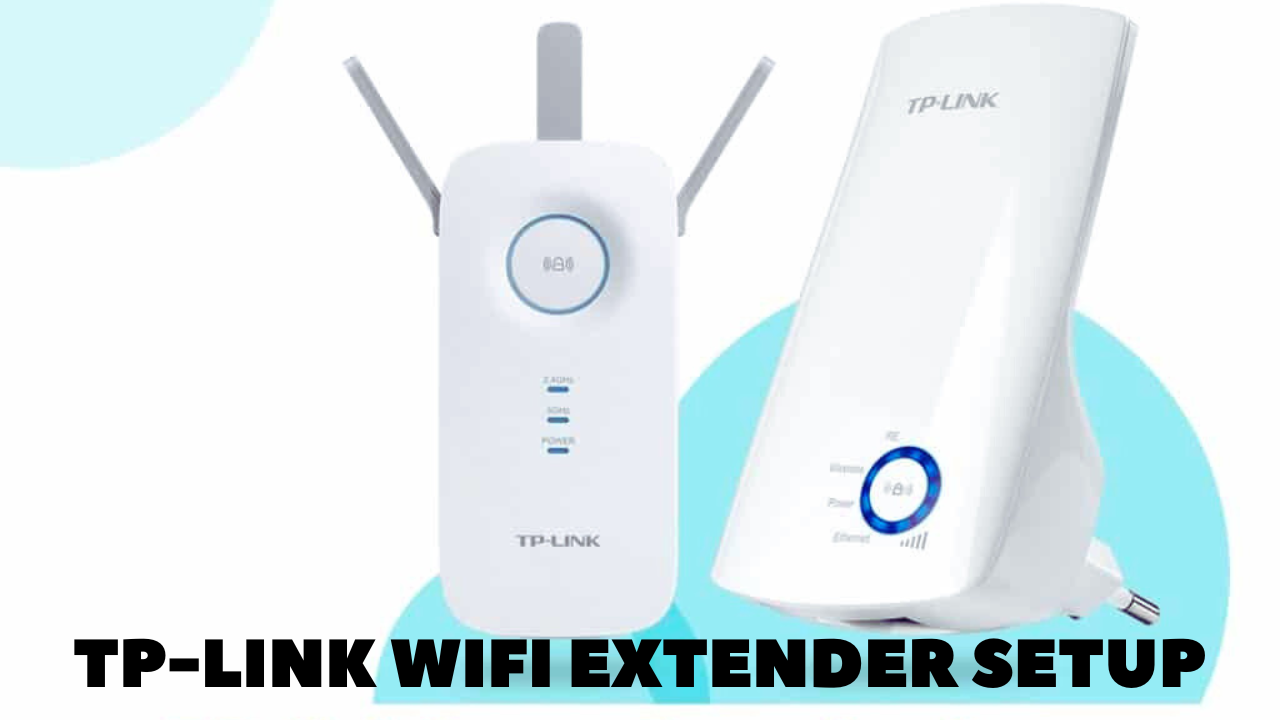
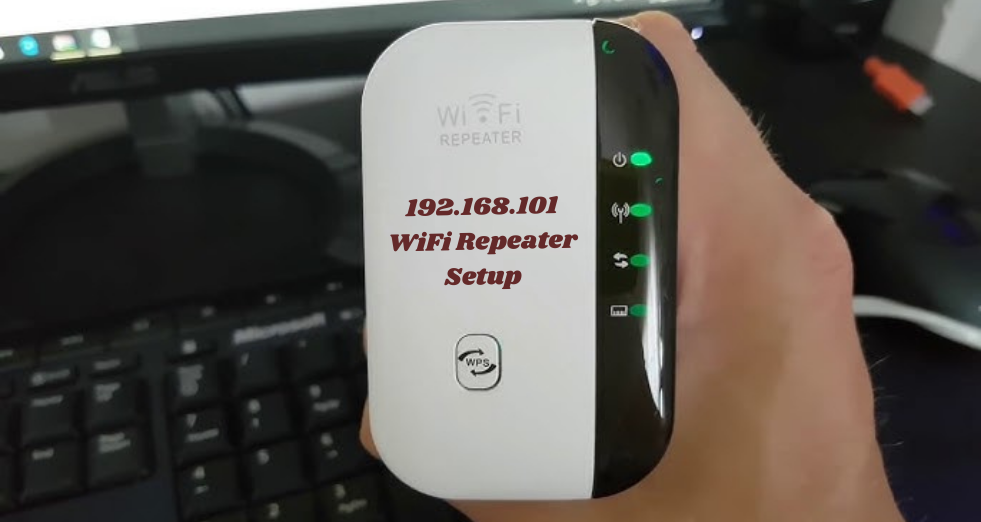
Enhancing Network Security with a WiFi Repeater: 192.168.188.1 Admin Setup
For those looking to extend their network coverage and improve security, setting up a WiFi repeater can be a great solution. Here’s a quick overview:
- Access the Repeater Admin Page:
- Connect to the repeater and open your web browser.
- Enter
192.168.188.1into the address bar and log in using the default credentials.
- Configure the Repeater:
- Follow the setup wizard to connect the repeater to your main router.
- Ensure that the repeater’s security settings match those of your primary network (WPA3, strong password, etc.).
- Position the Repeater:
- Place the repeater midway between your router and the area with poor signal strength to ensure optimal coverage.
By following these steps, you can significantly enhance the security of your home network. Regularly updating your router’s firmware, using strong passwords, enabling WPA3 encryption, and setting up a guest network are all essential practices. Additionally, configuring a WiFi repeater at 192.168.188.1 can help extend your network’s reach while maintaining robust security protocols. Stay proactive in managing your network settings to enjoy a safe and reliable internet experience.